Installation
• Select
the
mounting
location
where
it
is
easy to
press
the
PAIRING
button
on the unit.
• Choose
the
mounting
location carefully
so
the
unit
will
not
interfere
with
the
normal movements
of
the driver and it
will
not
be exposed
to
direct
sunlight
or
hot
air
from
the
heater.
• Do
not
mount
the
unit
in a confined space such
as
under
the
floor
carpet
that
will
obstruct heat
dissipation.
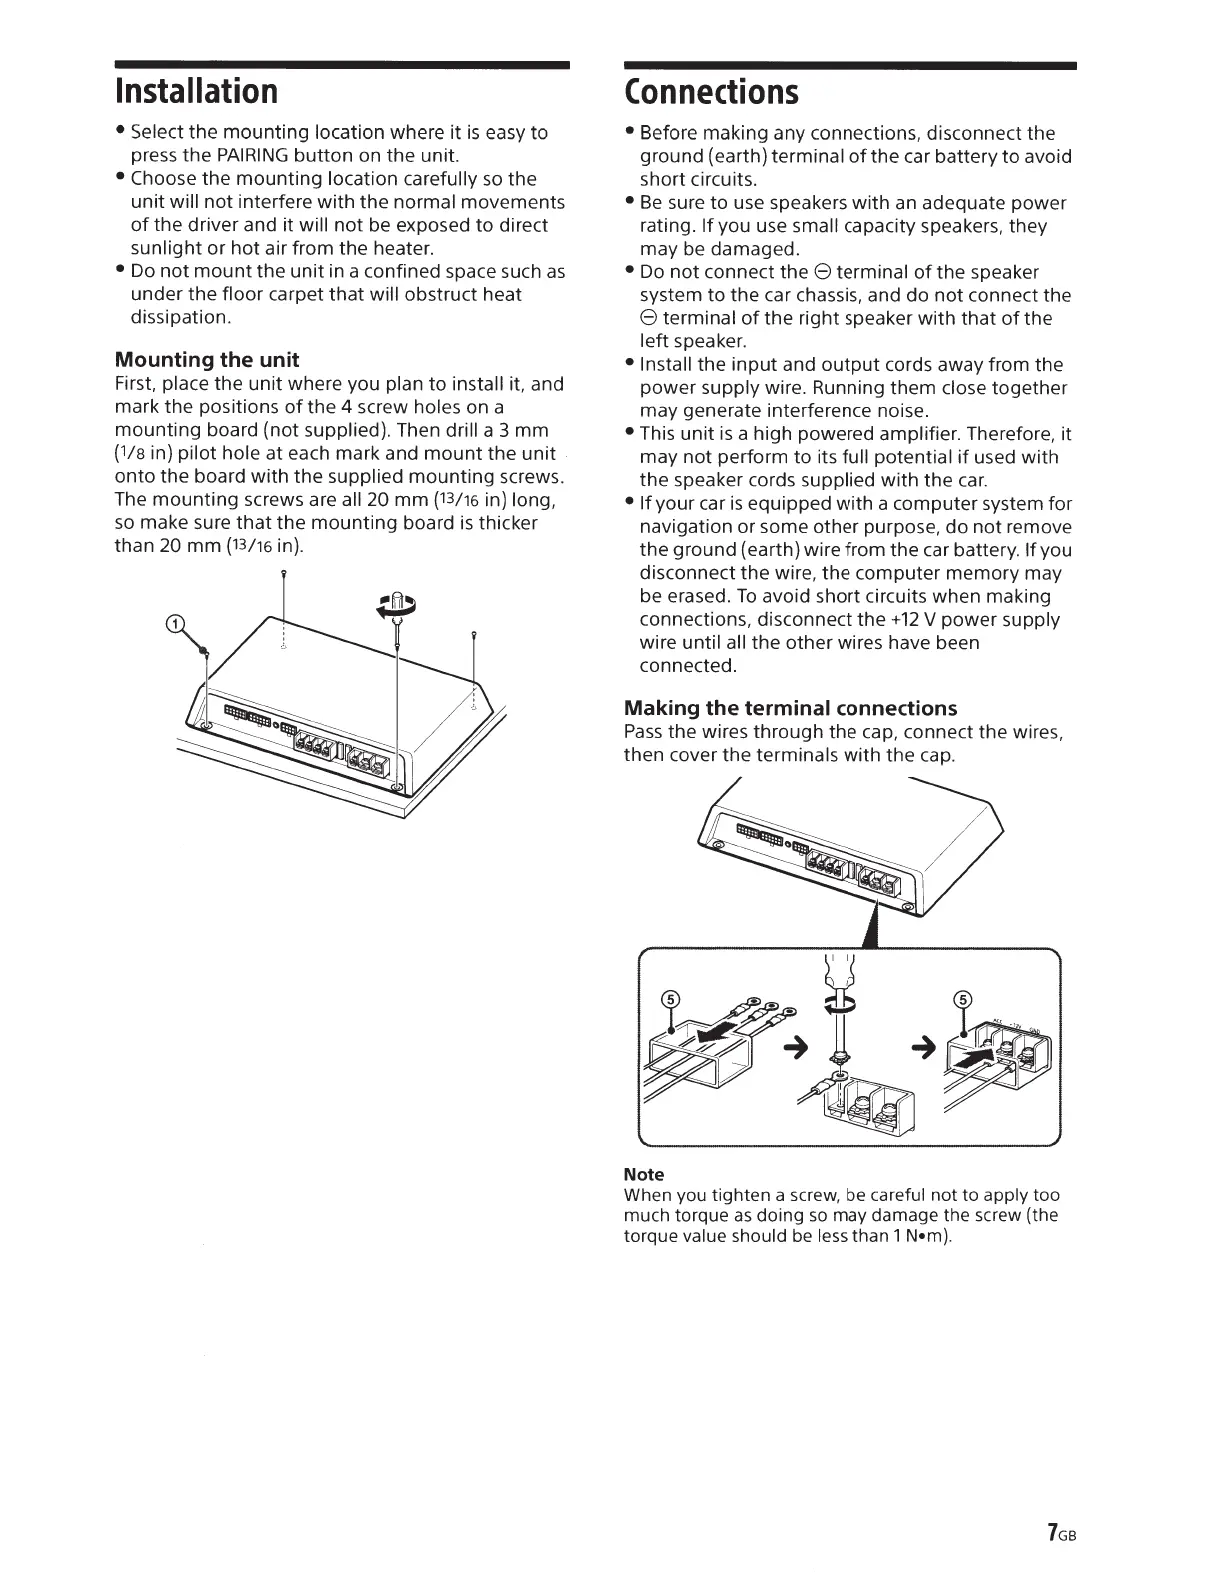
Mounting the unit
First, place
the
unit
where you
plan
to
install
it, and
mark
the
positions
of
the 4 screw
holes
on a
mounting
board (not
supplied).
Then
drill
a
3
mm
(1/s
in)
pilot
hole
at each mark and
mount
the
unit
onto
the board
with
the
supplied
mounting
screws.
The
mounting
screws are all 20
mm
(13/16
in)
long,
so make sure
that
the
mounting
board
is
thicker
than
20
mm
(13/16
in).
$
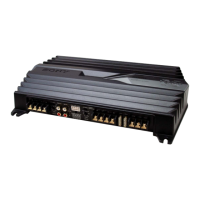
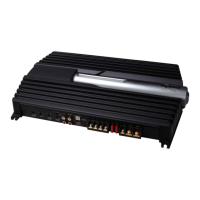
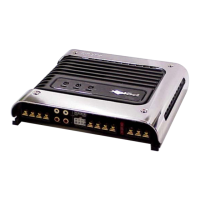
Connections
•
Before making any connections, disconnect the
ground
(earth)
terminal
of
the car battery
to
avoid
short circuits.
•
Be
sure
to
use speakers
with
an
adequate
power
rating.
If
you use
small
capacity speakers, they
may
be damaged.
•
Do
not
connect the
8
terminal
of
the speaker
system
to
the
car chassis, and do
not
connect the
8
terminal
of
the
right speaker
with
that
of
the
left
speaker.
• Install
the
input
and
output
cords away from the
power
supply wire. Running
them
close
together
may
generate interference noise.
•
This
unit
is
a high powered amplifier.
Therefore,
it
may
not
perform
to
its
full potential
if
used
with
the
speaker cords
supplied
with
the
car.
•
If
your
car
is
equipped
with
a computer system
for
navigation or some other purpose,
do
not
remove
the
ground (earth) wire
from
the car battery.
If
you
disconnect
the
wire,
the
computer
memory
may
be erased.
To
avoid short circuits when making
connections, disconnect
the
+12
V
power
supply
wire
until all
the
other
wires have been
connected.
Making
the
terminal connections
Pass
the wires
through
the cap, connect
the
wires,
then
cover the
terminals
with
the cap.
Note
When you tighten a screw, be
careful
not
to
apply
too
much torque
as
doing
so
may damage the screw {the
torque value should
be
less
than 1
N•m).
7GB

 Loading...