• Connect
the+
12
V
power
supply
wire
only after
all
the other wires have been connected.
•
Be
sure
to
connect
the
ground (earth) wire
of
the
unit
securely
to
a metal
point
of
the
car.
A
loose
connection may cause a malfunction
of
the
amplifier.
•
When using a car audio
unit
without
a remote
output
(REMOTE
OUT}
for
the
amplifier,
connect
the remote
input
(REM}
terminal
to
the accessory
power
supply.
•
Use
a
power
supply
wire
with
a fuse
{60
A)
attached.
• All
power
wires connected
to
the positive battery
post
should
be fused within
450
mm
{17
3/4
in}
of
the battery post, and before
they
pass
through
any metal.
•
Make sure
that
the car's battery wires connected
to
the
car (ground (earth}
to
chassis) are
of
a wire
gauge at least equal
to
that
of
the main
power
wire connected from the battery
to
the
amplifier.
•
During
full-power
operation, a current
of
more
than
60
A
will
run
through
the
system. Therefore,
make sure
that
the
wires
to
be connected
to
the
+12
V and
GND
terminals
of
this
unit
are at least
8-Gauge {AWG-8} or have a sectional area
of
more than 8
mm
2
(11/32
in
2
}.
8GB
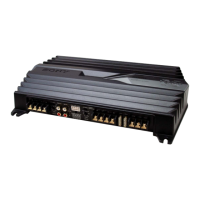
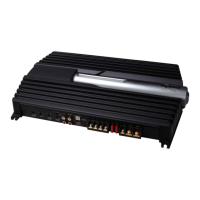
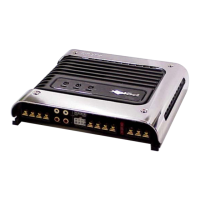
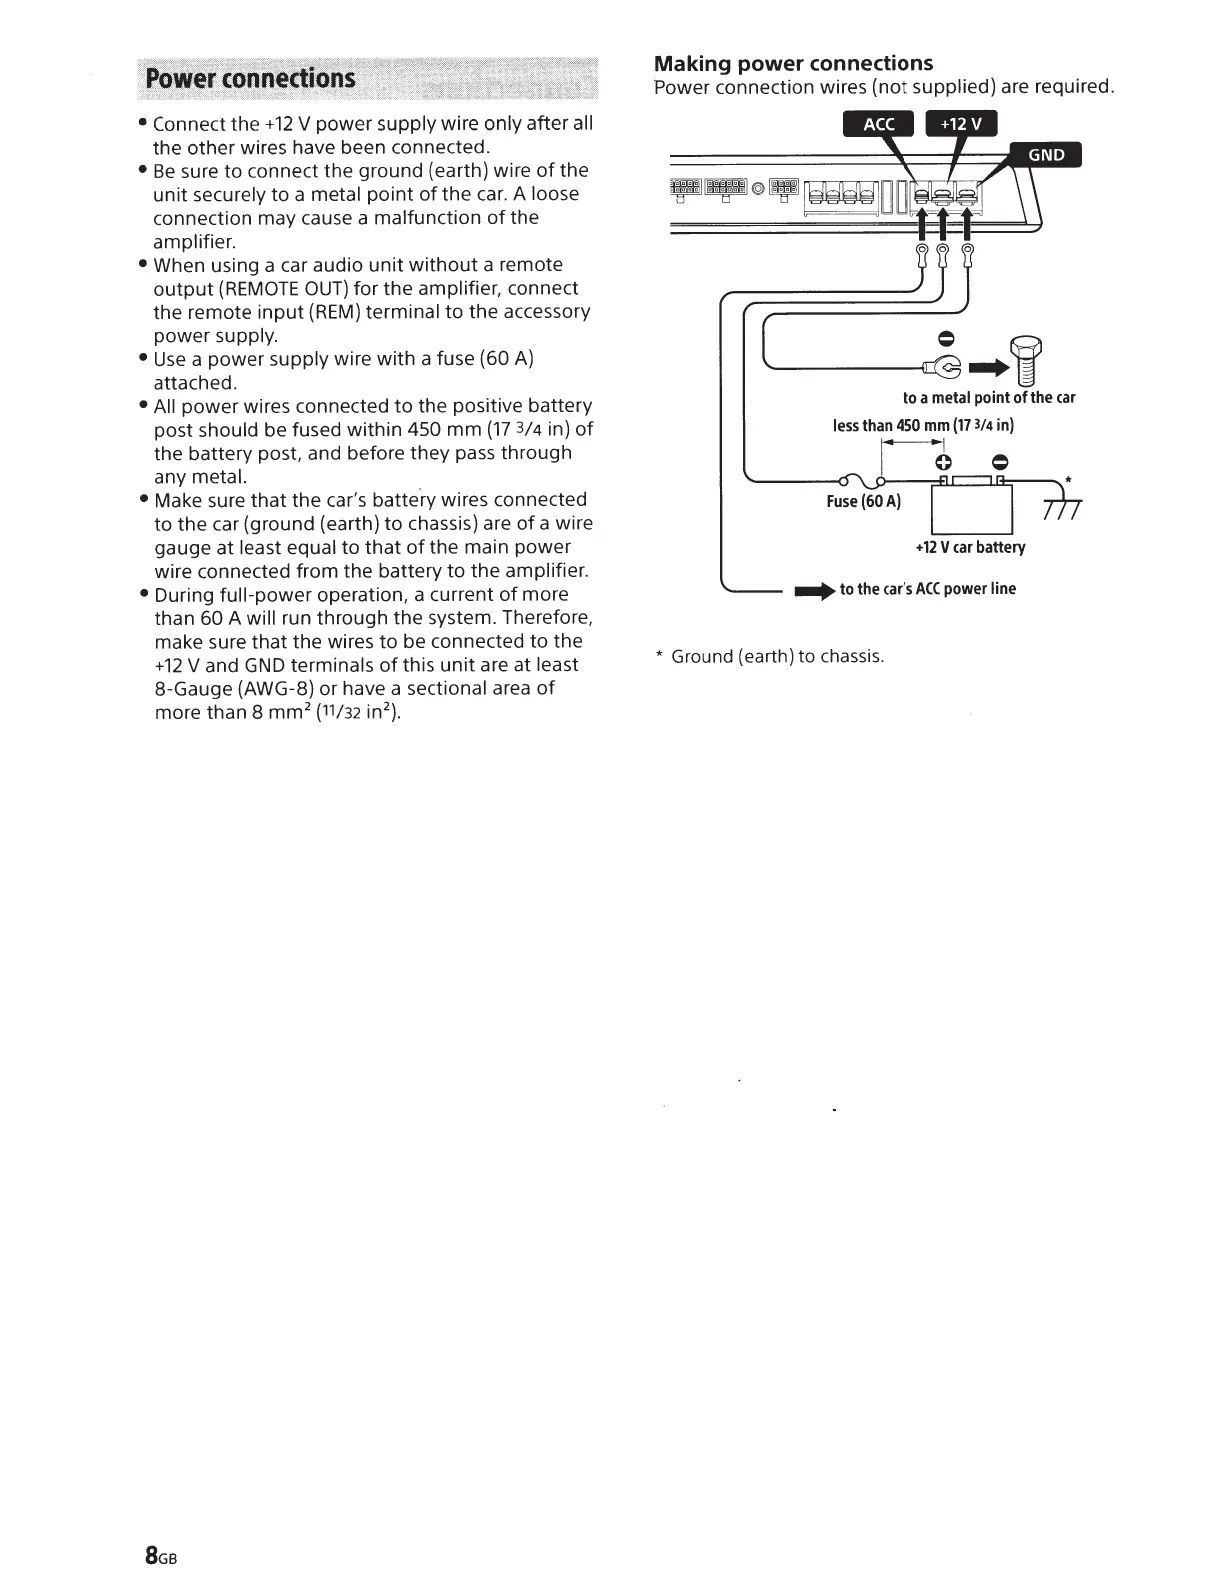
Making power connections
Power
connection wires
(not
supplied} are required.
'
~
..
~
to a
metal
point of the
car
less
than
450
mm
(17
3/4
in)
r6
=
+12
V
car
battery
....
to the
car's
ACC
power
line
* Ground (earth)
to
chassis.

 Loading...