11
Operation
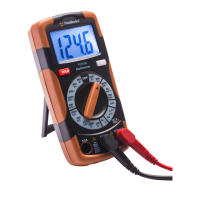
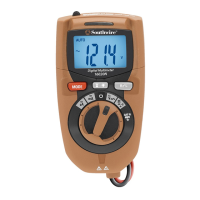
Frequency and % Duty Cycle Measurements
1. Set the rotary function switch to the
Hz% position.
2. Insert the black test lead into the
negative COM input jack and the red
test lead into the positive Hz% input
jack.
3. Press the MODE button to select
frequency or duty cycle. “Hz” or “%”
will appear on the LCD display.
4. Touch the test probe tips to the circuit
under test.
5. Read the frequency or % duty cycle on
the LCD display.
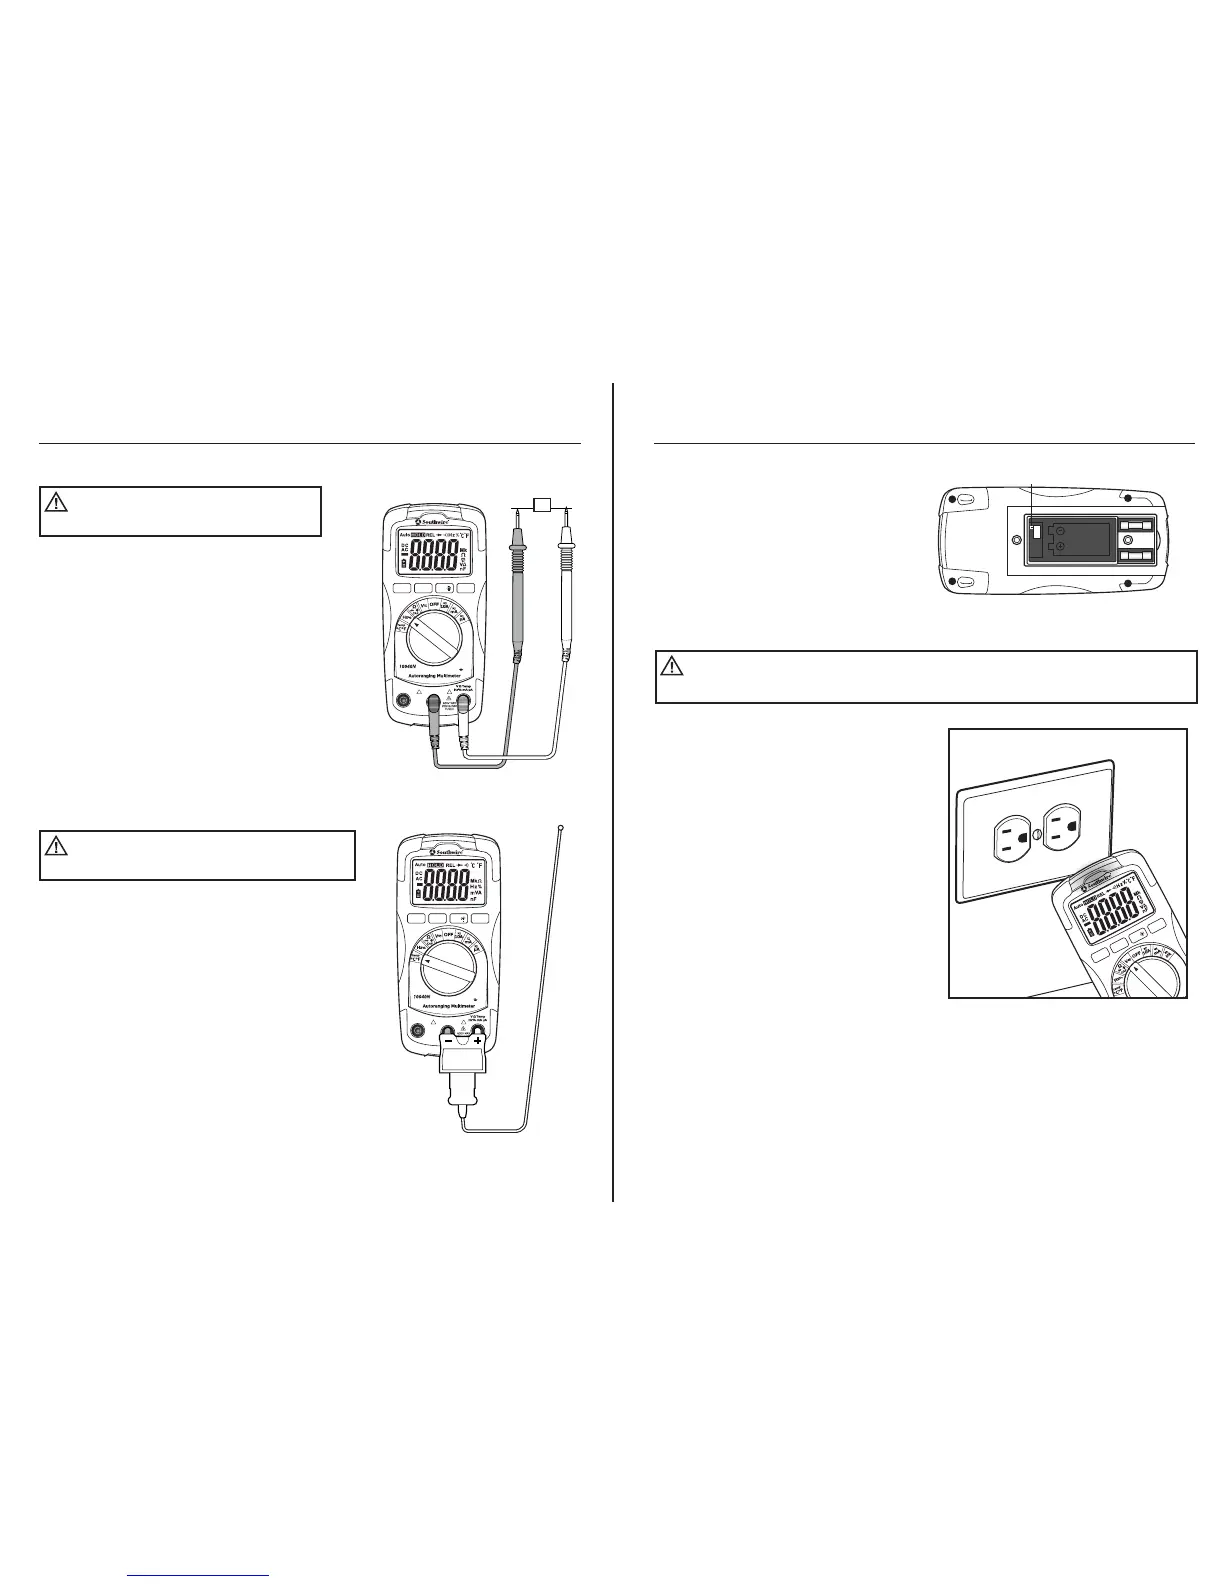
Temperature Measurements
1. Set the rotary function switch to the
Temp °C °F position.
2. Connect the Temperature Probe to the
Banana Plug Adapter. Insert the adapter
into the negative COM and the positive
Temp input jacks, making sure to
observe the correct polarity.
3. Touch the tip of the Temperature Probe
to the part you wish to measure. Keep
the probe touching the part under test
until the reading stabilizes (about 30 seconds).
4. Read the temperature on the LCD display.
NOTE: The meter is set to Fahrenheit.
If readings need to be in Centigrade, follow these instructions:
Observe all safety
precautions when working on live voltages.
WARNING:
To avoid electric shock, do
not let the temperature probe contact live circuits.
WARNING:
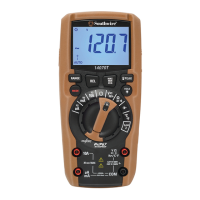
Auto
Power
Off
MODE
RANGE
HOLD
REL
COM
10A
For
30sec.
MAX
every
15 min
FUSED
! !
K-T Y PE
Hz
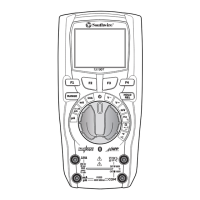
Auto
Power
Off
MODE
RANGE
HOLD
REL
COM
10A
For
30sec.
MAX
every
15 min
FUSED
! !
CAT III 600V
CAT III 600V
12
Operation
Temperature Measurements cont.
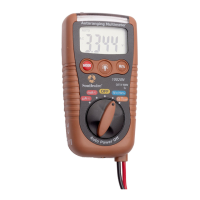
1. Refer to Battery Replacement
instructions in manual on how to
safely remove and replace
battery door.
2. Remove battery. Refer to drawing
for location of switch.
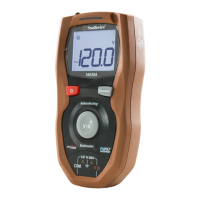
Non-Contact AC Voltage Detector (range 100 to 600V AC)
1. Non-contact voltage operates when
the function switch is in any position
except OFF. The detector does not
operate after Auto Power Off turns
the meter off.
2. Hold the meter close to the AC voltage.
3. If AC voltage within the specified
range is present, the detector light
will illuminate.
NOTE: Insulation type and thickness,
and distance from the voltage source
and other factors may effect operation.
Use other methods to verify live voltage
if there is any uncertainty.
NOTE: The detector is designed with
high sensitivity. Static electricity or other
sources of energy may randomly trip the
sensor. This is normal operation.
NOTE: The non-contact voltage detector simply detects the presence of voltage -
it will not measure and display the voltage on the LCD screen
Risk of Electrocution. Before use, always test the Voltage
Detector on a known live circuit to verify proper operation
WARNING:
SWITCH
Auto
Power
Off
MODE
RANGE
HOLD
REL