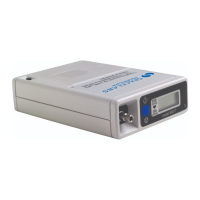
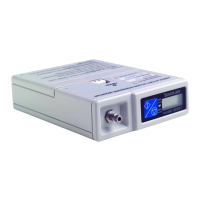
Ambulatory Blood Pressure Monitor 90217 Service Manual
4-7
Maintenance
Calibration Setup
1 Verify that the IR cable is connected to the serial port on the computer system and to the IR port
on the back of the 90217 (when communicating correctly, the monitor will display 9999 and
occasionally 2999).
2 Start the “X” program by changing to the subdirectory where the file XMAIN.exe is located and
typing: X and pressing the Enter key.
3 When the computer establishes contact with the monitor, the Test Utility Main Menu appears:
From this menu, select MAKE CONTACT WITH MONITOR by typing the item number
appearing to the left of this menu item (2) and pressing Enter.
Verify that the screen clears and momentarily displays SPEED 4 IS ENGAGED (and other
miscellaneous information). If the RAM code is corrupted, the program downloads code.
4 At the conclusion of the above process, the Manufacturing Test Utility Main Menu reappears
with additional menu items and the monitor’s RAM and ROM code version numbers:
5 Select 2. INITIALIZE MONITOR.
6 Verify that the screen displays ABP RESET SUCCESSFUL and CLOCK SUCCESSFULLY
SET and that the Main Menu screen again appears.
1. SYSTEM CONFIGURATION
2. MAKE CONTACT WITH MONITOR.
ENTER SELECTION__
1. SYSTEM CONFIGURATION
2. INITIALIZE MONITOR.
3. DOWNLOAD 90217 RAM CODE.
4. EXHAUSTIVE MEMORY TEST.
5. SET 90217 GAIN AND OFFSET.
7. SPEAKER TEST.
8. PUMP TEST.
9. HARDWARE OVERPRESSURE TEST.
10. COMMUNICATIONS TEST.
11. MANOMETER MODE.
12. RESET FOR ANOTHER MONITOR.
ENTER SELECTION __
ROM ID = 90217 V 03.02.xx
RAM ID = 90217 V 03.02-xx