14
1" (2.54 cm)
7.
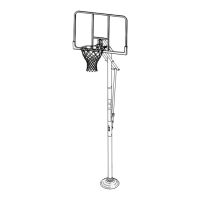
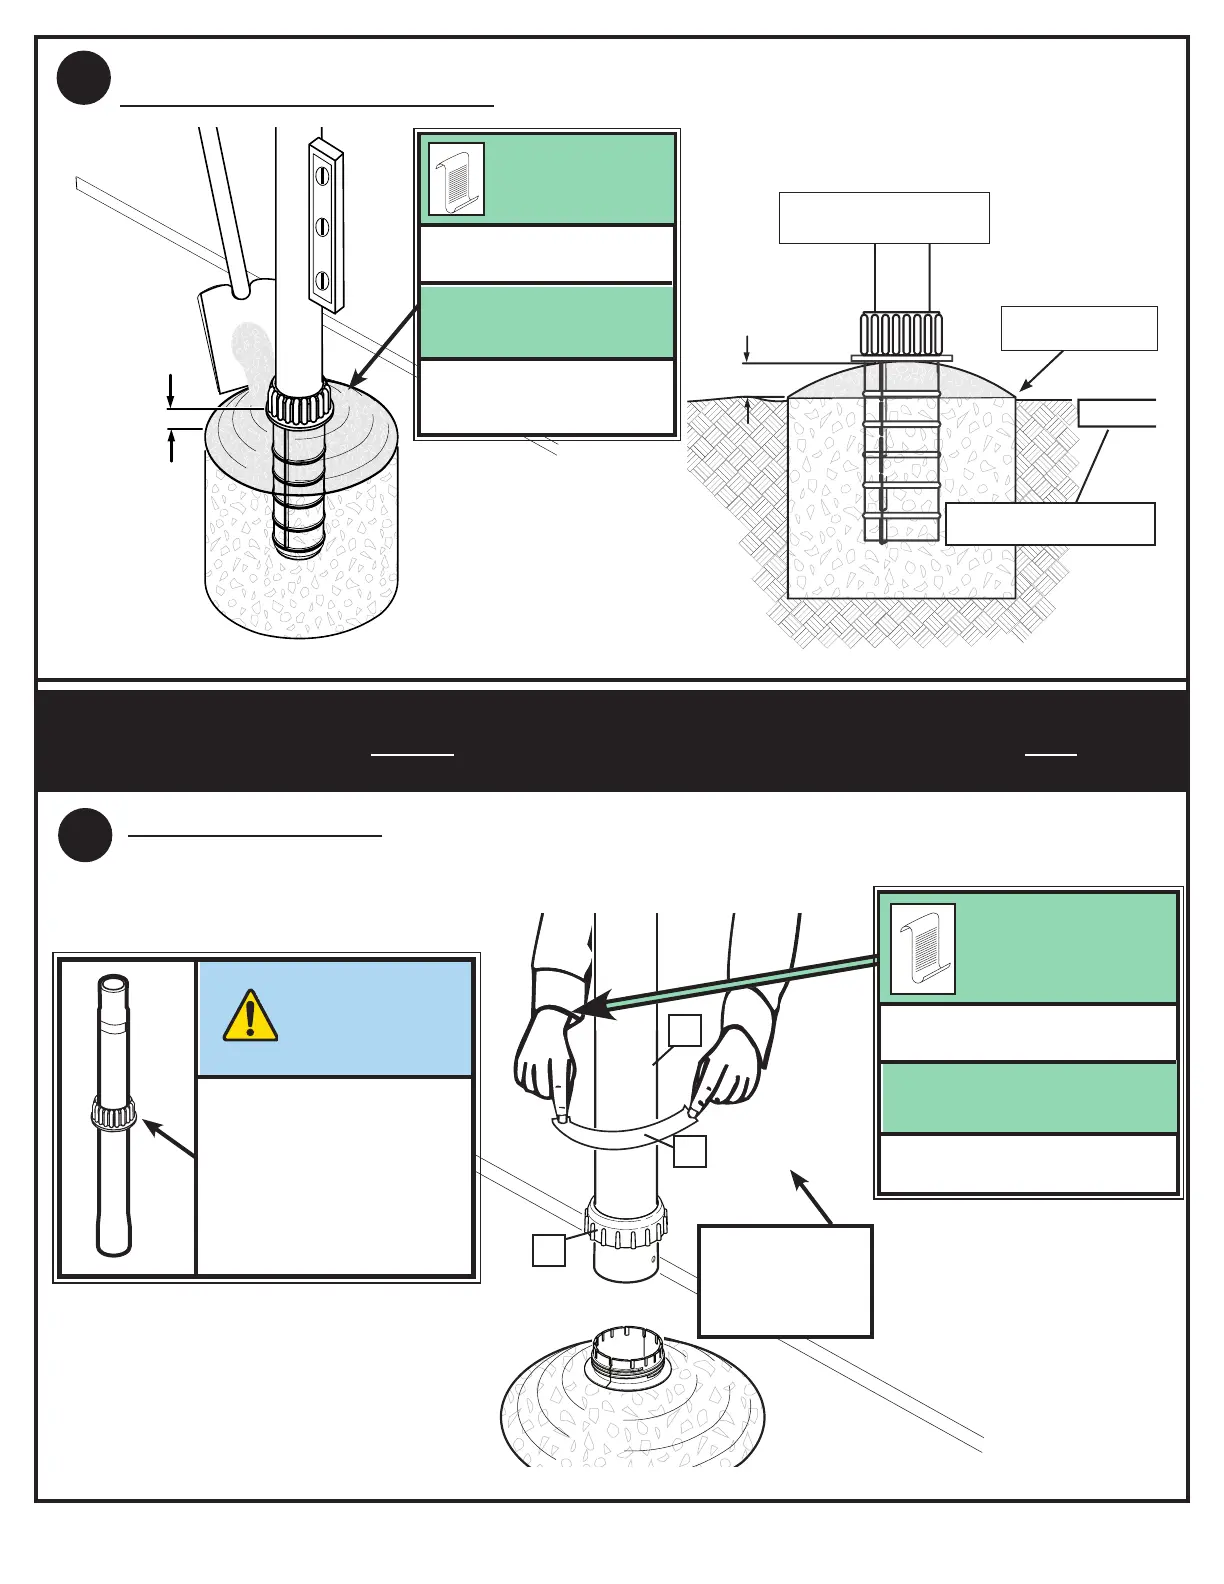
Tamp down the concrete to release air pockets and build the drainage hill. Level the pole section in all directions
several times while the concrete is curing.
1" (2.54 cm)
SIDE VIEW
DRAINAGE HILL
PLAYING SURFACE
Make a reference mark here for
anti-skid tape..
NOTE A:
Keep flange pushed down to
concrete and leveled.
NOTE B:
IMPORTANT! WAIT A MINIMUM OF 24 HOURS BEFORE GOING ON TO NEXT STEP. CONCRETE MUST CURE.
After the concrete has cured, remove the bottom pole section from ground sleeve (4). Place the anti-skid tape (6)
around the bottom area of bottom pole (see note A).
5
8.
6
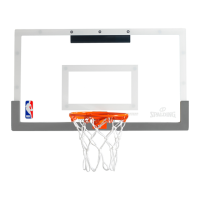
Playing Surface
Keep ground sleeve cap on
bottom pole.
IMPORTANT!
3
Place top edge of anti-skid tape on
mark made in step 1.
NOTE A:
Tape prevents the pole from rotating
during play.
NOTE B: