41
WARNING! Due to the complexity of the belt tensioning, a high degree of
mechanical expertise, skill, training, and specialty tools are needed. The
service of the belt should be performed by an Authorized Specialized Retailer.
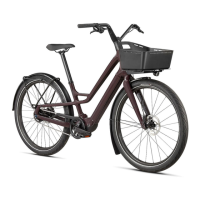
12.3. SEATSTAY COUPLER
The Como is equipped with a seatstay coupler which creates a gap in the frame so that a belt
can be easily installed or removed.
Remove the rear wheel and remove the belt from the rear sprocket (section 12.1).
Remove the bolts of the rear rack from the seatstay with a 4 mm hex key (fig. 7.4).
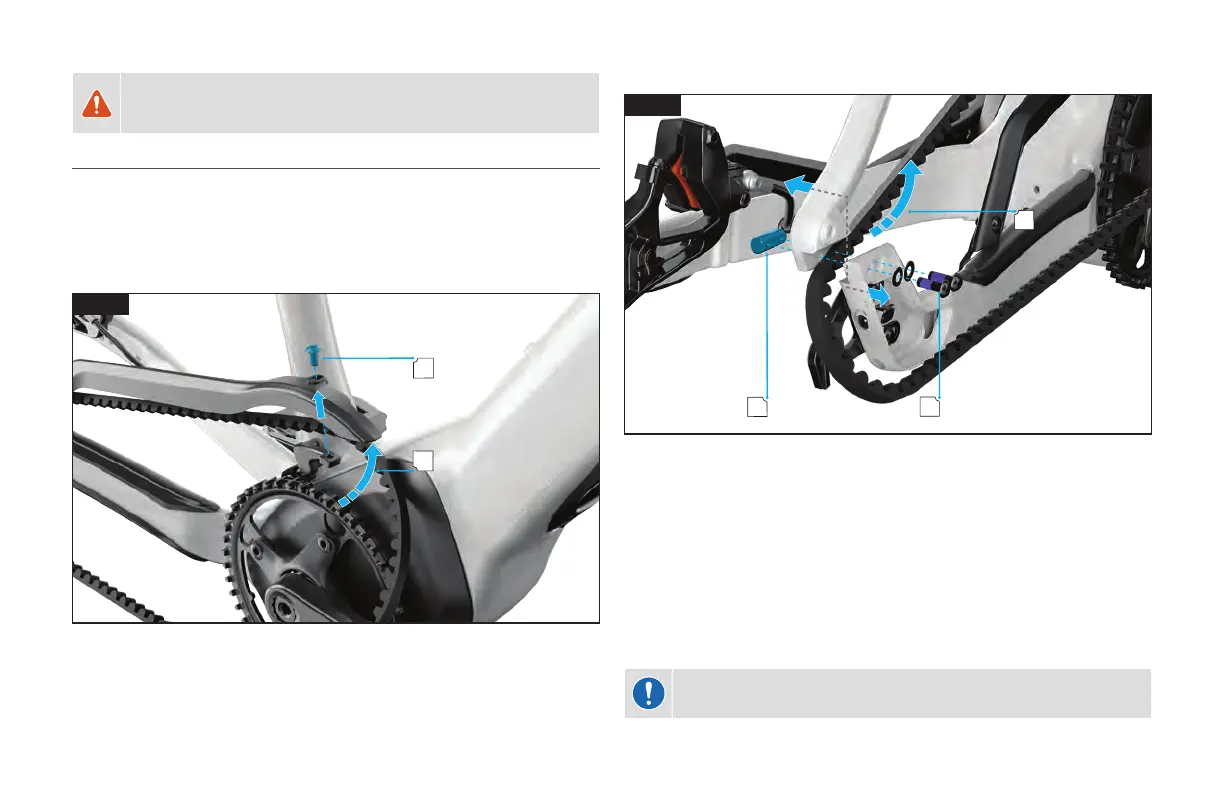
REMOVE THE CHAIN/BELT GUARD
B
A
12.12
Fig. 12.12
Remove the front chain guard bolt from the top of the chain guard using a 3 mm hex key (A).
Lift the chain guard up and then slide the belt between the chain guard and the frame (B).
OPEN THE COUPLER AND REMOVE THE BELT
A
B
C
12.13
Fig. 12.13
Remove the adjustable dropout covers (fig. 12.8 A-B)
Using a TX25 wrench, remove the upper seatstay coupler bolts (A) and the seatstay
coupler barrel (B) from the dropout.
Pull the chainstay and seatstay apart and slide the belt carefully through the gap in the
seatstay (C).
Reverse the steps to install a new belt.
Using a TX25 wrench, torque the coupler bolts to 4 Nm / 35 in-lbf.
Replace the rear rack onto the seatstay. Using a 4 mm hex key, torque the bolts to 9 Nm /
80 in-lbf.
CAUTION: Install and torque the seatstay coupler to specification before
tensioning the belt.