D1835 0113S
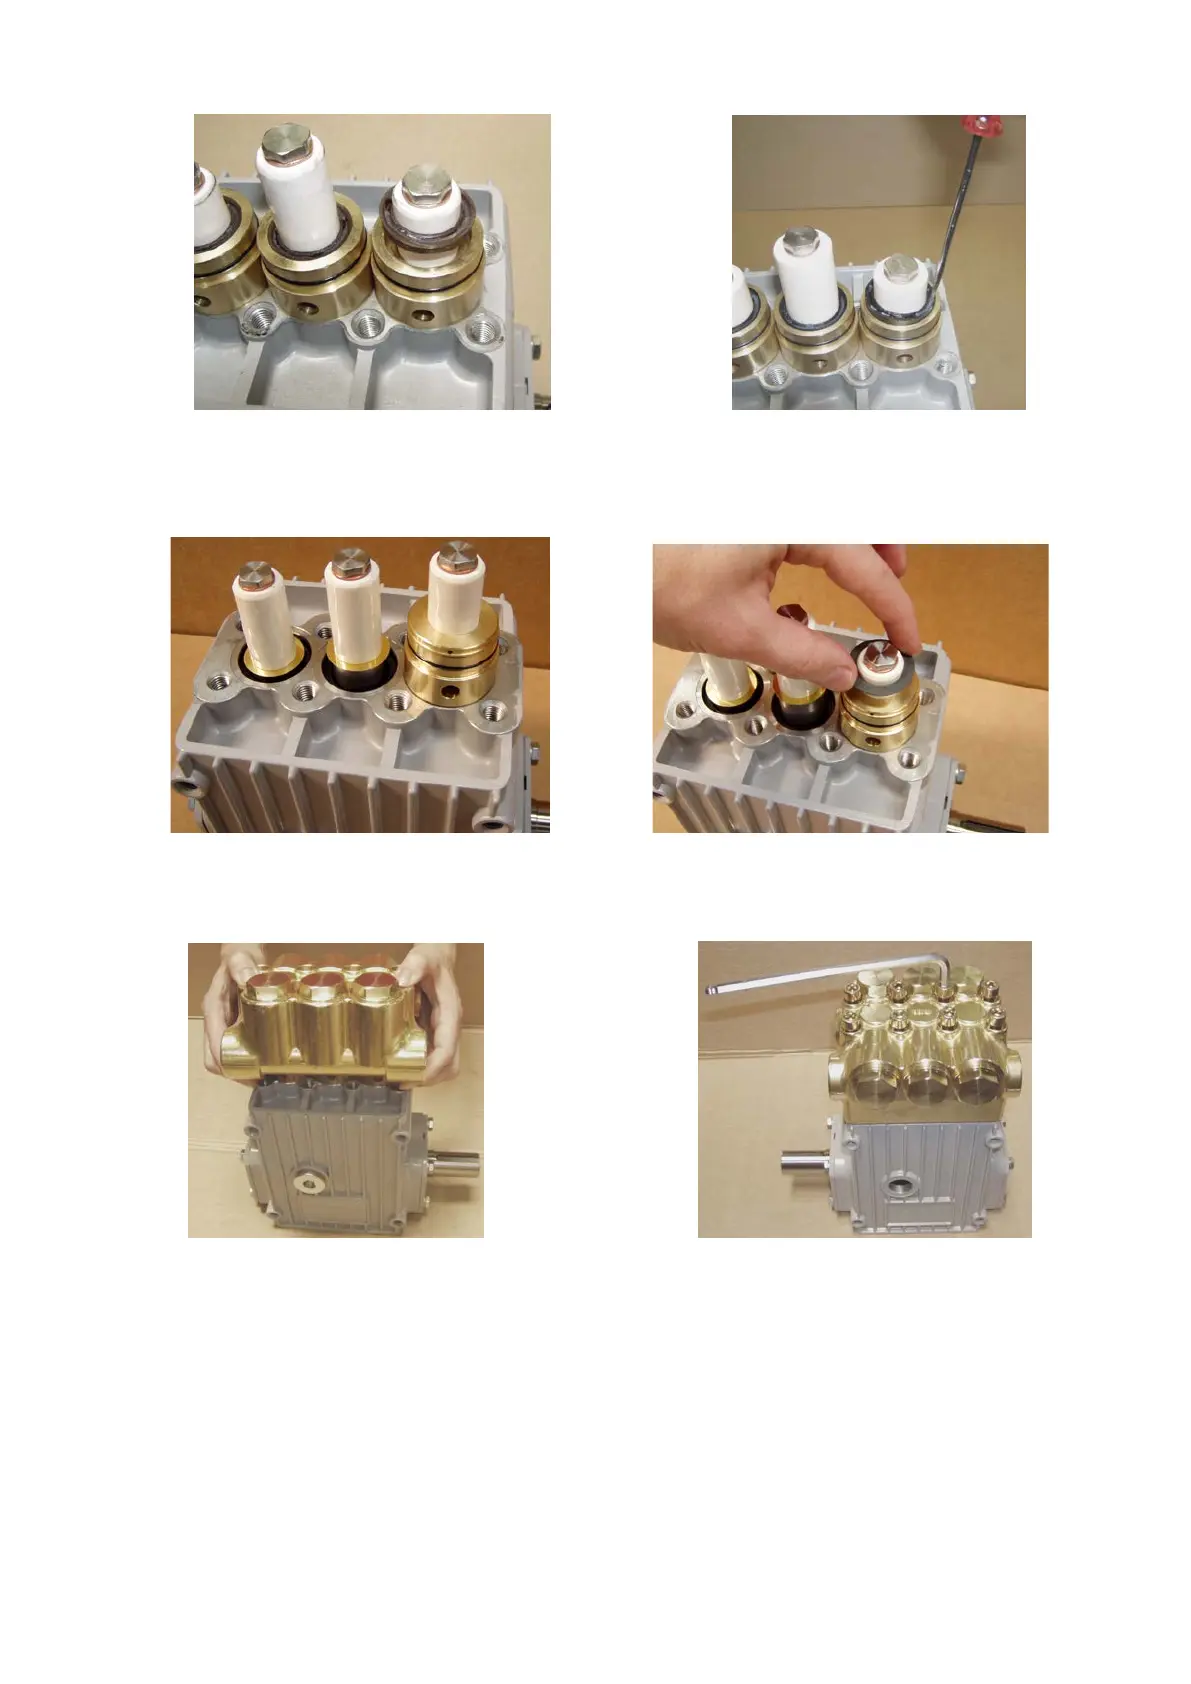
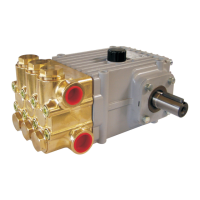
Ohne Montagehilfe werden die Dichtungen auf die Keramikplunger ge-
steckt (Bild 17) und
mit einem kleinen Schrau
bendreher durch Drücken in
den Nutgrund des Dichtungsprofils in die Aufnahme geschoben (Bild 18).
If a mounting aid is not available, thread the seals on to the ceramic
plunger
s (photo 17), then placing the end of a small flat scr
ewdriver into
the seal groove, push the seal into the retainer (photo 18).
Bild / Photo 17 Bild / Photo 18
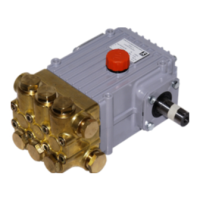
-Ringe (25) mit Absatz nach unten auf die Dichtungsau
und
die Teflonstützringe (24) auf die Keramik
schieben (Bild 20).
With the recess side facing down, place the drip return rings (25) on to
the seal retainers (photo 19); slide the teflon support rings (24) on to
the ceramic (photo 20).
Bild / Photo 19 Bild / Photo 20
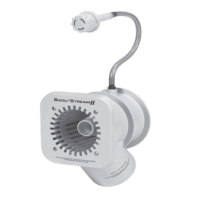
Anschließend den Pumpenkopf ohne zu verkanten aufstecken (Bild 21)
und die Innensechskantschrauben (34) mit 49 Nm anziehen (Bild 22).
Then mount the pump head squarely (photo 21), and tighten the hexa-
gon screws (34) to 49 Nm (photo 22).
Bild / Photo 21 Bild / Photo 22