20
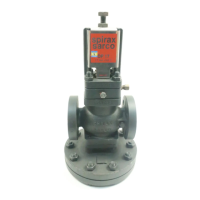
9. Remove the pilot valve housing.
10. Ensure that the main valve return spring is still in position. Any trapped dirt or scale
should be removed from the pilot valve assembly. If appropriate, the complete pilot
valve chamber assembly can be refitted following Steps 14 to 21. If necessary, the
complete pilot valve chamber assembly should be replaced as follows:
Note: The pilot valve assembly is no longer available as a standard spare. Because of
the difficult process described in Step 13, it has now been discontinued. The complete
pilot valve chamber assembly is the recognised spare. However for customers with pilot
valves only still in stock, these can be used by following Steps 11-13. This assembly
contains 2 off PTFE seals. The following handling precautions should be observed.
Handling precautions for PTFE
Within its working temperature range PTFE is a completely inert material, but when
heated to its sintering temperature it gives rise to gaseous decomposition products or
fumes which can produce unpleasant effects if inhaled. Fumes can be produced during
processing: for example, when the material is heated to sinter it, or when brazed
connections are being made to cable insulated PTFE. The inhalation of these fumes is
easily prevented by applying local exhaust ventilation to atmosphere as near to their
source as possible.
Smoking should be prohibited in workshops where PTFE is handled because tobacco
contaminated with PTFE will during burning give rise to polymer fumes. It is therefore
important to avoid contamination of clothing, especially the pockets, with PTFE and to
maintain a reasonable standard or personal cleanliness by washing hands and removing
any PTFE particles lodged under the fingernails.
11. Unscrew and remove the pilot valve assembly (22 mm A/F)
12. Screw the new pilot valve into the housing. Torque 45 - 50 N m (33 - 37 lbf ft).
13. Check that there is a very slight clearance between the top of the plunger and a straight
edge placed across the diaphragm location recess. (N.B. Because of production
tolerances the plunger is supplied slightly longer than is always required and it will
generally be necessary to grind or machine material off the top end to give the correct
length). After machining make sure the sharp edges are removed from the top of the
plunger as these could damage the diaphragm.
14. Remove the screen and clean. Ensure that the gasket faces are clean.
15. Ensure that the main valve return spring is still in position.
16. Fit new gasket.
17. Replace the screen. Assemble the pilot valve housing.
18. Refit the two diaphragms making sure that they are fitted the same way round as they
were removed and that all contact faces are clean. Diaphragms showing signs of wear
or damage should be replaced.
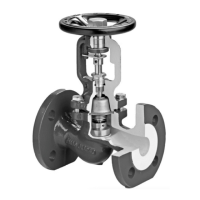
19. DP17, DP17E, DP17G, DP17Y and DP27G
Replace bottom spring plate.