22
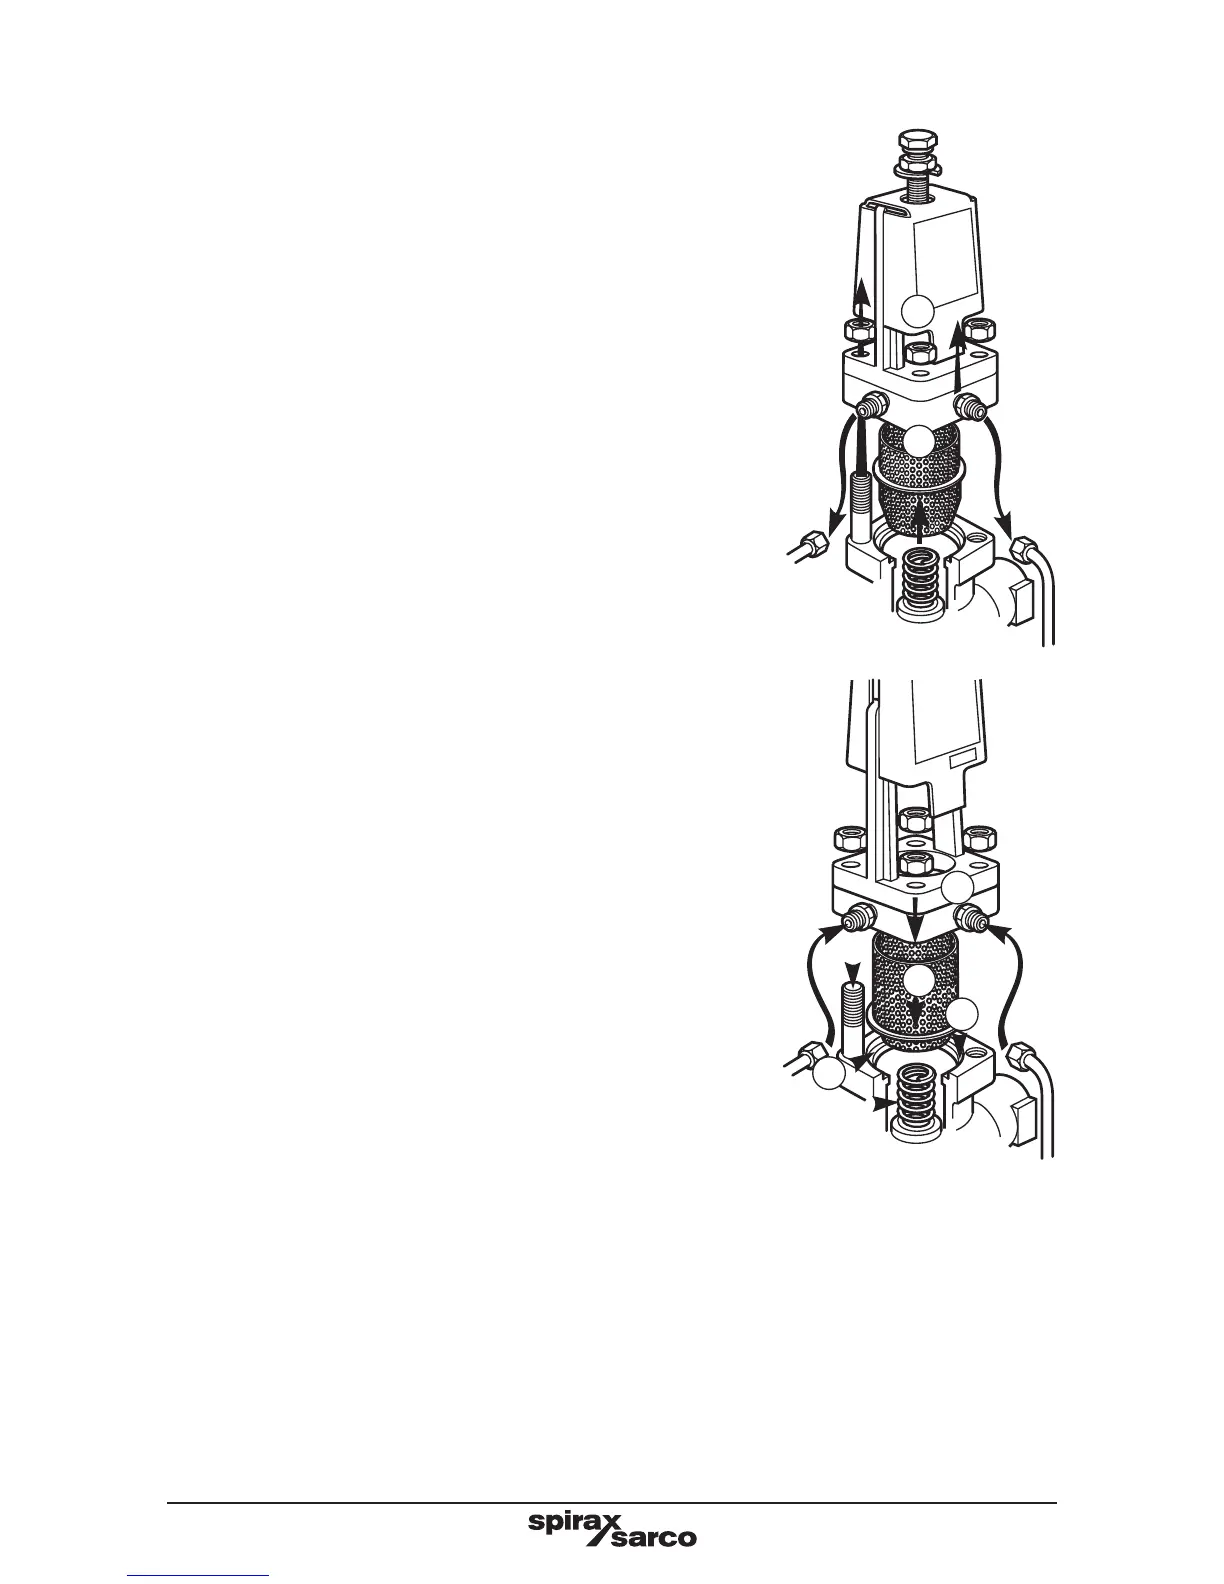
To clean the strainer screen
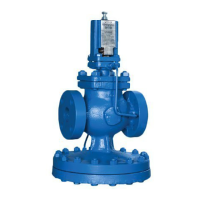
DP17, DP17E, DP17G, DP17Y and DP27G
Isolate the pressure reducing valve and zero the
pressure. Follow Steps 1 to 5 then proceed.
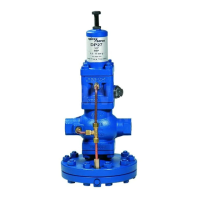
DP17R
Isolate the actuating air supply and zero the
pressure.
22.Unscrew the unions and release the
pipework.
23.Unscrew the nuts. Note that this has already
been actioned under step 5 for the DP27G.
24.DP17, DP17E, DP17G, DP17Y and DP27G
Remove the pilot valve housing; complete
with the spring housing assembly.
DP17R
Remove the pilot valve housing, complete
with air control block.
25.Remove the main valve screen and clean.
26.Ensure that the gasket faces are clean.
27. Check that the main valve return spring is in
position.
28.Fit a new gasket.
29.Replace the main valve screen.
30.DP17, DP17E, DP17G and DP17Y
Assemble the pilot valve housing complete
with the spring housing assembly and tighten
the nuts to the recommended torques shown
in Table 1, page 21.
DP17R
Assemble the pilot valve housing complete
with the air control block and tighten the
nuts to the recommended torques shown in
Table 1, page 21.
31. Refit the pipework and retighten the unions
to ensure a tight seal.
Bring the valve back into commission by
following as many steps as are necessary in
Section 4, page 16.
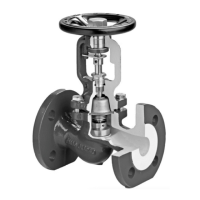
DP17 shown
DP17 shown
23
22 22
25
24
31
27
31
30
29
28
26