IM-S24-15 CH Issue 4
19
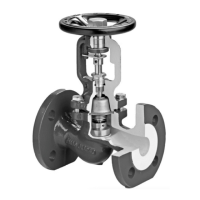
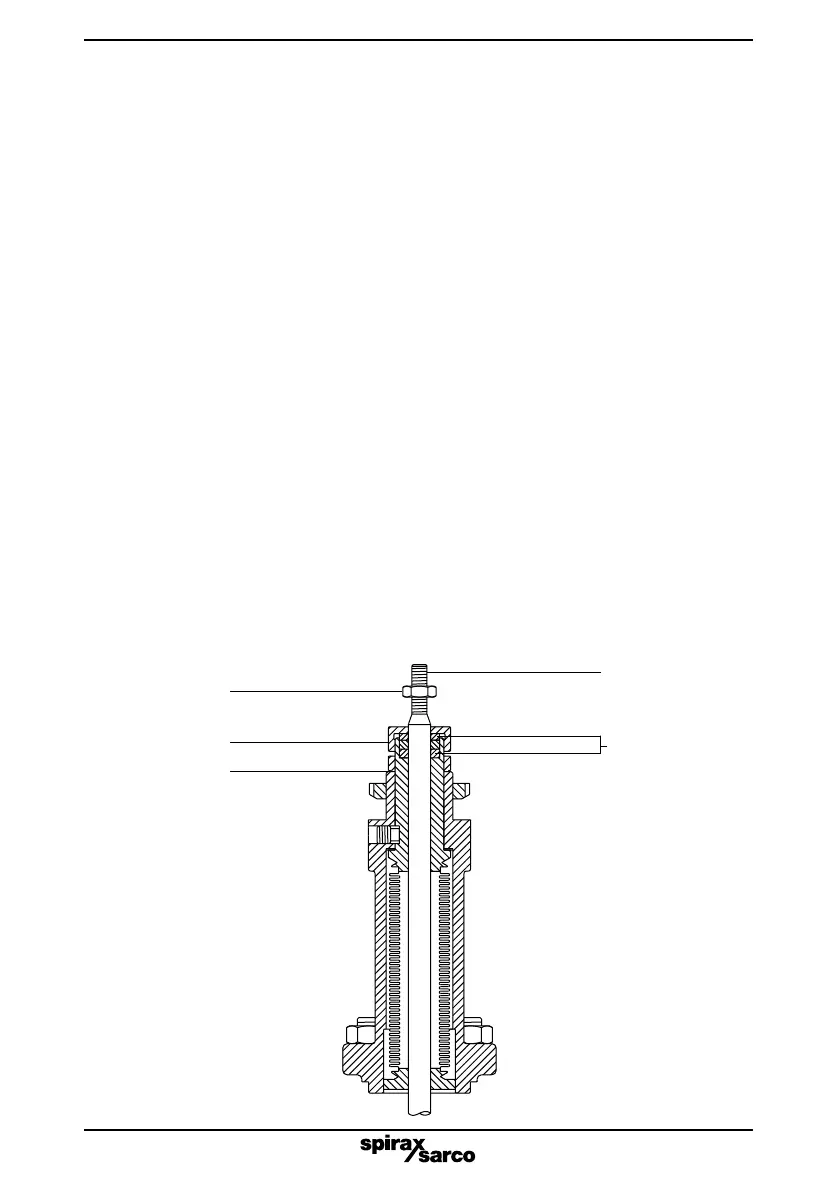
4.6 Procedure for renewing stem seals on bellows sealed valves
Note: These valves are fitted with a bellows stem seal as the primary seal together with a
supplementary graphite stem seal. Any leakage from the stem will indicate a failure of the
bellows seal. In normal service the supplementary graphite seal should be left finger tight
and only tightened to provide a temporary stem seal if the bellows stem seal is leaking.
- Isolate the valve on both sides.
- Remove the actuator from the valve. Note: take care not to rotate the valve stem when
removing the actuator from the valve, since this will destroy the bellows. Refer to the
Installation and Maintenance Instructions covering Spirax Sarco actuators.
Caution: Care should be taken in removing the stem seal if the bellows has failed, since
fluid under pressure may be trapped between the isolating valves.
- Remove the lock-nut (7).
- Unscrew the gland nut (8), remove the gland nut gasket (6), remove and discard the stem
seal set (10 + 15).
- Examine the parts for signs of damage or deterioration and renew as necessary. Note the
stem seal set on this valve is intended for emergency use in the event of bellows failure.
Score marks of scaly deposits on the valve stem (5) will impair sealing efficiency.
- Clean the parts taking care to avoid scratching the stem or bore of the bellows assembly
top end.
- New graphite stem seal set (10 + 15), should be fitted into the bellows assembly top end,
care being taken to avoid damage (see Section 4.3).
- Refit the gland nut gasket (6) and finger tighten the gland nut (8) over the valve stem.
- Ensure the valve stem (5) moves freely.
- Refit the lock-nut (7).
7
8
5
10 and 15
6
Fig. 6
 Loading...