COMPUTER INSTRUCTIONS
COMPUTER OPERATION DESCRIPTIONS
A. B.
1. After power is on and in the Date/Clock setting mode, the computer will skip to program setting
mode automatically after 20 seconds of inactivity. Or, you can press the ENTER button and hold
it down for two seconds to skip to program setting mode directly.
2. Under STOP mode, press the MODE button then press RECOVERY button and hold them down
together for two seconds, then the computer will skip to the Date/Clock setting mode. You can
change the Date/Clock, and reset or cancel the alarm setting. To cancel the alarm setting, press
UP or DOWN button until the “
”
symbol
disappear, then press ENTER button.
16
The “ ”
symbol
must appear.
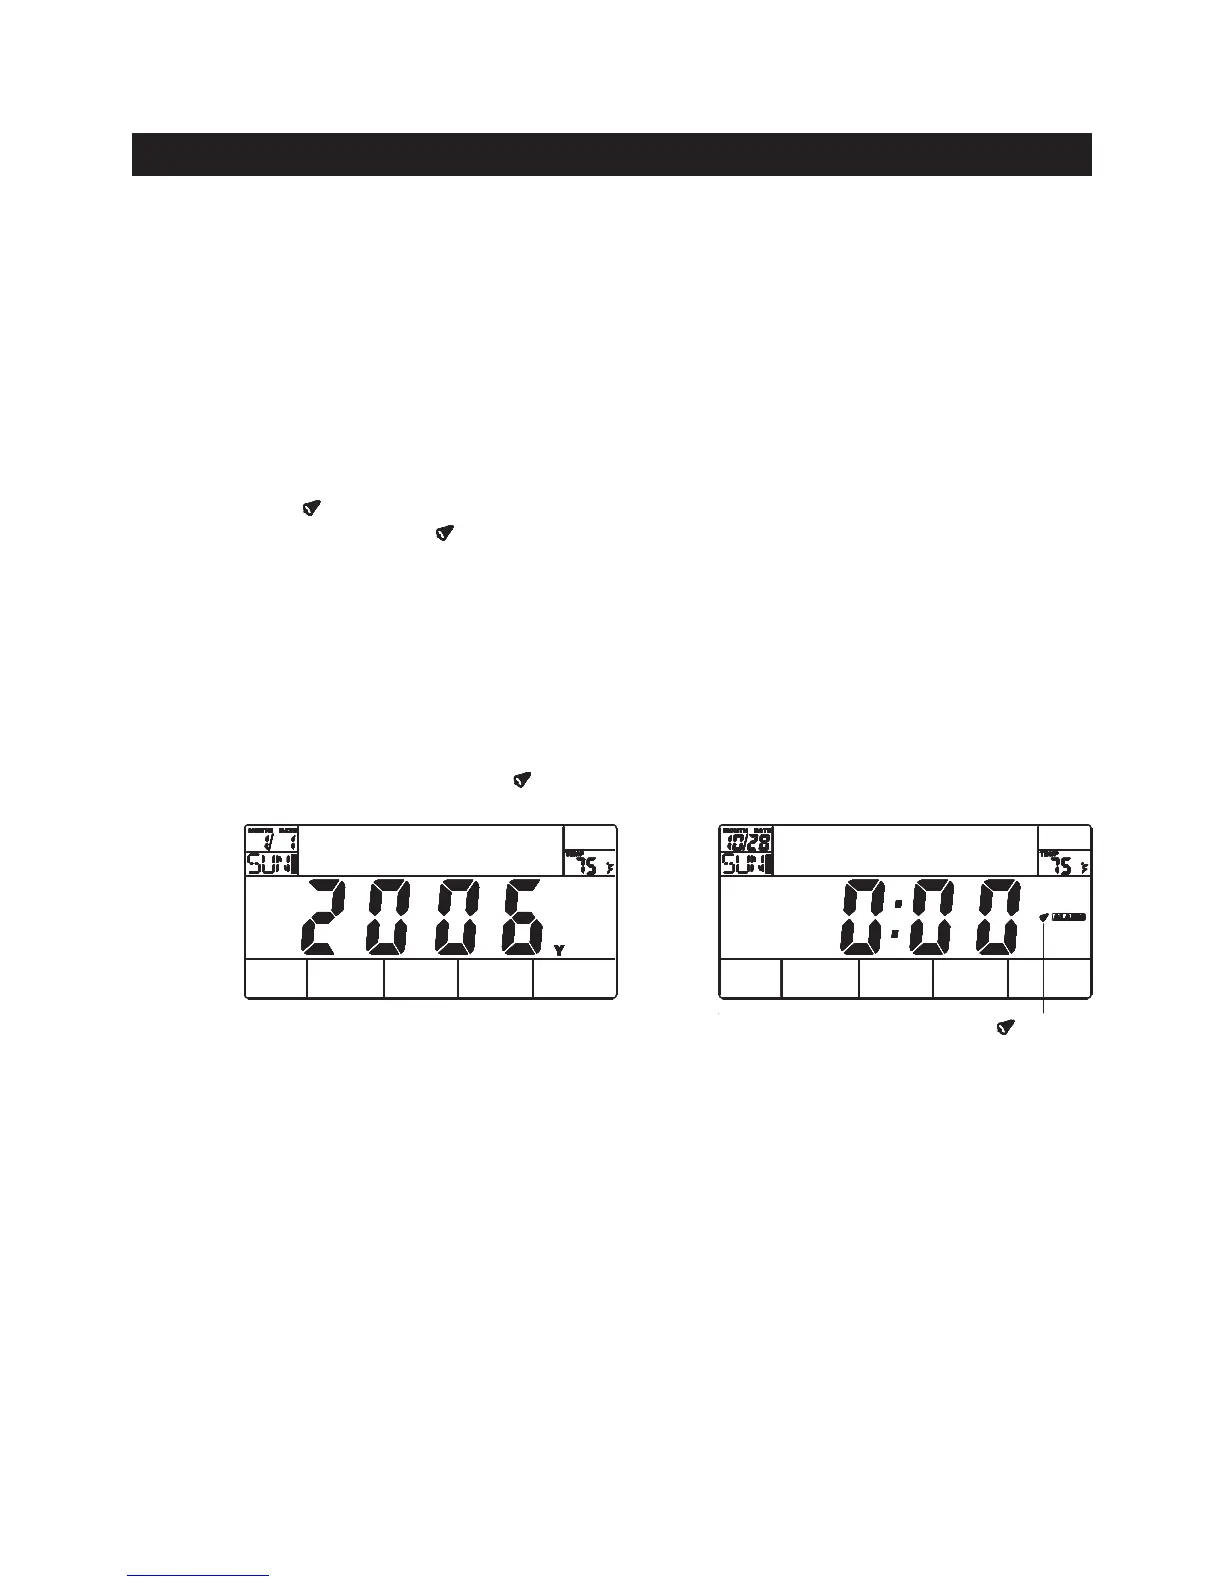
DATE / CLOCK SET UP (Only can be done right after the unit is powered on by the ADAPTER(95)).
The computer uses the ADAPTER(95) as a power source. The date and clock must be reset anytime when
you plug the ADAPTER(95) into an electrical outlet to power on the AVARI® Programmable Stepper.
1. Date/Clock Setting: Once power is on, the computer will then display all items on the screen and a
“beep” will sound for two seconds. The Date/Clock setting display will be blinking as shown in illustration
A. Use UP, DOWN, and ENTER buttons to set the date and clock.
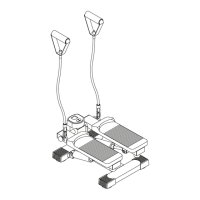
2. Alarm Setting: Right after setting the Clock, the computer displays ashing “ALARM” for presetting
the time for the alarm function. You can press ENTER button to pass the setting, or press UP or DOWN
button until the “ ”
symbol
appears. Then press ENTER button and use UP, DOWN, and ENTER buttons
to set the time for alarm. The “ ”
symbol
will always stay on the LCD display after setting up the alarm
time. Refer to illustration 2. Once the alarm is ringing, press any button to stop it.
NOTE: