- 34 -
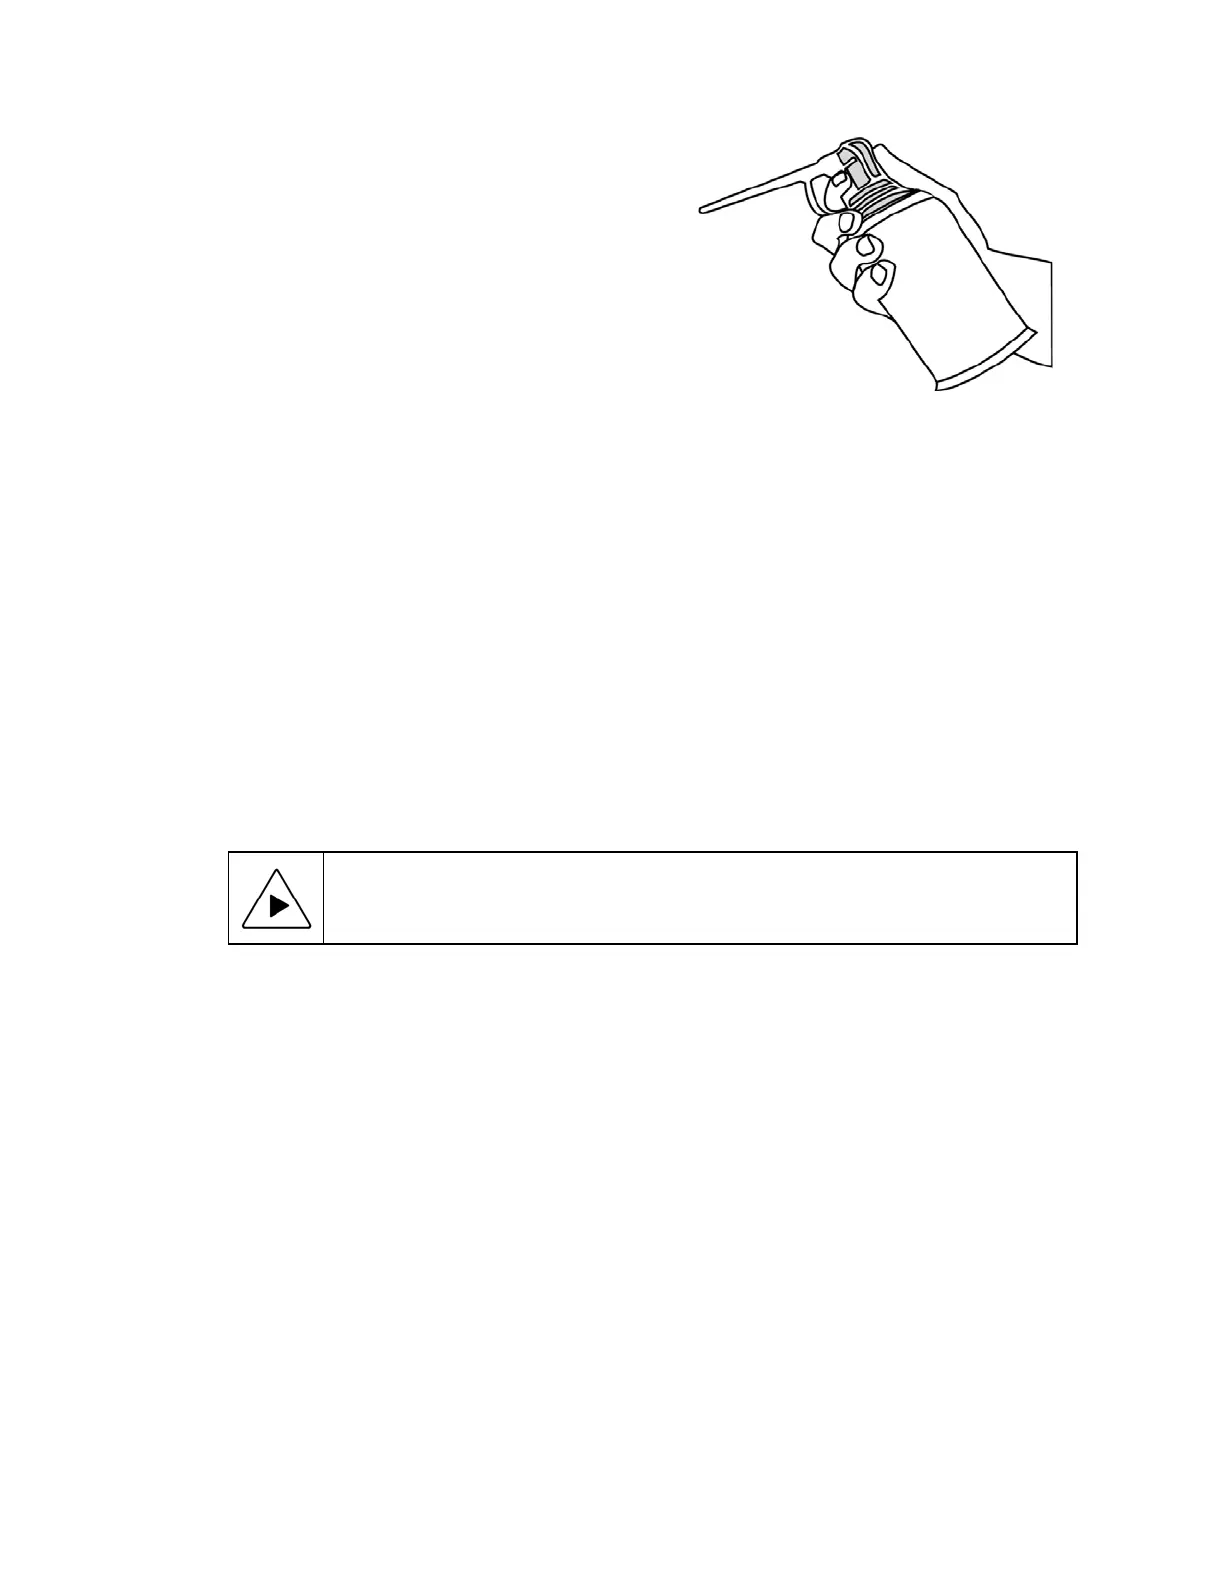
If a lens is covered with loose dust, first try blowing
off this dust using a can of optical grade (oil-free)
canned compressed air. Be careful not to shake
the lens, or propellant may blow onto the lens. As
alternative, use a lens brush to gently wipe off the
dust.
If the lens is soiled with greasy deposits which
cannot be blown or brushed off, use an alcohol-
based commercial lens cleaner and a lens tissue
or a lens cloth. These items are available from
camera stores. Apply the lens cleaner generously
to dissolve the grease, and then blot off the lens
cleaner and dissolved grease using minimum
motion. Avoid rubbing the lens, since hard
particles from the deposit or the lens cloth could scratch the optical coatings.
If the greasy deposits do not come off with the lens cleaner, use a stronger solvent such as
reagent-grade acetone as a last resort.
Gently wipe the lens surface while moving the lens cloth
to always present a clean surface to the lens.
Wipe in a circular manner moving from the center
of the lens toward the outer edge
. Do not reuse the lens cloth to avoid redepositing contaminants.
6.4.3 Cleaning Mechanical Parts
To ensure a long, trouble-free service life, wipe down the system regularly to remove any dust or
dirt from the
system.
Most critical components are covered and require no user service
.
Should
the stage or column mechanics require service, please contact your Starrett representative.
6.5 Lubrication
Every 6 months, lead-screws may be lubricated with a small amount of Tri-Flow®
.
Apply to each
screw and traverse the stage or column through the entire range of travel several times to
distribute the lubricant
. Use
a clean soft cloth or paper towel to wipe up any excess
.
NOTE:
Use only approved lubricants, as inappropriate lubricants can damage
system components.
Approved l
ubricants may be obtained by contacting Starrett
or
an authorized Starrett representative.
6.6 Auxiliary Lens Replacement (Zoom Lens)
Auxiliary (aux) lenses are available to alter the magnification range of the Manual / CNC zoom
lens optics. When changing the auxiliary lens, avoid touching any lens surfaces. No auxiliary lens
is required for the standard 1X range of the system.
Steps to change the lens:
1.
Remove the ring light prior to changing the lens.
2.
If an auxiliary lens is in place, unscrew the lens counterclockwise.
3.
Verify the new lens and exposed lens of the primary optics assembly are clean and dust free.
4.
Carefully screw in the aux lens clockwise, finger-tight only. Do not over-tighten the lens.
5.
Update the lens setting in the QC5000 software
. R
efer to the QC5000 manual for details.
Optical compressed air