Instruction manual
3
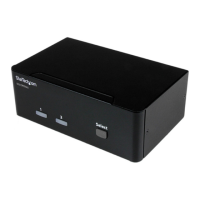
KVM switch setup
Connect a console to the KVM switch
1. Turn o your computer and any devices or peripherals that are connected to it (for
example, printers, external hard drives, and so on).
2. Connect a monitor to the Console DisplayPort port.
3. If necessary, connect a second monitor to the second Console DisplayPort port.
4. Connect a USB mouse to the Console USB mouse port.
5. Connect a USB keyboard to the Console USB keyboard port.
6. If necessary, do the following:
• Connect speakers or a headset to the Console audio port.
• Connect a microphone to the Console microphone port.
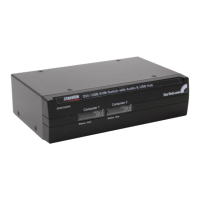
Connect computers to the KVM switch
You can connect one or two computers to the KVM switch.
1. Turn o the computers that you want to connect to the KVM switch and any devices
or peripherals that are connected to the computers (for example, printers, external
hard drives, and so on).
2. Connect a male-to-male DisplayPort cable to the DisplayPort port on the computer
and to the PC 1 DisplayPort port.
3. Connect a USB A-to-B cable to the USB port on the computer and to the PC 1 USB
port.
4. To include audio in your setup, connect a set of audio cables to the speaker port on
your computer and to the PC 1 audio port.
5. To add a microphone to your setup, connect a microphone to the microphone port
on your computer and to the PC 1 microphone port.
6. To connect a second computer, repeat steps 1 to 5 and use the PC 2 connections.
7. Connect the universal power adapter to a wall outlet and to the Power input port.
8. Turn on the computer and any devices or peripherals that are connected to it.
Wait for the computer to nish loading and then test the keyboard and mouse
functionality of the connected computer.
9. If a second computer is connected to the KVM switch, press the Select button to
change the focus to the second computer, and repeat step 8.
You should now be able to switch between the connected computers. If you
experience issues with this KVM switch, see the “Troubleshooting” section of the
manual.