Do you have a question about the Steelcase FrameOne and is the answer not in the manual?
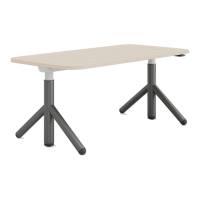
Prepare workstation and assemble FrameOne bench frame prior to screen installation.
Attach L brackets and FrameOne leg brackets to the screen, and prepare wood spacers.
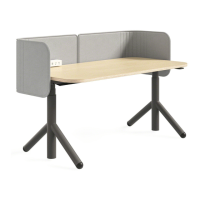
Hang the screen on the FrameOne leg and align it horizontally with the bench rail.
Use spacers to create a gap, mark pilot holes, stamp, and drill holes in the FrameOne leg.
Re-attach leg brackets to the screen and attach them to the FrameOne legs.
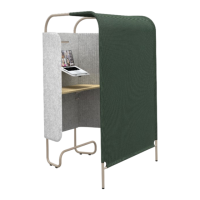
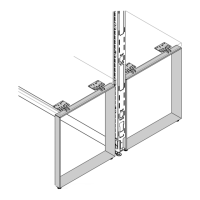
Attach the L bracket to the FrameOne leg and FrameOne Leg Brackets to the Boundary Screen.
Prepare workstation and assemble FrameOne bench frame for screen installation.
Screw posts into the left screen and connect it to the right screen to secure panels.
Attach L brackets to screens and FrameOne leg brackets, and prepare wood spacers.
Hang the right screen on FrameOne legs and align it horizontally by centering the seam.
Use spacers for gap, mark pilot holes on leg, stamp, and drill holes in the FrameOne leg.
Re-attach leg brackets to the screens and attach them to the FrameOne legs.
Attach the L bracket to the FrameOne leg and FrameOne Leg Brackets to the Boundary Screen.
Prepare workstation and assemble FrameOne bench frame prior to screen installation.
Attach L brackets and FrameOne leg brackets to the screen, and prepare wood spacers.
Hang the screen on the FrameOne leg and align it horizontally by centering it on the frame.
Use spacers for gap, mark pilot holes on leg, stamp, and drill holes in the FrameOne leg.
Re-attach leg brackets to the screen and attach them to the FrameOne legs.
Attach the L bracket to the FrameOne leg and FrameOne Leg Brackets to the Boundary Screen.
Attach L brackets to the Boundary Screen using three #10-12 x 5/8" wood screws per bracket.
Mark pilot holes in the leg, remove brackets, stamp, and drill holes using 5/32" drill bit.
Attach L brackets to the Frame One legs using machine screws.
Attach L brackets to the Boundary Screen using wood screws.
| Brand | Steelcase |
|---|---|
| Model | FrameOne |
| Category | Indoor Furnishing |
| Language | English |