Service instructions | 41Service instructions | 41
Cleaning the batteries
Gel batteries are maintenance-free. However, attention may be paid to the following matters:
Note!
Ensure that the batteries remain clean and dry: dirt and water can cause leaks, as a result of which battery capacity can be
reduced.
Clean the battery terminals and then grease them using acid-free Vaseline.
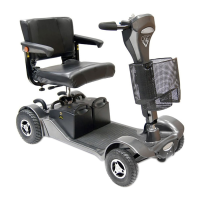
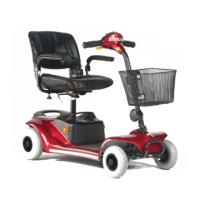
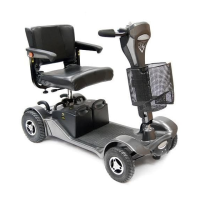
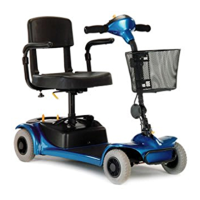
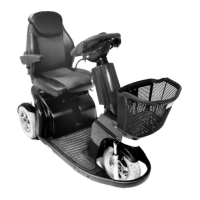
5.3 Tyres
To ensure that your scooter performs well, it is of great importance for the tyres to be kept at the right pressure.
Inating the tyres
The tyres are equipped with a car tyre valve. Remove the caps from the valves before inating the tyres. If the tyres are not
adequately inated, the range of the scooter may be reduced and the tread may wear more quickly.
Warning
When inating tyres, never exceed the maximum recommended tyre pressure which is stated on the tyres (2.4 bar front and 2.2
bar rear).
Never forget to replace the valve cap after inating the tyres. The valve cap prevents dirt and sand from getting into the valve.
See the ‘Maintenance table’ regarding tyre checks.
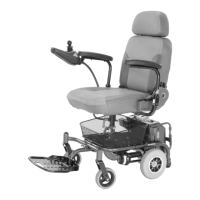
5.4 Adjustment options and repairs
There are a number of adjustments which can be made to the scooter in order to improve its seating and driving comfort levels.
For adjustments options that can be made by the user without the use of tools, such as seat depth, backrest angle, armrest width,
armrest height, headrest, steering column, please refer to (
& Scooter)
Other adjustments need to be carried out by the dealer using tools:
• Adjusting the seat height - The entire seat can be adjusted in height in order to obtain the optimal seating position.
• Adjusting the rear suspension - The rear suspension of the scooter can be adjusted to provide optimal comfort.
Warning!
Make sure that the scooter is disconnected from the batteries before executing any repair work.
When replacing the transaxle, always reset the current free wheel lever.
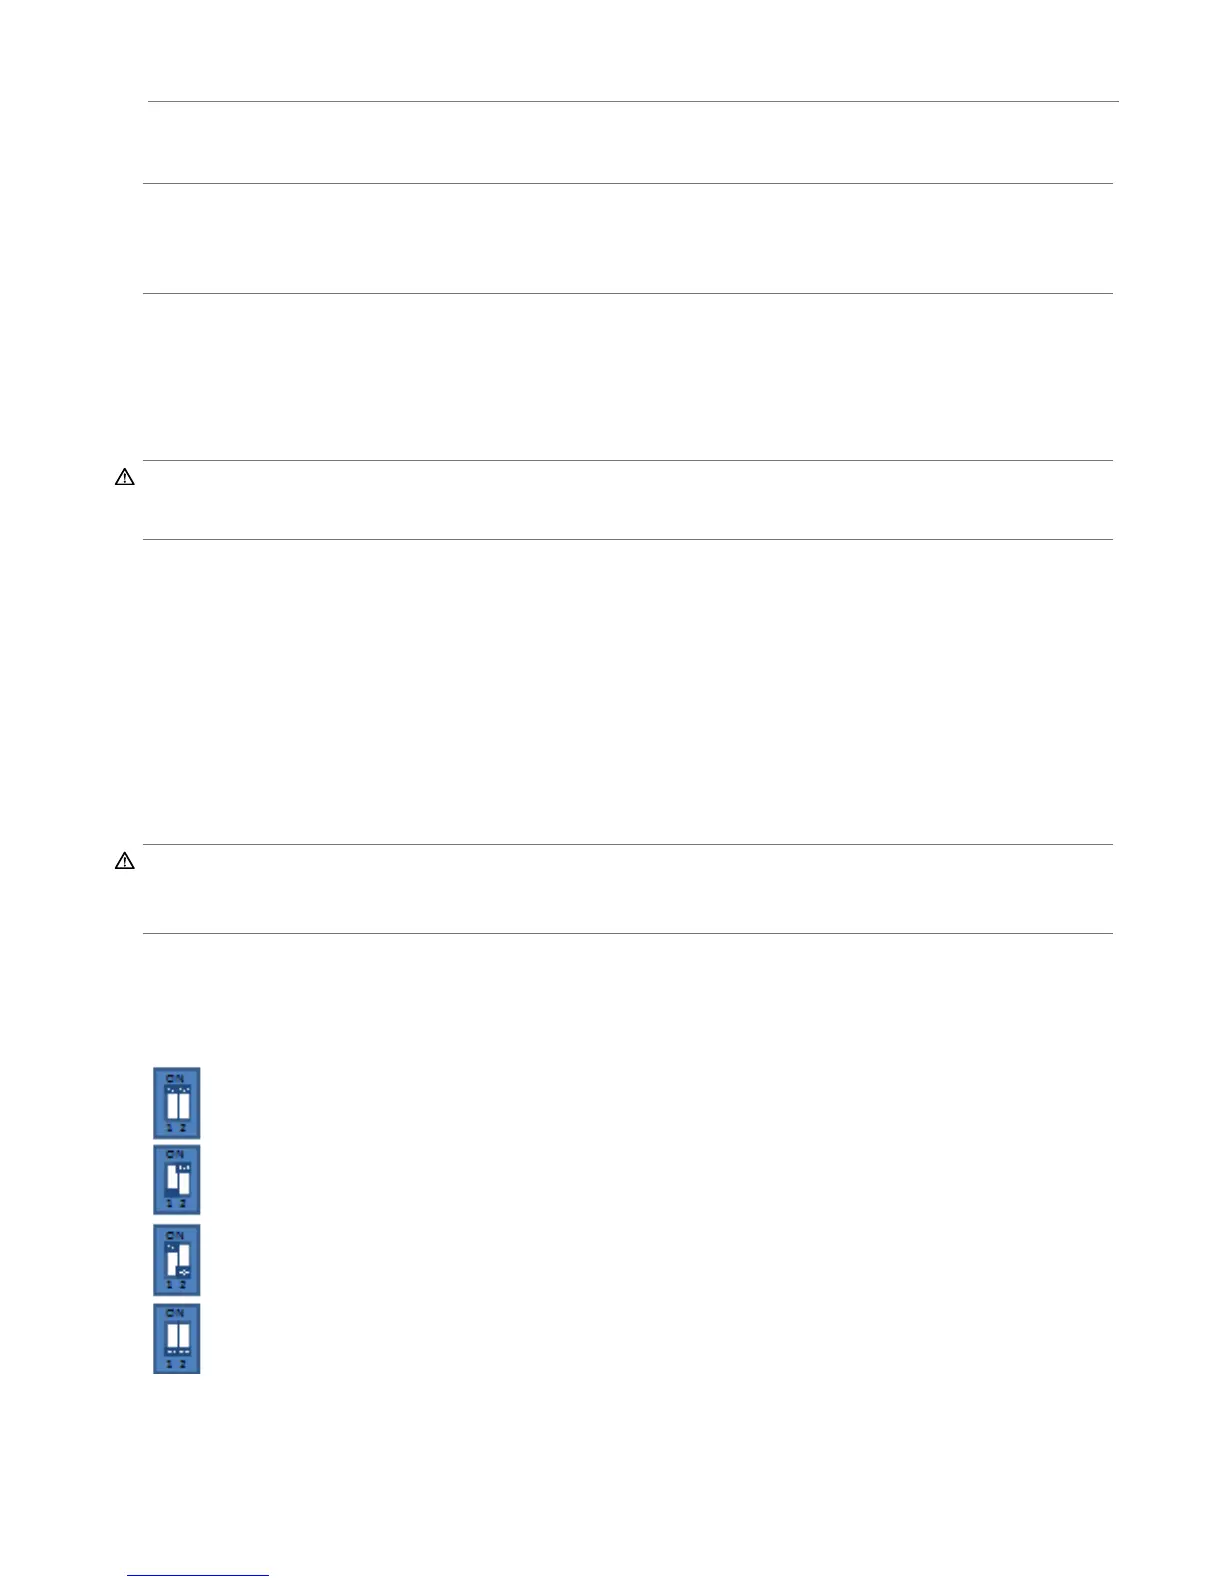
(De-)activating of audible signal for indicator, alarm and reverse-beep.
These dip-switches are located at the botom-side of the Tiller PCB (004-2). First remove the shroud front assy (005-4) and the
shroud rear assy (005-5) by unscrewing the 4x cross-head screws. Now you’ve acces to the 4 cross-head screws of the top
console assy (004).
No signal
Only indicators and alarm signal (when contact is switched on)
Only reverse beep
All audible signals are activated (when contact is switched on)
 Loading...