ENGLISH
www.stiebel-eltron.com HDB-E AU | 11
INSTALLATION
Alternative installation options
D0000043291
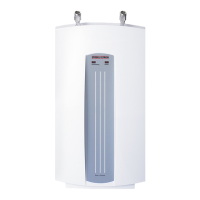
Fit the strainer and the plastic profile washer in the tee for
the cold water inlet.
!
Damage to the appliance and environment
The strainer must be fitted for the appliance to function.
When replacing the appliance, check that the strain-
er is present.
Screw the connection pipes from the appliance to the tee.
Open the shut-off valve in the cold water inlet line.
26�02�02�1102�
Fit the lower part of the back panel. Ensure the lower back
panel clicks into place.
Align the mounted appliance by loosening the fixing toggle,
aligning the power supply and back panel, and then re-tight-
ening the fixing toggle. If the back panel of the appliance is
not flush, the appliance can be secured at the bottom with an
additional screw.
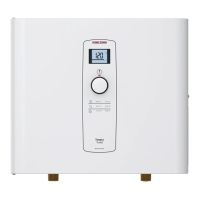
13.4 Wall mounting bracket when replacing an
appliance
An existing STIEBELELTRON wall mounting bracket may be used
when replacing appliances (except instantaneous water heater
DHF).
Break through the back panel of the appliance for the thread-
ed stud on the installed wall mounting bracket.
Replacing the DHF instantaneous water heater
26�02�02�0815�
Reposition the threaded stud on the wall mounting bracket
(the stud has a self-tapping thread).
Rotate the wall mounting bracket 180° and mount it on the
wall (the DHF logo is then turned towards the reader).
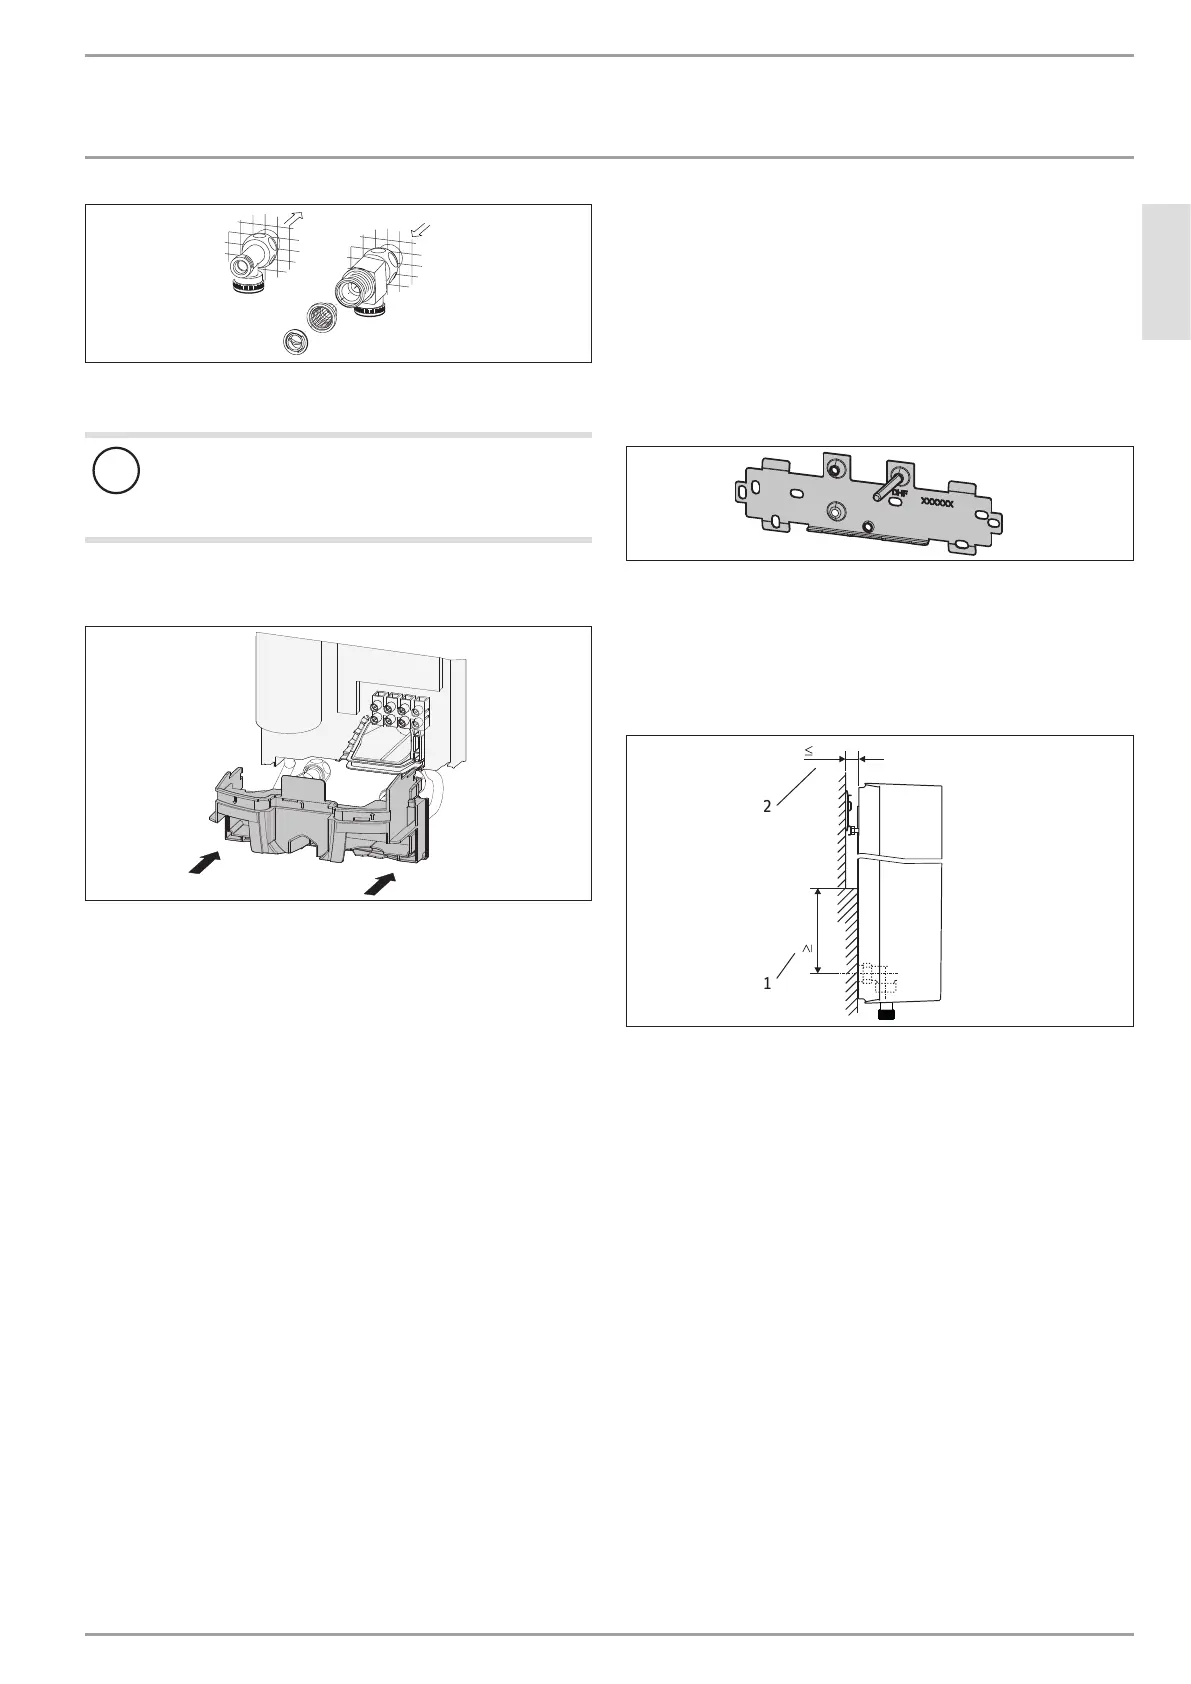
13.5 Installation with offset tiles
110
20
D0000043278
2
1
1 Minimum contact area of the appliance
2 Maximum tile offset
Adjust the wall clearance. Lock the back panel in place using
the fixing toggle (90° turn clockwise).
 Loading...