OPERATION
Operation
6 | LWZ 304-404 SOL www.stiebel-eltron.com
4.4.3 The menu key
The menu key has two functions. If you are on the default screen,
press
MENU
to enter the second level of the menu structure.
There, you have access to the appliance setting options, such as
the input of switching time programs.
If you are not in the highest menu level, press the menu key to
go back one level.
Note
In the following sections of this document, the abbre-
viation MENU means you should press the MENU key.
Note
Press the keys only briefly to initiate the required action.
If you touch the menu and OK keys for too long, the pro
-
gramming unit will not respond.
4.4.4 The OK key
With one touch of the OK key, you confirm the selection of the
menu entry highlighted. This brings you into the menu tree on
the next menu level. If you are already on the parameter level, OK
saves the currently set parameter.
Example 1: In the third area on the start screen, the currently
enabled operating mode is displayed, for example manual mode.
If you want to change to automatic mode, make a rotation until
you reach the required mode. Then confirm your selection by
touching the OK key. Only now does the appliance change to the
new operating mode.
Example
2: The OK key is used to confirm parameter entries. The
newly set value is not saved until you press
OK.
Note
In the following sections of this document, the abbrevia-
tion OK means you should touch the OK key.
4.4.5 Acoustic signals
A click sound accompanies every user action. Example: A click is
heard every time
OK and MENU are pressed. Furthermore, the
clicking accompanies every step along a menu list activated by a
rotation.
A brief beep is emitted when something is successfully selected,
enabled or saved. Example: A high beep tone can be heard when
you confirm a parameter entry with OK. So, a high beep tone
signifies something positive.
On the other hand, a dull beep is heard when something is can-
celled or cannot be carried out. Example: You try and exceed the
defaulted limits when setting parameters or you are trying to
select a fourth favourite.
4.5 Menu structure
After enabling the programming unit, you can still see the start
screen. However, you now have two setting options:
- You can select other operating modes with the scroll wheel
or
- Press
MENU to jump to level two, to continue navigating
from there to a special appliance parameter.
The programming menu is split over five levels:
Level 1 Default image and setting operating modes
Level 2 Menu
Level 3 Submenu or parameters
Level 4 Submenu or parameters
Level 5 Parameter
If you are on a menu level where you have the choice between
different parameters, the value of the parameter is shown as a
preview in addition to the current list position.
You reach levels three and four with
OK.
4.5.1 Back
At every menu level, you will see the entry
BACK. If you select
BACK, you reach the next level up in the menu. Alternatively, you
reach this with
MENU.
If, for longer than five minutes, there is no user action, no rotation
or
MENU or OK are not pressed, the programming unit display
automatically jumps back to the default screen.
Parameter changes made before this that had not yet been con-
firmed with OK are lost. The parameters retain the values previ-
ously saved.
4.5.2 Contractor access
To prevent incorrect adjustments, some appliance parameters may
only be changed by qualified contractors. These parameters are
protected and can only be changed after entering a code.
0
* **
26�04�01�0293
Enter code
SETTINGS
VENTILATIONVENTILATION
FAN STAGE VENT. AIR
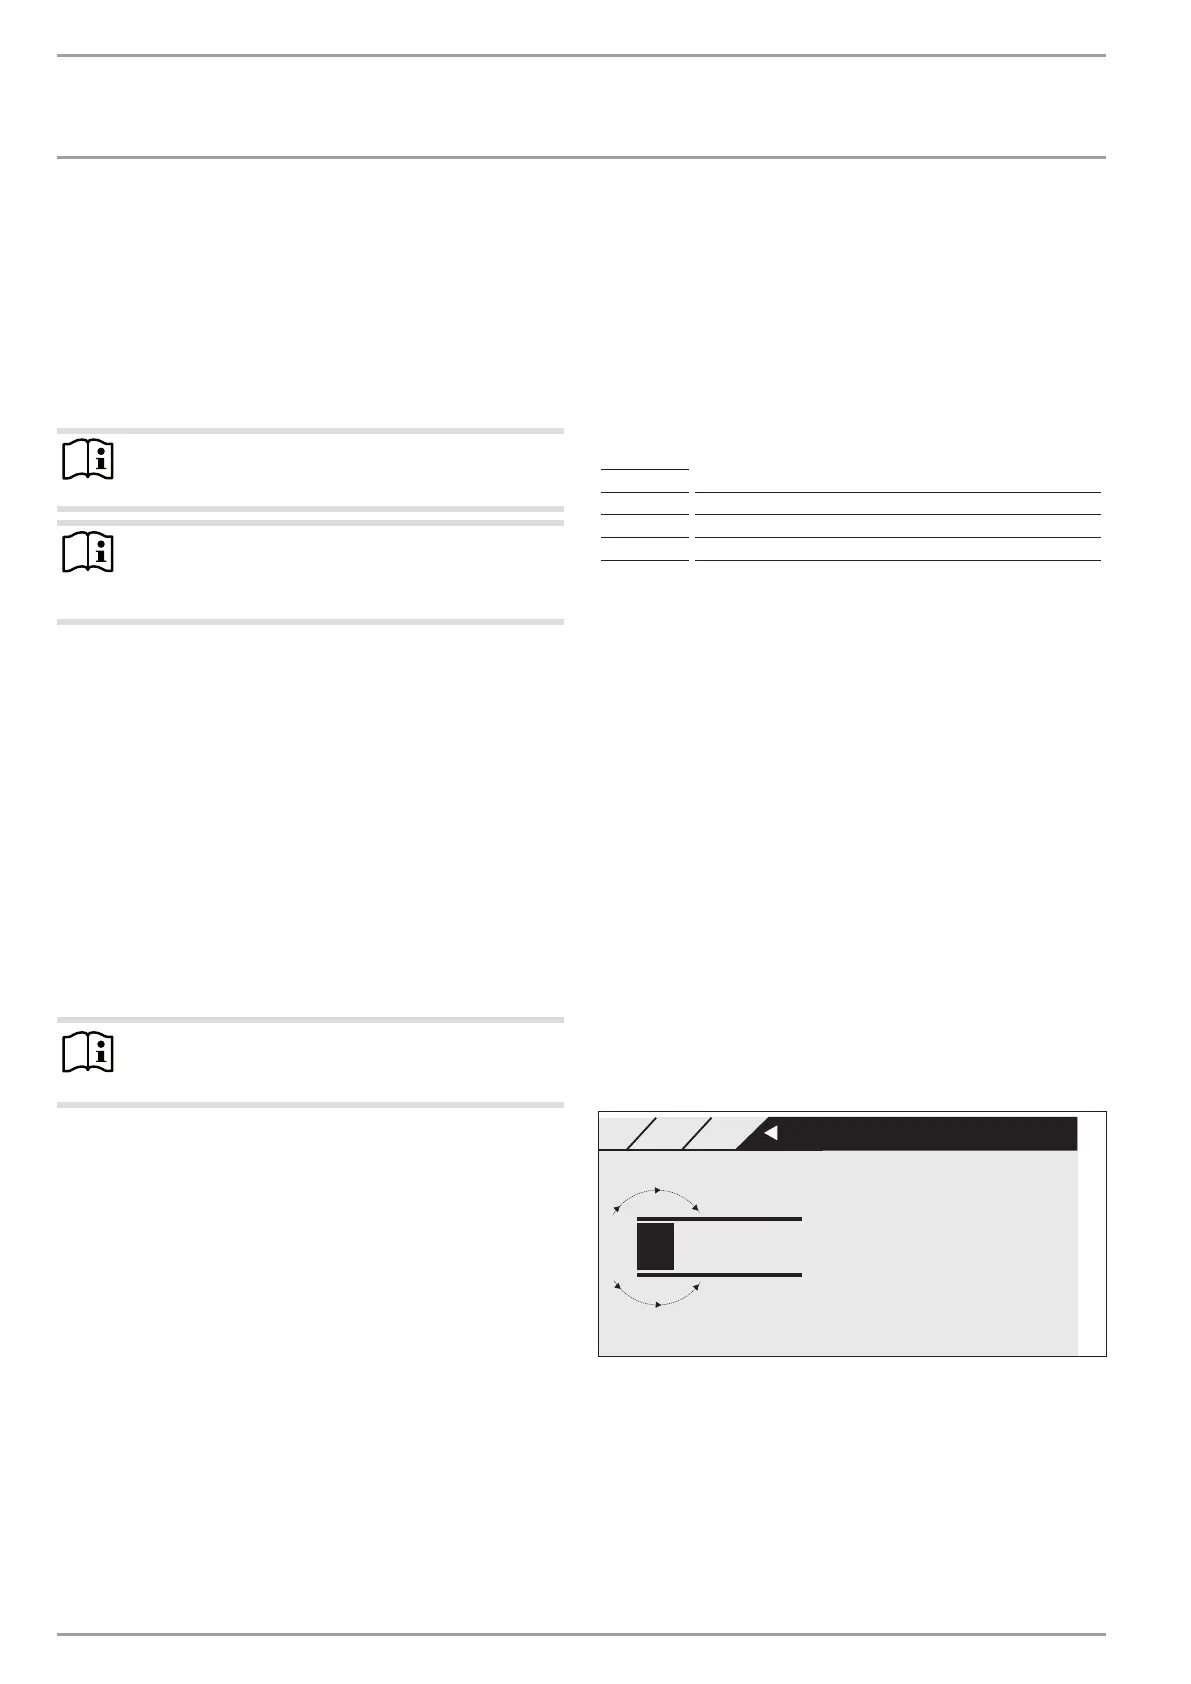
4.6 Entering parameters
Parameters are changed by scrolling with the scroll wheel. To save
the new value, press OK.
If you want to cancel the entry, press
MENU. The parameter re-
tains the previously saved value.
296066-38500-9030_LWZ_304-404_SOL_Bedienung_en.indb 6 21.07.2015 12:03:44
 Loading...