STIHL 009, 010, 011 28
4.4.5 Ignition Armature
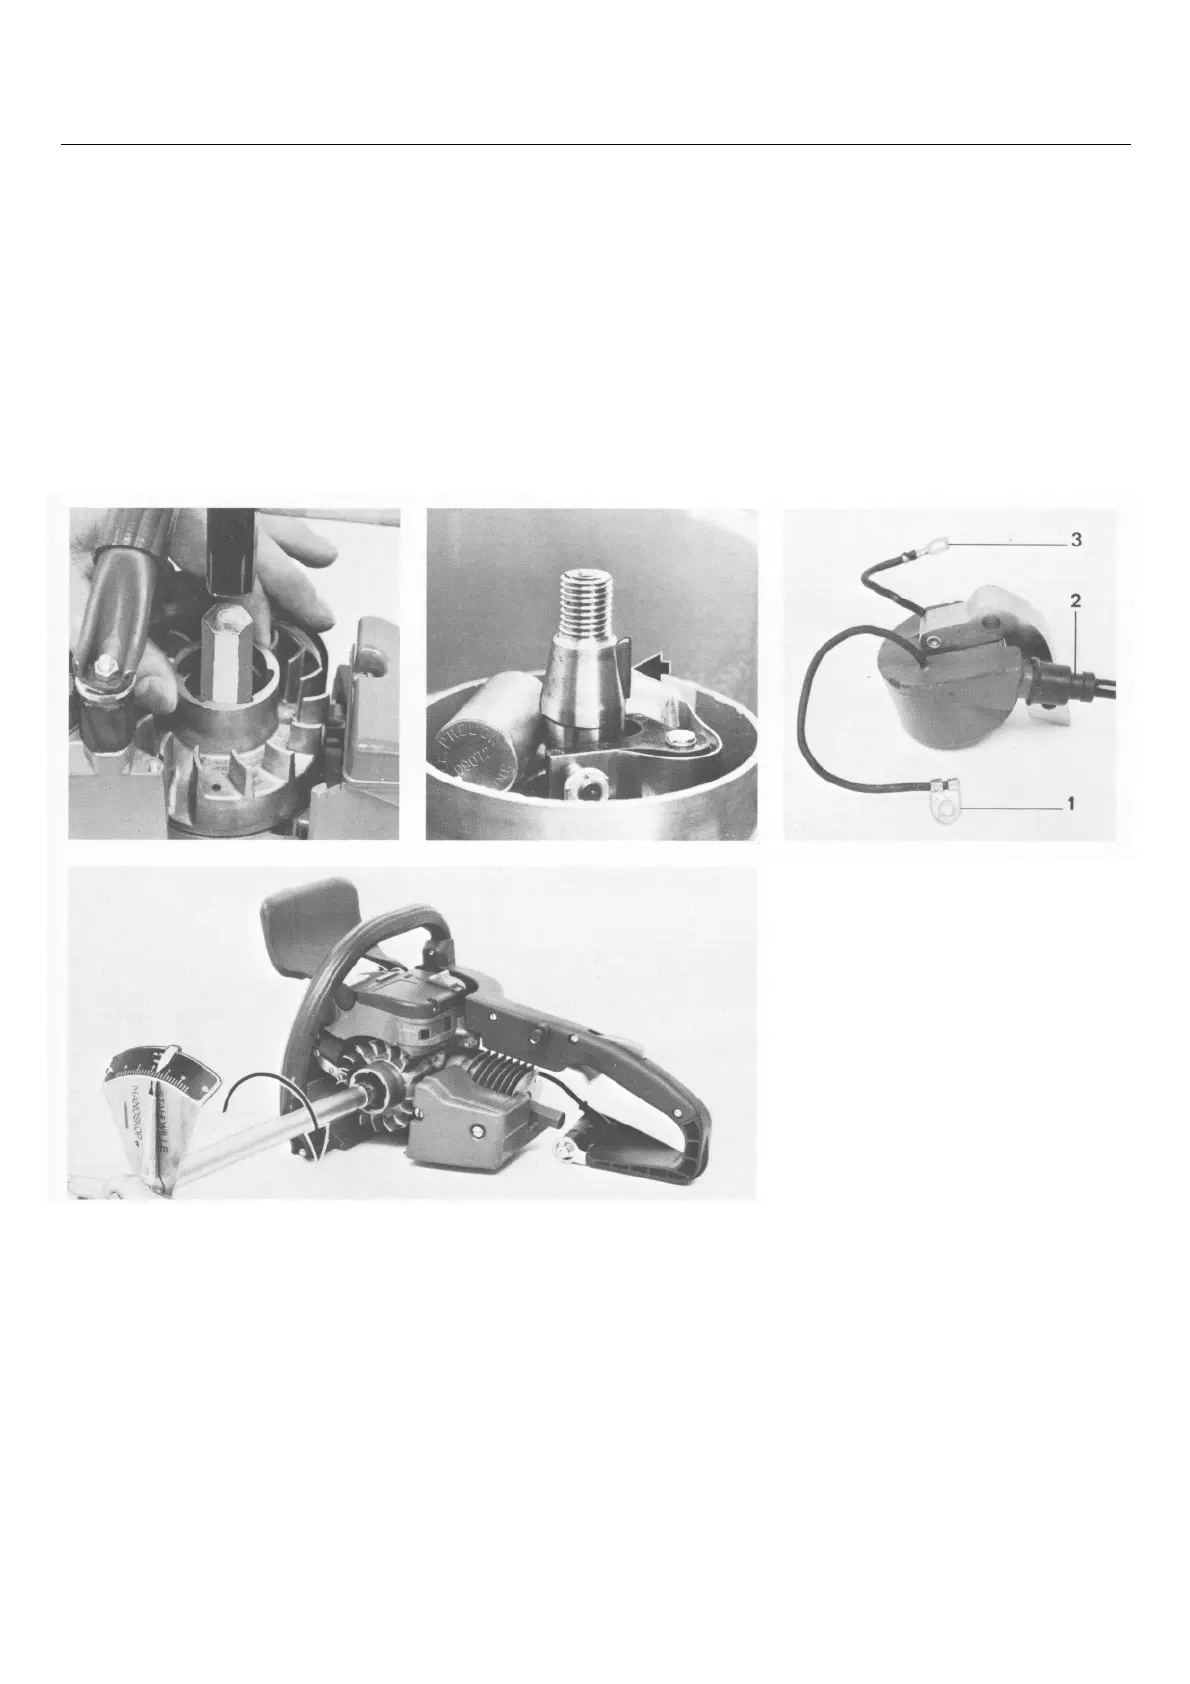
Top:
Releasing flywheel with puller
1116 893 0800
Bottom: 1 = Primary connection
Tightening hexagon nut with 2 = Secondary connection
torque wrench Key correctly positioned 3 = Ground connection
Before re-installing the flywheel, absorbed entirely by the taper seat. It
clean the crankshaft stub and the fly- is therefore absolutely essential to
wheel hub bore with a suitable de- insure that the crankshaft nut is
greasing agent (e.g. trichlorethlene, tightened down to the specified torque
diluted nitro). Make sure the key is load of 25 Nm.
correctly positioned.
Finish off by removing the locking
Fit flywheel on the crankshaft so that screw, refitting the spark plug and the
the key locates in the slot in the fly- fan housing.
wheel hub. The key is provided only
to insure that the flywheel is correctly
positioned. The driving force between
the crankshaft and flywheel must be
On the ignition armature the primary
and secondary coils are arranged on
the center arm of the iron core and
encased in a plastic compound to
make them moisture-proof. Three
electrical connections emerge from
the coil body, i.e. the primary and
secondary connections and the
ground connection.
There are two ways of testing the
ignition armature:
The resistance of both coil windings
can be checked with the aid of ohm-
meter 5910 850 4800.
Accurate testing is performed with an
ignition coil tester.