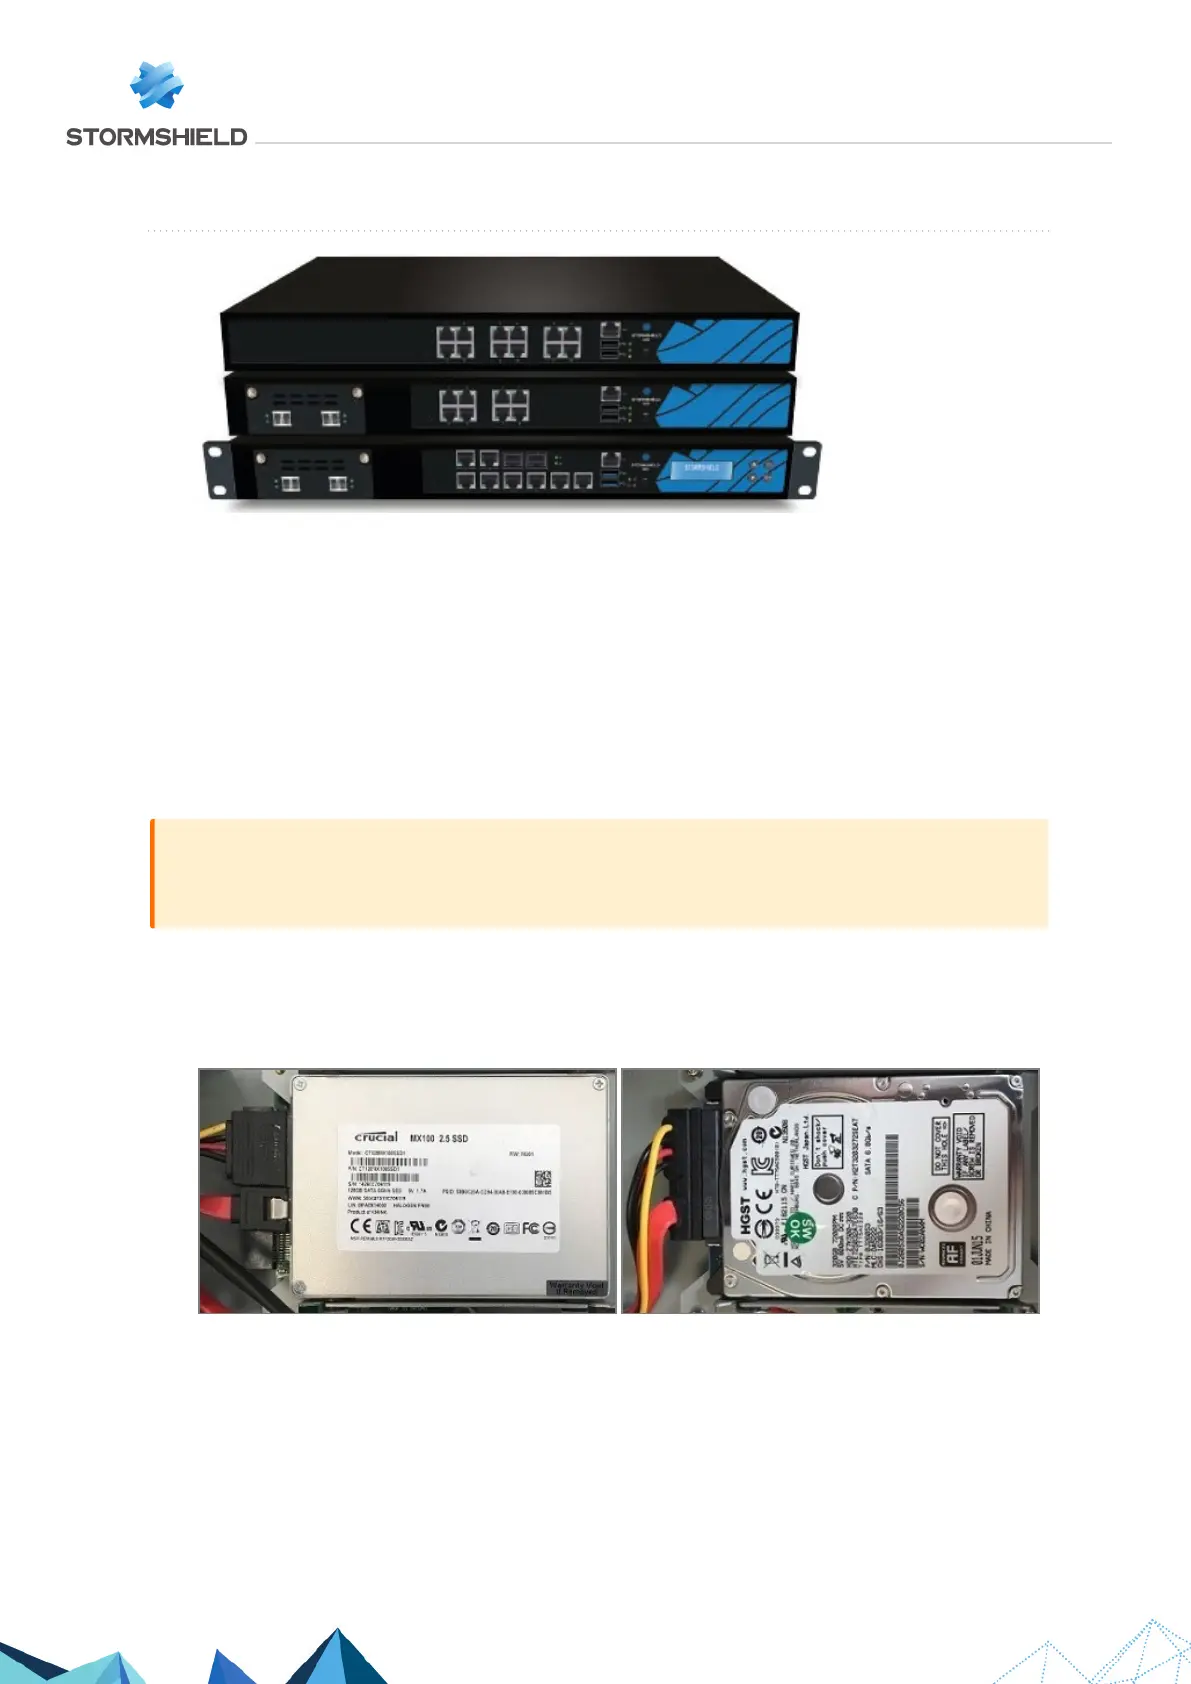
SN510, SN710 and SN910
On these products, data is stored on an internal hard disk.
Dismantling
1. Using a Philips screwdriver:
l
Unscrew the 2 black countersunk screws located at the back of the cover.
l
Unscrew the 10 black countersunk screws that hold down the lateral fastening brackets.
2. Remove the cover by sliding it backwards.
This operation will tear the warranty sticker.
IMPORTANT
Closely follow the instructions and precautions for handling the hard disk given in the vendor’s
installation guide.
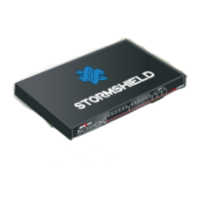
3. Locate the hard disk.
4. Remove the adhesive strip from the hard disk.
5. Unplug the SATA connector (SN510 and SN710) or the SATA connector and the hard disk's
power plug (SN910):
6. Unscrew the 4 fastening screws of the hard disk with a Philips screwdriver.
7. Remove the hard disk & support setup.
8. Unscrew the 4 lateral screws of the hard disk.
9. Retrieve the hard disk.
SNS - TECHNICAL NOTE
SECURE RETURN OPTION
Page 9/29 sns-en-secure_return_option_technical_note - 08/01/2022