15
6. The system is supplied with a set of inlet and outlet con-
nections. Please make sure that fastening clips are tightened
on the connectors.
7. The tubes and accessories used to connect the main su-
pply pipe to the inlet and outlet of the water softener valve
must be loosely measured, cut and assembled.
Please keep all fastenings, joints and tubes centred and
straight. Check that water flows from the pipe towards the
inlet of the water softener.
NOTE: The inlet and outlet are indicated in the valve. Draw
the sense of the flow to be sure.
IMPORTANT: Check that the pipes are fixed, aligned and leaned
on something in order to avoid any pressures on the inlet and
outlet of the water softener. A wrong pressure coming from a misaligned
pipe, or which has not enough place to lean on, could damage the valve.
WELDED COPPER
1. Carefully clean and apply welding paste on all joints.
2. Carry out all the welding.
NOTE: Do not weld to the installation the pipes of the by-
pass valve. The heat from the welding could damage the
valve.
IMPORTANT: In order to install the copper pipes and assemble
the earth-grounding clamp, this must be already fastened. It is
necessary to screw on this piece.
RECOMMENDED INSTALLATION
2. Close the general water supply valve, which should be next
to the main pump or the water-meter.
3. Open all taps in order to empty the pipes from all water.
NOTE: Make sure that the heater is not emptied, in order
to prevent any damages on it.
‘DANGER’ There is a danger of injury due to an excess of
weight. It is necessary that at least two persons move and install
the system, as well as move and rise the salt bags. There is a danger of
suffering back injuries and other body injuries.
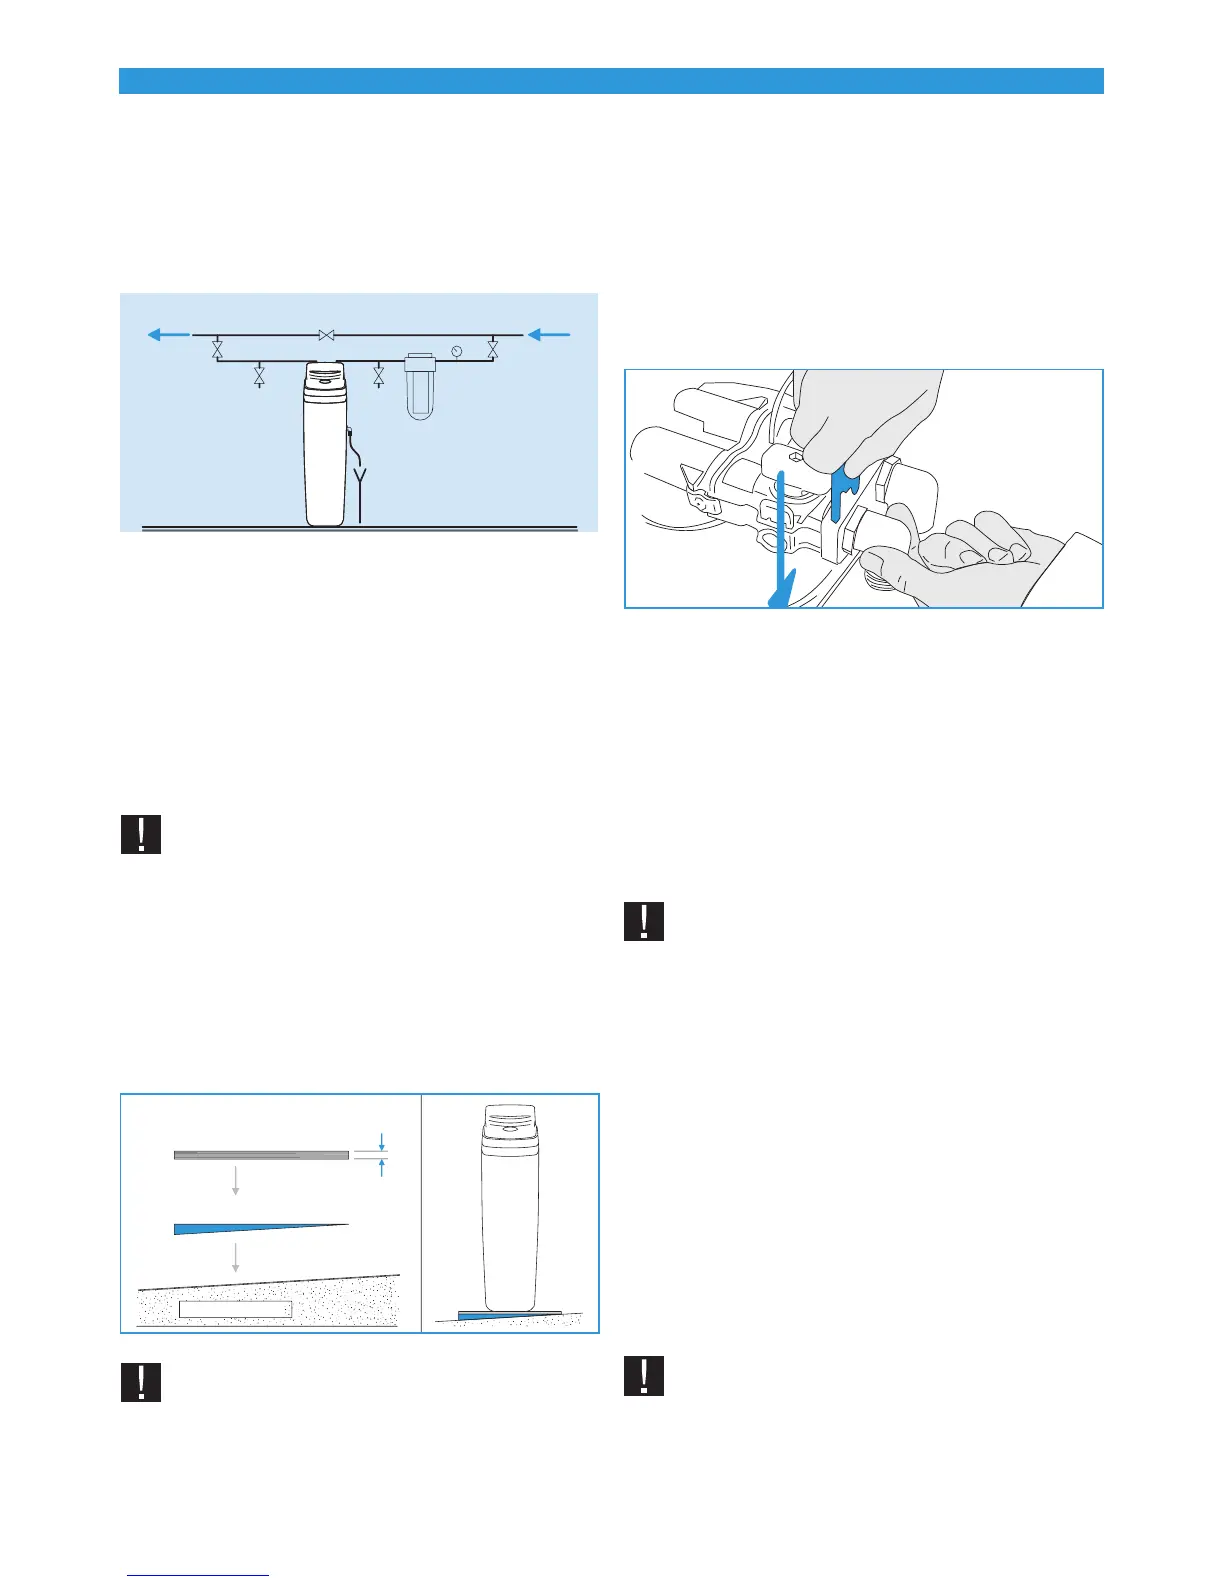
4. Move the water softener towards the installation place. Pla-
ce it on an even surface. If necessary, place it on a plywood
platform at least 2 cm thick. Then, level the platform using a
wedge.
Plywood
Wedge used to level the platform
Installation ground
Minimum 2 cm
thickness
IMPORTANT: Do not place the wedges directly underneath the
salt tank. The weight of the tank filled with water and salt may
cause the tank to break against the wedge.
5. First make a visual check and clean the inlet and outlet
connections of the softener to remove any residues.