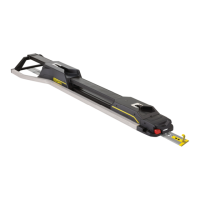
FFiigguurree 99 –– FFoooott eenndd ccoovveerr aasssseemmbbllyy
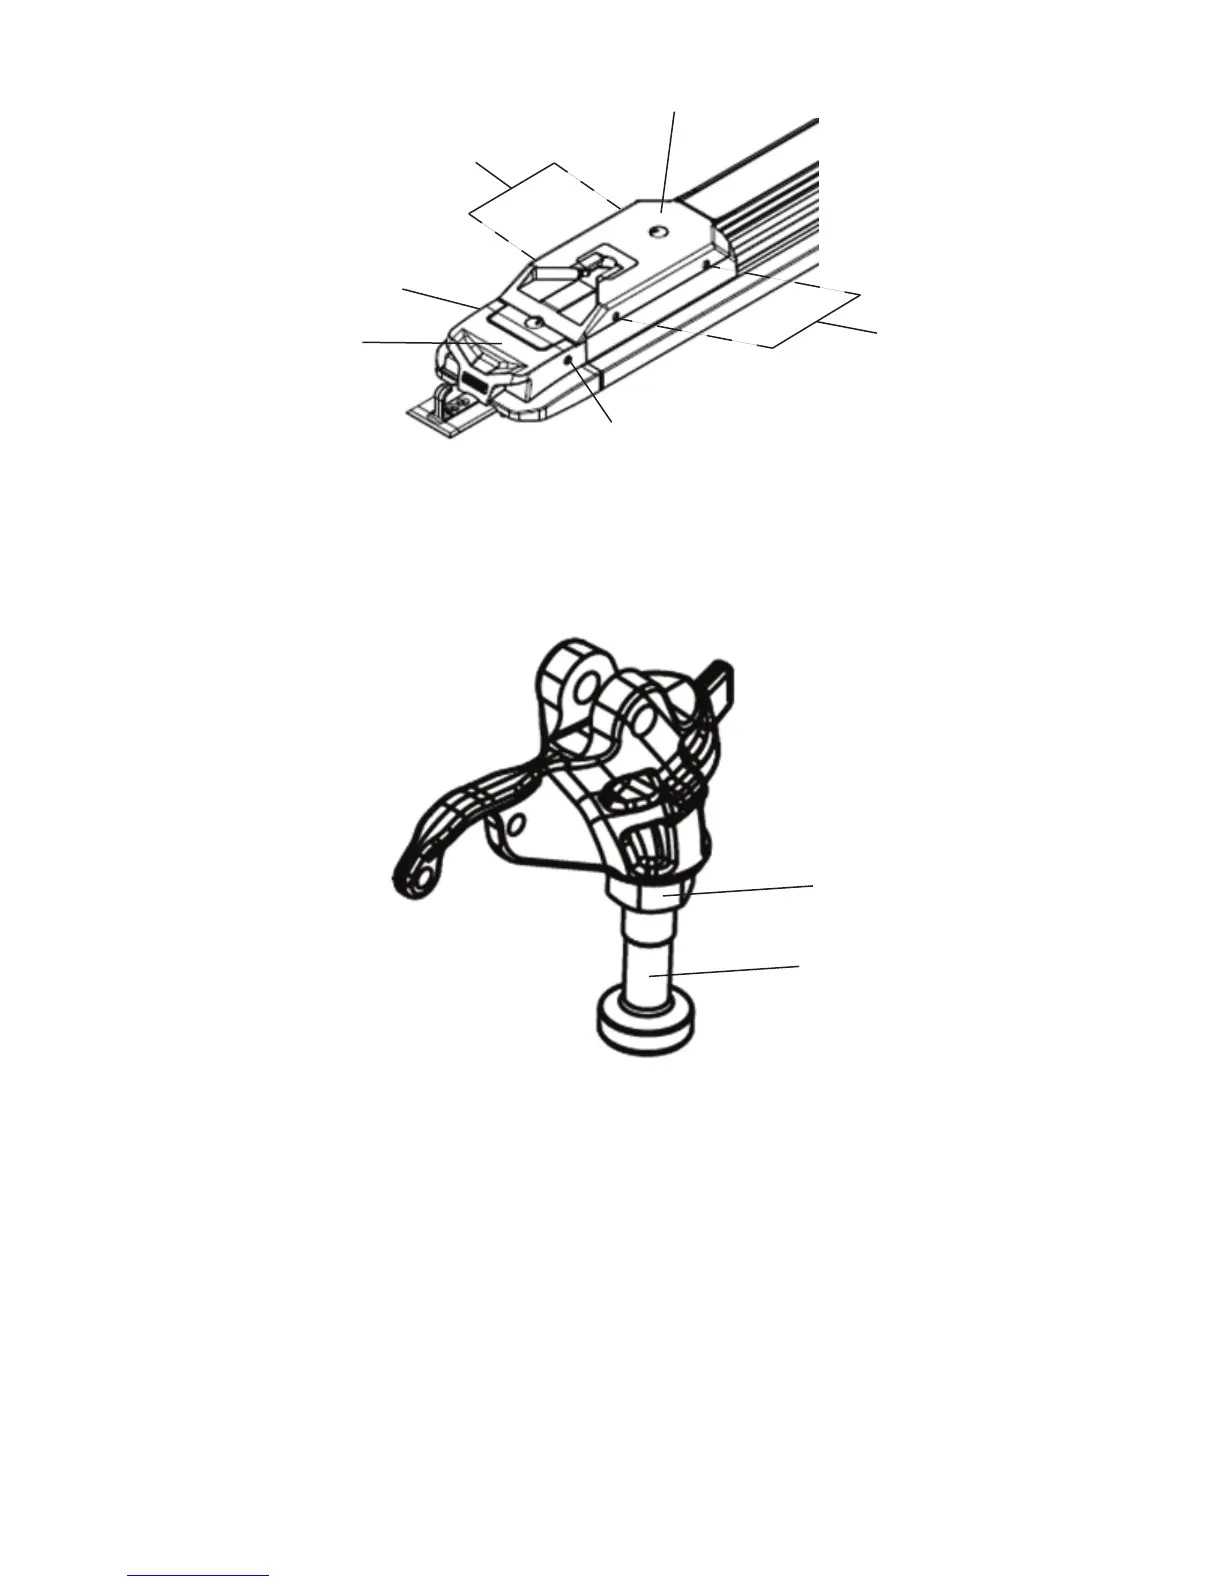
5. Using a 15/16'' hex wrench, loosen the locknut (E) that secures the pin (F) to the head end forging assembly (Figure 10).
FFiigguurree 1100 –– HHeeaadd eenndd ffoorrggiinngg aasssseemmbbllyy
6. Using a 3/8'' Allen wrench, adjust the pin so there is maximum clearance between the foot end cover assembly during
loading and unloading.
NNoottee -- The pin must lock into the head end of the fastener while loaded.
7. Using a 15/16'' hex wrench, tighten the locknut that secures the pin to the head end forging assembly.
8. Verify proper operation of the product before returning it to service.
NNoottee -- You must repair the cot and PPeerrffoorrmmaannccee--LLOOAADD to avoid recurring damage to the foot end cover assembly.
EN 20 6392-009-002 Rev E.4