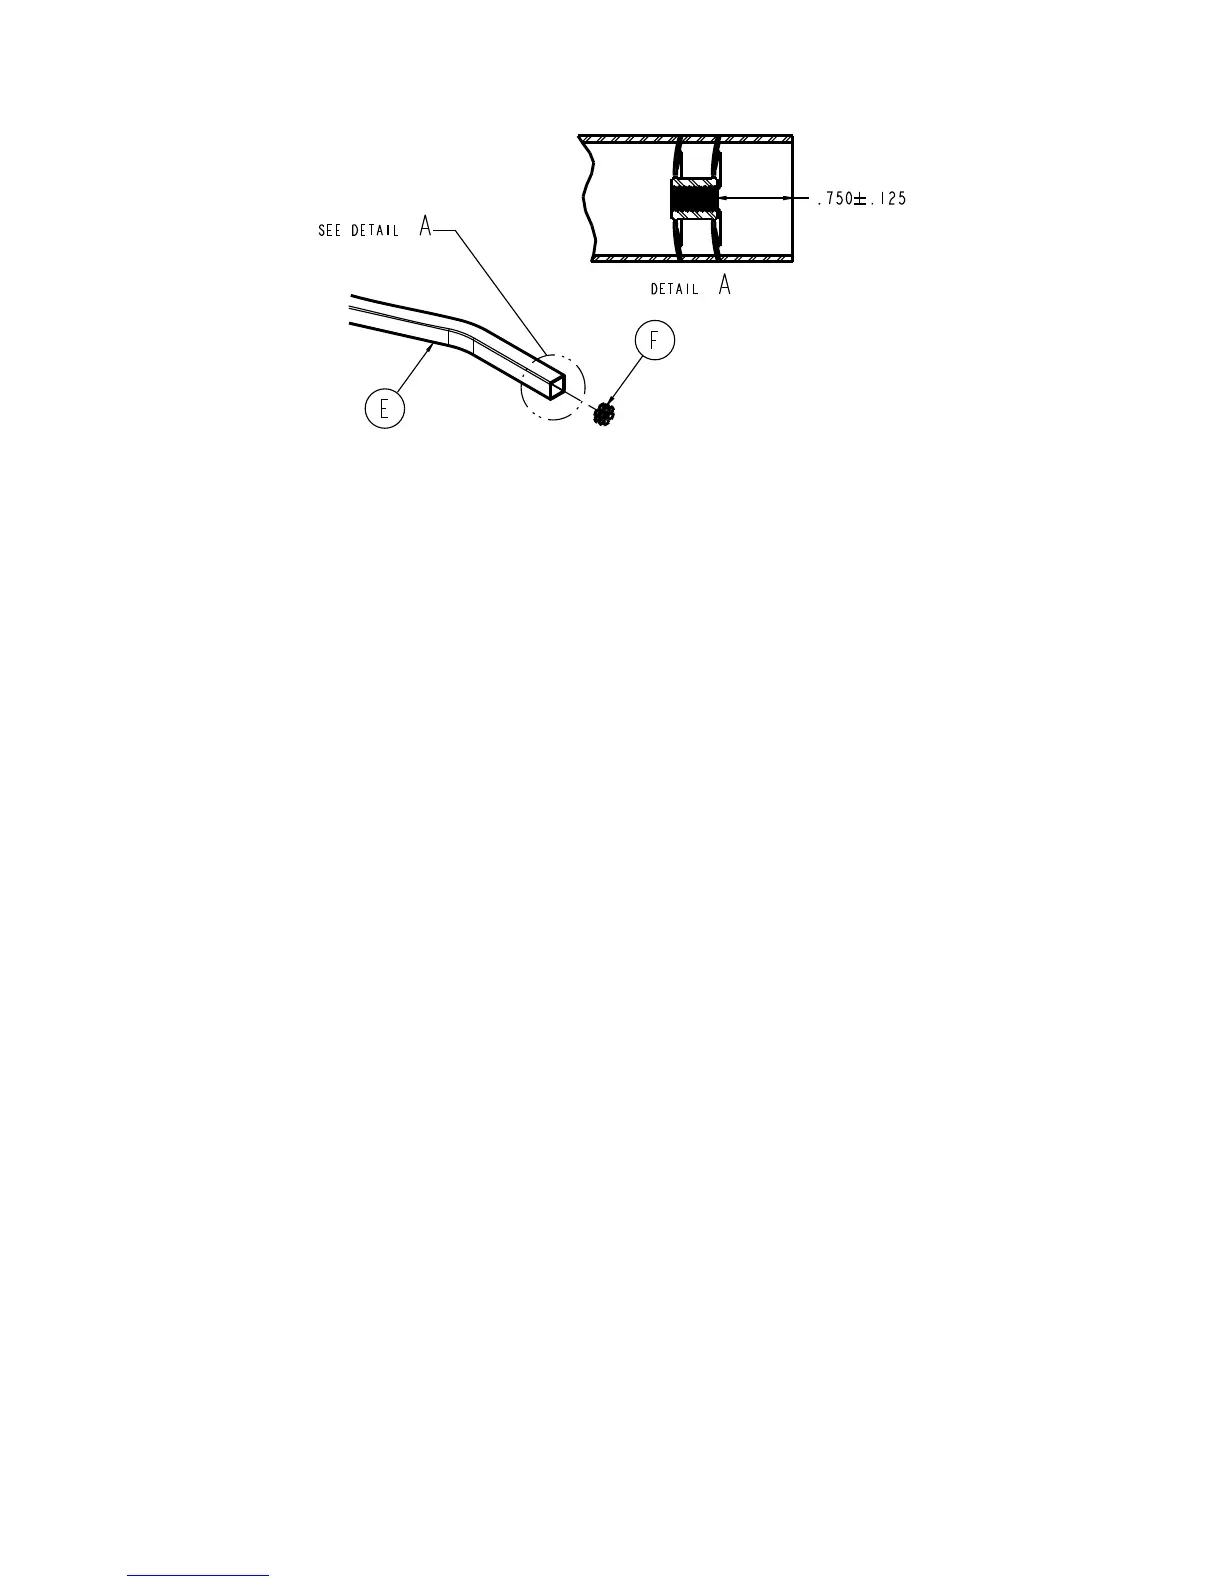
NNoottee -- If the tube connector (F) is not at the required depth, use the removed screw (D) to screw into the tube connector
and adjust as required.
FFiigguurree 88 –– AAddjjuussttiinngg tthhee ttuubbee ccoonnnneeccttoorr
4. Reverse steps to reinstall.
NNoottee -- During reinstallation, make sure that you do not overtighten the screws (D) or you will have to readjust the tube
connectors (F).
5. Verify proper operation before returning the product to service.
FFoooott eenndd ccoovveerr aasssseemmbbllyy rreeppllaacceemmeenntt
TToooollss rreeqquuiirreedd::
• T27 Torx driver
• 15/16'' hex wrench
• 3/8'' Allen wrench
PPrroocceedduurree::
1. Using a T27 Torx driver, remove and save the four socket head cap screws (A) that secure the foot end cover assembly
(B) to the transfer (Figure 9).
2. Using a T27 Torx driver, remove and save the two button head cap screws (C) that secure the foot end cover assembly
to the foot end nose assembly (D) (Figure 9).
3. Remove the foot end cover assembly by sliding it toward the head end of the vehicle patient compartment.
4. Reverse steps 1-3 to reinstall the foot end cover assembly.
6392-009-002 Rev E.4 19 EN