5
Blade Installation
WARNING:
Always place the safety switch in the SAFE position
before attaching or removing any accessory to prevent
inadvertent running of the handpiece.
1. Rotate the safety switch clockwise to the SAFE
position.
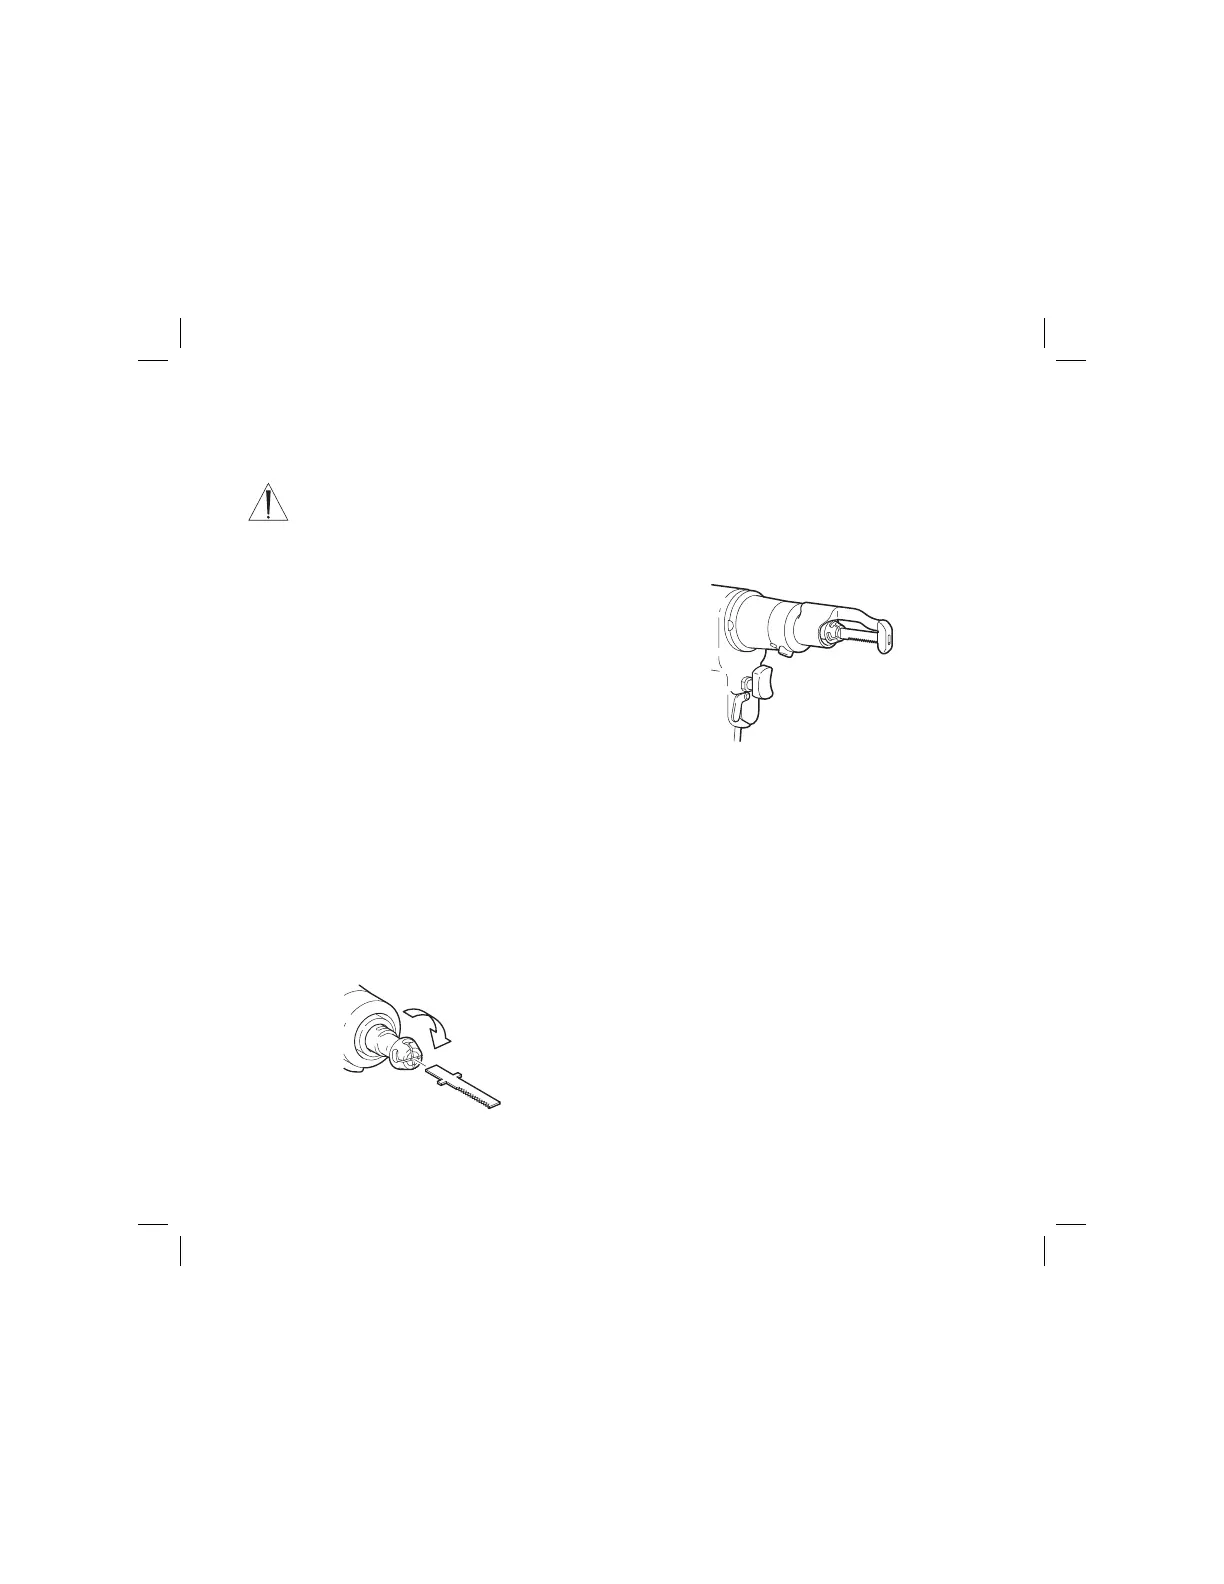
2. Rotate the spring-loaded blade collar clockwise
aligning the slots. Insert the blade (see figure 1).
NOTE: The blade teeth may be directed in any of four
positions. However, if using the sternum blade guard,
the teeth must point away from the sternum blade
guard.
3. Release the blade collar. Ensure the blade collar
springs back to its original position indicating the
blade is properly seated.
4. Gently tug the blade back and forth to ensure it is
secure.
Figure 1 Blade Insertion
Instructions
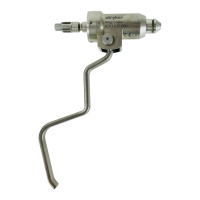
Sternum Blade Guard Installation
NOTE: When the sternum blade guard is used, it can
be installed in the orientation shown or rotated 180° (see
figure 2). The blade teeth must point away from the
sternum blade guard.
1. Slide the guard actuating button and position the
sternum blade guard over the blade so that the
blade’s teeth are pointing away from the guard.
Release the guard actuating button to secure the
sternum blade guard.
2. Gently tug the sternum blade guard to ensure it is
secure.
3. Visually inspect the blade and sternum blade guard
to ensure the blade neither retracts nor extends from
the sternum blade guard.
Figure 2 Guard Installation