DE / 06-2016 / 1000687 © STULZ GmbH, Hamburg
-
80
-
Maintenance STULZ UltraSonic -System for duct humidication ENS 14 A - 18 A-
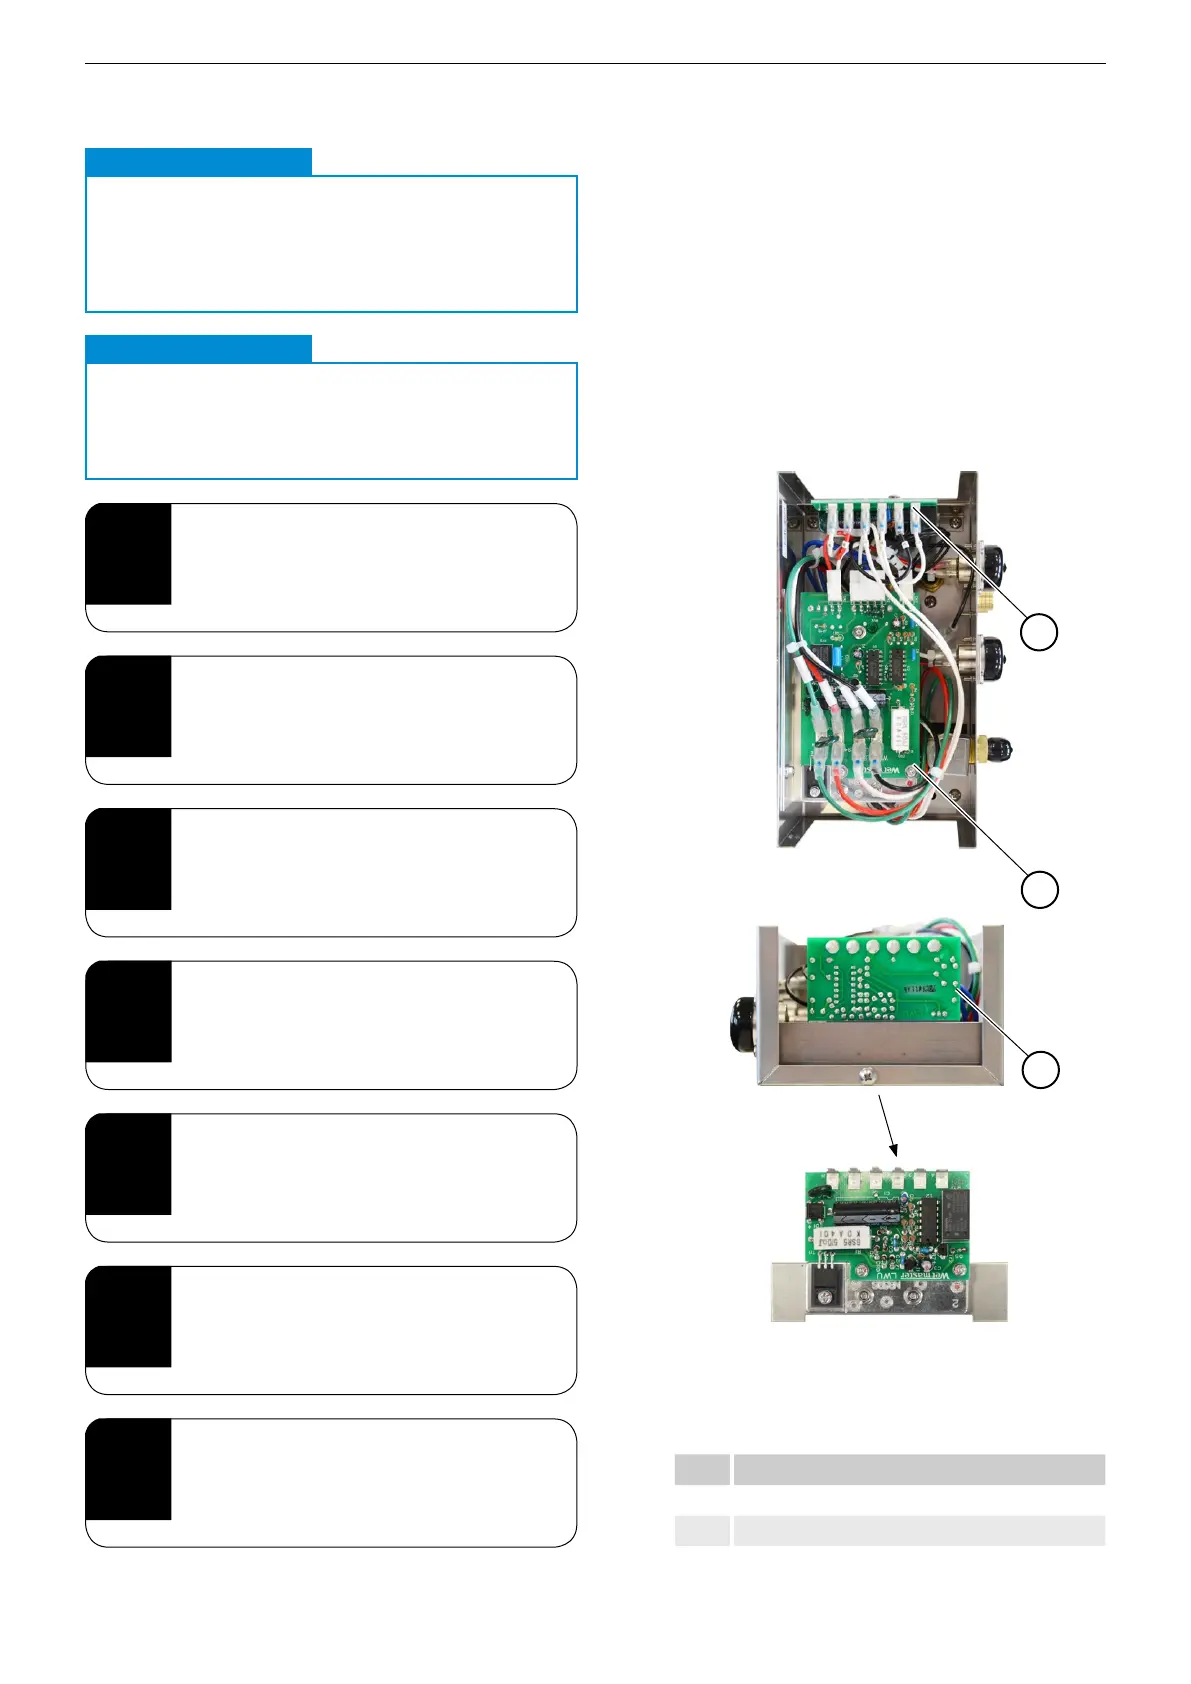
11.5.1. Replacing the relay PCB
Proceed as follows to replace the relay PCB:
1
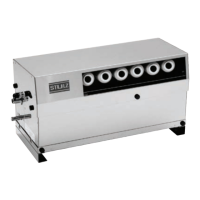
Item Description
1 Relay PCB (LWU)
2 Motherboard (CH)
5
Insert the blade terminal into the
new PCB, making sure it is correctly
assigned.
6
Assemble the unit in reverse order.
7
Check that all screws are securely
tightened.
2
To remove the relay PCB, pull out all
blade terminals from the PCB.
3
Pull the relay PCB out along the guide
rails.
4
Push the new relay PCB in along the
guide rails.
1
Perform steps 1-7 from section
"11.5. Inspecting the electrical system"
on page 78.
CAUTION
Marked cables
.
When inserting cables later on, there cannot be any
confusion as both the PCB and the cables are
marked.
Note
CAUTION
Trapped cables
.
During installation, take care not to trap any
cables between parts of the housing!
IMPORTANT
2
1