Changing the Dispenser Lighting States
There are three possible lighting states at the dispenser assembly:
• All Lights ON (blue keys and white glasswell)
• Key Lights ON only
• All Lights OFF
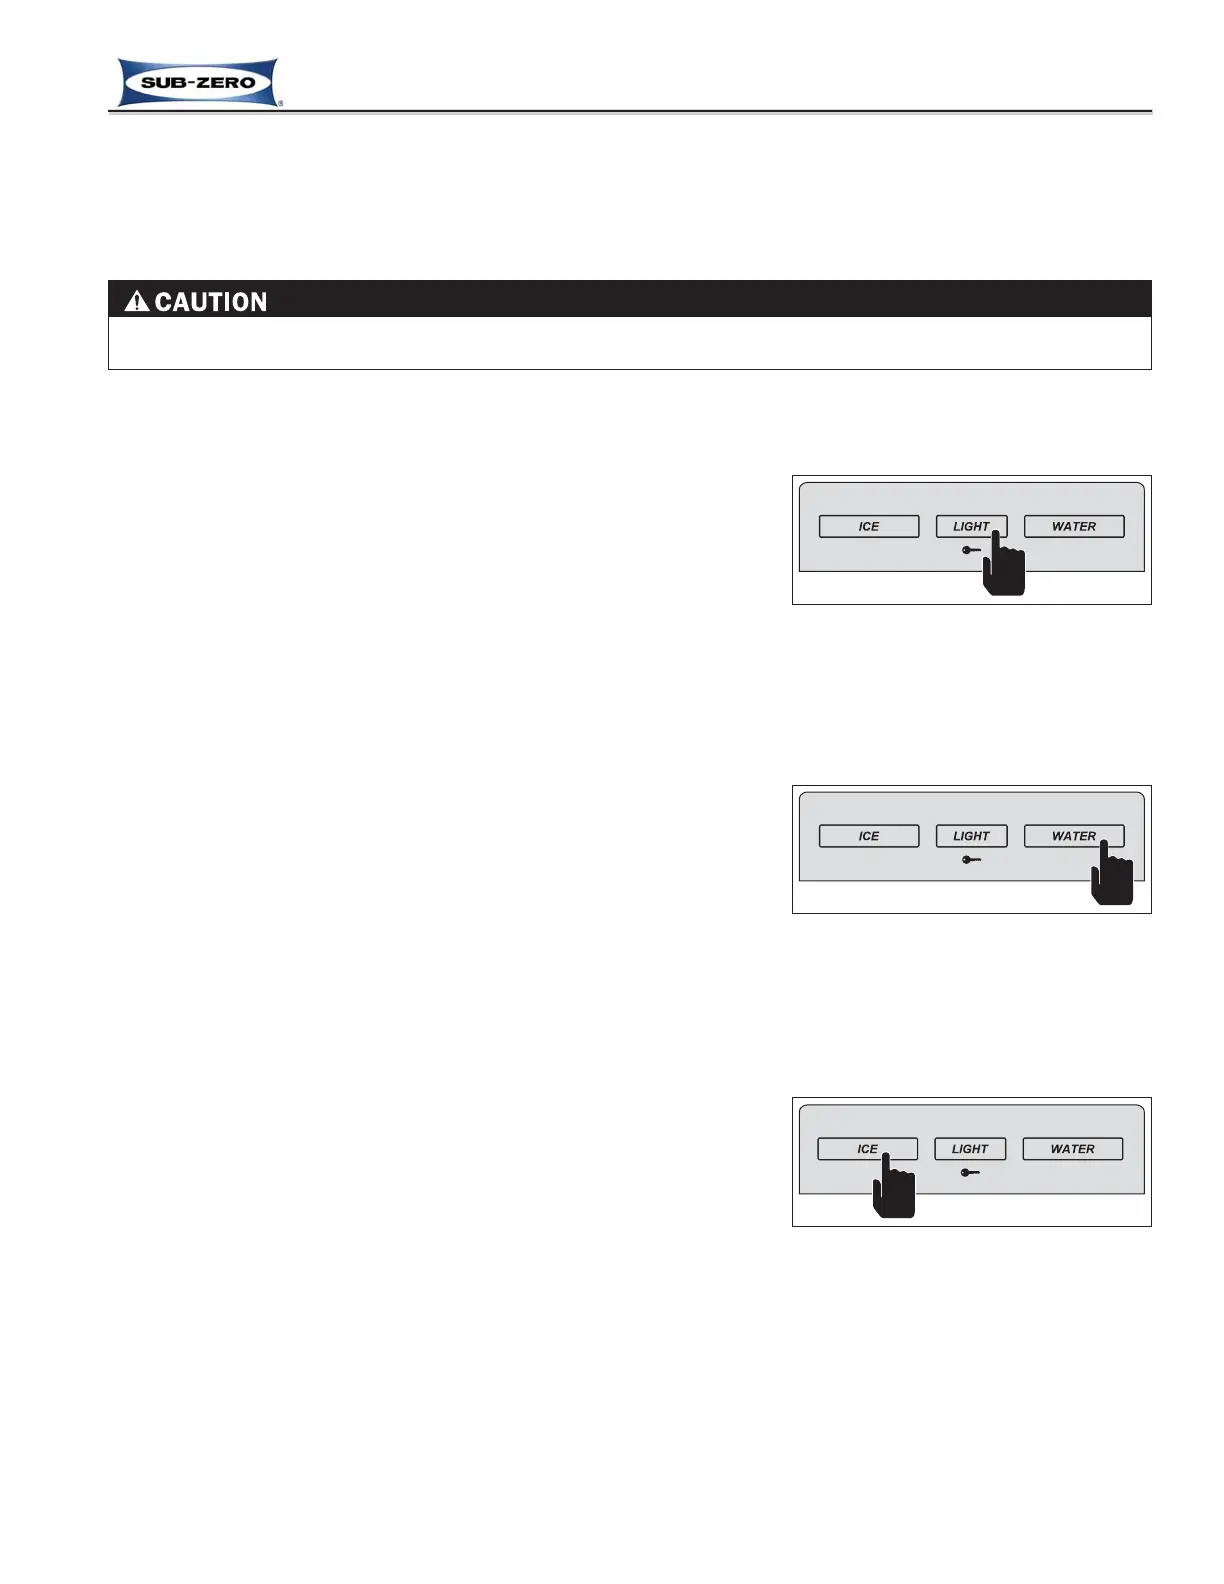
Press the LIGHT key in multiple key strokes until the desired lighting
state is achieved (See Figure 3-30).
NOTE: During water or ice dispensing, all lights will illuminate until dis-
pensing is complete, then lights will return to their previous state.
Dispensing Water
To operate the water dispenser, set a glass on the grille of the glass-
well, then press and hold the WATER key until the desired amount of
water is received (See Figure 3-31).
NOTE: Before the water dispenser is used for the first time, or after
servicing the water dispensing system, the water reservoir tank, water
lines and plumbing connection must be purged of air by pressing the
WATER key for approximately three (3) minutes. This will clear any air
from the system, along with any foreign materials that may be present
in the plumbing connection.
Dispensing Ice
The ice dispenser in these models uses a delay, or metering feature to
limit the amount of ice dispensed each time the ICE key is pressed in
approximately two (2) second intervals.
To dispense ice, set a glass on the grille of the glasswell, then press
and hold the ICE key for approximately two (2) seconds, and the dis-
penser will meter out the ice, collect it in the cylinder valve directly
above the glass, then turn the cylinder valve to drop the ice into the
glass (See Figure 3-32).
If less ice is desired, hold the ICE key for less than two (2) seconds; if
more ice is desired, hold the ICE key until the dispensing cycle repeats.
NOTE: The ice dispenser can be reprogrammed to deactivate the delayed dispense feature, which would allow the
dispenser cylinder valve and ice auger motor to remain energized continuous whenever the ICE key is pressed and
held. This is referred to as Delayed Dispense Reset, and is covered on the next page.
Electronic Control System
3-17
#7019014 - Revision A - October, 2010
Built-In (BI) Series
Built-In (BI) Series
DOOR DISPENSER CONTROL INPUT OPERATIONS (MODELS BI42SD AND BI48SD ONLY)
Models equipped with an ice and water dispenser through the refrigerator door utilize a capacitance touch control
panel similar to the main control panel. Below are the input operations a customer or Service Technician may per-
form at the door dispenser control panel.
Figure 3-31. Dispense Water - Press
and Hold WATER Key
Figure 3-32. Water Dispense - Press
and Hold ICE Key
Figure 3-30. Choose Light State -
Press LIGHT Key in Multiple Strokes
The dispenser assembly operates on low DC voltage. Never apply AC line voltage to the dispenser compo-
nents, doing so will damage the appliance.
 Loading...