• The charge indicator on board the SCOOTER or its display on an external device (only for LI ION batteries)
provides an approximate indication of the battery charge status.
• The charge indicator on the SCOOTER provides an approximate indication of the state of charge of the battery.
• The battery is subject to a decrease in its capacity due to various factors including the main ones: age, use and
environmental conditions. For example, two batteries can indicate the same state of charge but have very
different durations in use due to the above factors.
• A particularly heavy use or, on the contrary, poor use, with a few complete charge / discharge cycles, particular
environmental factors, damage to the battery can lead to an early decay of its effective capacity and therefore of
its duration during use, as well as false readings of the state of charge.
• The same battery in different environmental situations can have different durations.
• Depending on the general condition of the battery and its use, the various sectors that indicate the state of charge
during use may not accurately reflect the residual state of charge of the battery.
• For these reasons, before each dive, it is advisable to charge the battery to 100% until the charger indicates the
end of the charge.
• Do not use the charge indicator as a tool to program the dive or the duration of the dive during its course, but
program the dive with the usual safety parameters.
NOTE: SUEX s.r.l. disclaims any responsibility for the failure or incorrect evaluation of the remaining battery charge
that has led to incorrect assessments regarding the autonomy of the SCOOTER.
Remember that the SCOOTER must be only an aid to diving and NOT A MEANS OF RESCUE!
10.5. INSERTING THE BATTERY
To insert the BATTERY, place the Scooter vertically and repeat the battery extraction operation exactly in reverse
order:
Be careful to insert the battery in the same orientation it was originally
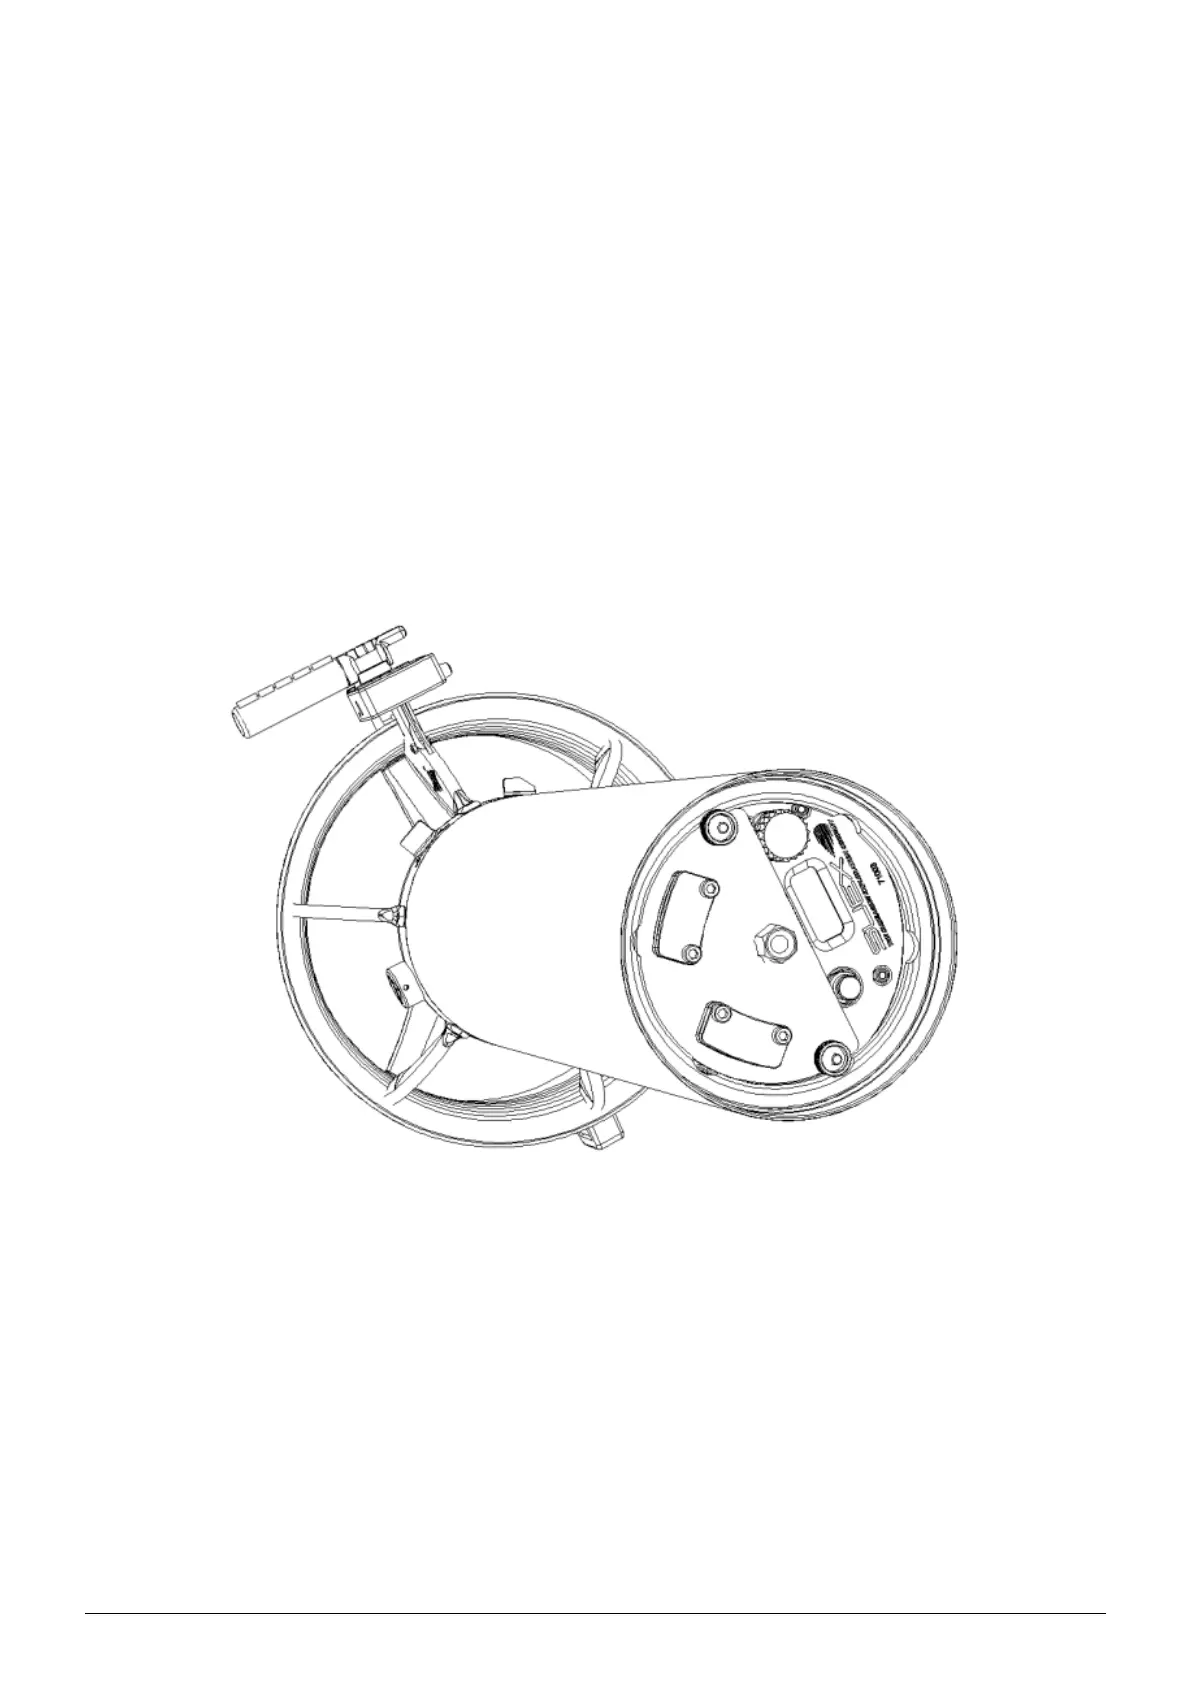
10.6. CLOSING THE BATTERY COMPARTMENT
Always with the scooter upright on the guard, carefully check that the closing O-ring gasket (19) (fig.6) is inserted in
its seat, clean and adequately lubricated with vaseline oil. Also check the cleanliness of the body seat (20), if
necessary wipe with a clean microfibre cloth to remove dust or sand. Insert the bow cap (8) by matching the screw
(18) with the hole (17). Turn the handwheel (9) clockwise until completely closed without over tightening using only
the force of two fingers.