Installation
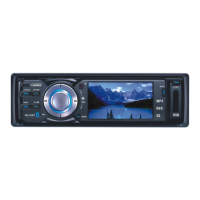
Note: Remove the protection screws (A)
before installing and operation the unit.
Please find the front panel inside carry caddy. Reinstall panel by placing as
flipped down position, insert panel left side into front adaptor first, then gently
click right side into place. When completed correctly panel should be flip up in
place.
To remove the panel, gently pull out the right side first after flipped down.
o This unit is designed for 12V DC, (connecting to other than 12V unit will be damage)
negative ground operation system only.
o When replacing a fuse, be sure to match the amperage as the original fuse. Using the
wrong fuse may cause your unit not to function or even electrical shortage
o The negative battery terminal must be disconnected before making connections, which
can prevent damaging the unit due to short circuit.
o Be sure to connect the color coded leads correctly according to the wiring diagram.
Incorrect connections may cause damage or malfunction or even damage the vehicle’s
electrical system.
o Be sure to connect the speaker (-) leads to the speaker (-) terminal, and the speaker
(+) leads to the speaker (+) speaker terminal and so on. Never cross connect the left /
right channel speaker cables or to the vehicle body/frame.
o Do not block the unit’s vents or heat sink. Blocking can cause heat to build up inside
and may damage your unit.
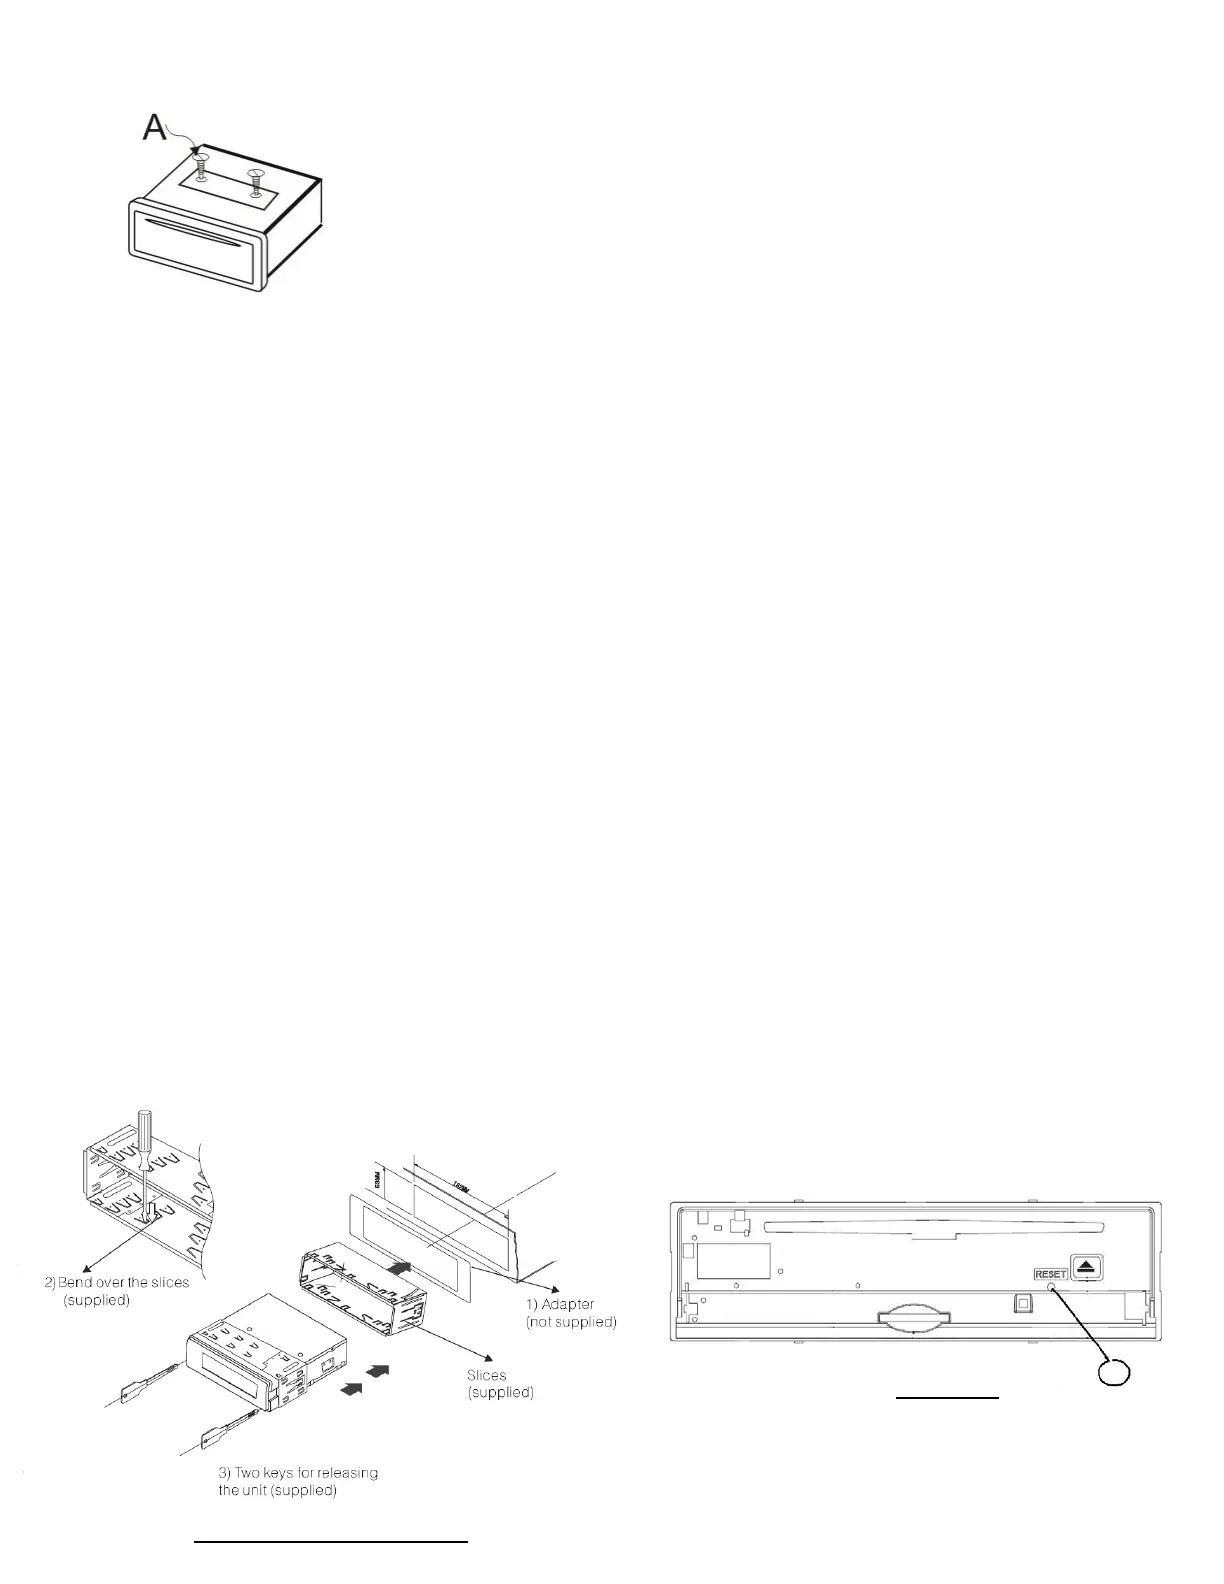
o After the completion of the installation. Reconnect negative cable of vehicle to the (-)
battery terminal, and then press the RESET in the front panel with the push pin to set
the unit to initial status. Please refer below. ( see picture below)
Unit Reset
Unit Installation & Removal
2