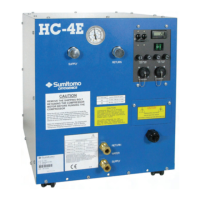
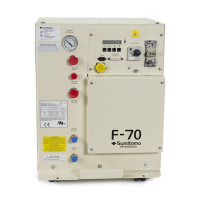
Installation
3. Secure the cable by tightening the cap of the strain relief fitting. Use two wrenches to
prevent turning the body of the strain relief fitting.
4. Reinstall the terminal block access cover.
This completes the procedure for hard wiring the compressor.
Compressor Checkout
Tools required: Open end wrenches, one 15/16” and one sized to fit customer’s water line
coupling.
The compressor should be operated before being connected to the other system components.
1. Connect coolant supply and return lines to the fittings on the front of the compressor. Use
two wrenches. Hold the bulkhead fitting’s jam nut with a 15/16” wrench. See Figure 5.
Connect the supply line to the customer’s cooling water or coolant supply valve. Turn on the
coolant and check the lines for leaks. Tighten the fittings if necessary. See Specifications
for cooling requirements.
Figure 5 Connect and Remove the Water Lines
2. Be sure the circuit breaker on the compressor is open (handle is down). Plug the power
cord into customer’s receptacle or connect the hard wiring to the electrical power source.
Switch on the supply power to the compressor.
3. Close the circuit breaker. Press the power switch. Power switch indicator will light and the
compressor will start. Run the compressor for ten (10) minutes, then stop.
An internal relief valve will open to prevent overloading the motor when the
system gas lines are not connected to the running compressor.
This completes the checkout of the compressor.
Hold jam nut with one wrench
Turn water line coupling with