EasyManua.ls Logo

Suncast BMDB134004 User Manual

Suncast BMDB134004
20 pages
To Next Page IconTo Next Page
Page #1 background imageLoading...
Page #1 background image
Quality Control Number:
Numéro de controle de qualitié:
Número de control de calidad:
To purchase Suncast replacement parts and learn
about other Suncast products, visit www.suncast.
com or call 1-800-846-2345 or 1-630-879-2050.
Pour vous procurer des pièces de remplacement
Suncast et en apprendre davantage sur les autres
produits Suncast, consultez notre site www.
suncast.com ou appelez le 1-800-846-2345 ou le
1-630-879-2050.
Para comprar piezas de repuesto Suncast y
obtener información sobre otros productos
Suncast, visite www.suncast.com o llame al
1-800-846-2345 o al 1-630-879-2050.
BMDB134004
OWNER'S MANUAL
MANUEL DE L’UTILISATEUR
MANUAL DEL USUARIO
Includes parts box A or B
Comprend la boîte de pièces A ou B
Incluye caja de piezas A o B
Before You Begin...
Avant de commencer...
Antes de comenzar...
• Read instructions thoroughly prior to assembly.
This product contains parts that can be damaged if incorrectly
assembled.
• Please follow instructions.
Suncast is not responsible for replacing parts damaged due to
incorrect assembly.
• Avoid scratching finish.
For steps where parts are placed upside down, place
parts on a smooth flat surface to avoid scratching finish.
• Keep these instructions.
You will need the Quality Control Number shown below to register
your product.
• Lisez les instructions avant de procéder au montage.
Cet article comporte des pièces qui risquent d’être endommagées
si ces dernières ne sont pas installées correctement.
• Veuillez suivre les instructions.
Suncast ne peut être tenu responsable en cas de perte de pièces
suite à un montage incorrect.
• Évitez de rayer le fini.
Lors des étapes où les pièces doivent être placées à l’envers,
placez les pièces sur une surface lisse afin d’éviter de rayer le fini.
• Conserver ces instructions.
Le numéro de contrôle qualité ci-dessous est nécessaire pour
l'enregistrement du produit.
Lea completamente las instrucciones antes de iniciar el
armado.
Este producto tiene partes que pueden dañarse si se conectan
incorrectamente.
• Siga las instrucciones.
Suncast no será responsable del reemplazo de piezas dañadas
debido a conexiones incorrectas.
• Evite rayar el terminado.
Para realizar las operaciones en las que las partes
deben colocarse con la superficie terminada hacia abajo,
coloque las partes sobre una superficie suave para evitar rayar su
terminado.
• Conserve estas instrucciones.
Necesitará el número de control de calidad que aparece más
abajo para registrar su producto.
© 2021 Suncast Corporation, Batavia, IL 0361252G

Other manuals for Suncast BMDB134004

Question and Answer IconNeed help?

Do you have a question about the Suncast BMDB134004 and is the answer not in the manual?

Suncast BMDB134004 Specifications

General IconGeneral
BrandSuncast
ModelBMDB134004
CategoryIndoor Furnishing
LanguageEnglish

Summary

Before You Begin

General Safety and Preparation

Read all instructions before assembly and take precautions to avoid damage and scratching.

Safety Precautions and Tools

Usage and Environmental Warnings

Avoid extreme temperatures, excessive heat, and improper use. Clean annually with mild soap and water.

Usage Restrictions and Child Safety

Not for flammable chemicals or children. Prevent suffocation risk by keeping children out.

Required Tools and Assembly Help

Lists necessary tools and suggests having two people for assembly assistance.

Parts Identification

Main Structural Components

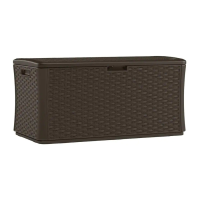
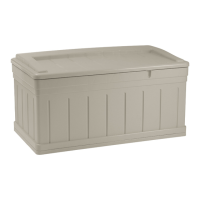
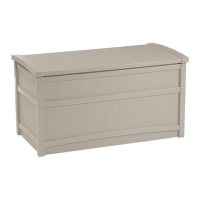
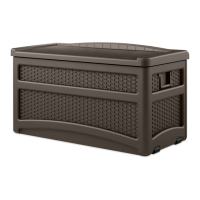
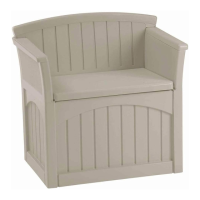
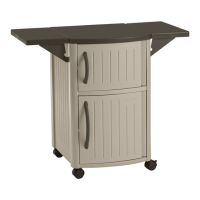
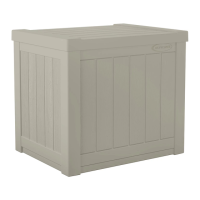
Identifies the main parts of the storage unit, labeled A through F.

Hardware Details

Parts Box A Hardware

Details hardware included in Parts Box A, such as screws, nuts, bolts, and shocks.

Parts Box B Hardware

Details hardware included in Parts Box B, such as shocks, ball studs, and nuts.

Assembly Steps 1-4

Connecting Base and Side Panels

Steps 1-4 describe connecting the side panels to the bottom piece of the storage unit.

Assembly Steps 5-8

Attaching Front/Back Panels and Lid Bracket

Steps 5-8 cover attaching the front and back panels and installing the lid support bracket.

Assembly Steps 9-12 (Parts Box A)

Attaching Hinges and Shocks (Box A)

Steps 9-12 detail attaching hinges and shocks using hardware from Parts Box A.

Assembly Steps 13-15 (Parts Box B)

Preparing Hinges for Box B

Steps 13-15 cover preparing hinge braces and attaching them to the lid panel for Parts Box B.

Assembly Steps 16-19 (Parts Box B)

Completing Box B Assembly and Locking

Steps 16-19 cover aligning the lid, attaching gas shocks, and recommendations for locking the unit.

Warranty Information

Warranty Coverage and Claims Process

Details the 10-year limited warranty, claim procedures, and required proof of purchase.

Warranty Limitations and Exclusions

Lists actions that void the warranty and types of damages excluded from coverage.

Important Disclaimers and Notices

Includes notices on municipal compliance, zoning, and manufacturer liability limitations.

Related product manuals