7
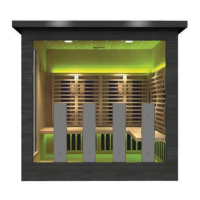
8. Lower the Ceiling Panel onto the ledge near the top of the walls. The side
with the wires and connectors faces up to the sky. Place the ceiling panel so
the side with the long wire coming from the back is the back side of the
sauna.
9. After the ceiling panel is in place, connect the electrical wires that were
originally in the notches in the wall panels to the wires mounted to the fixtures
in the ceiling panel (male to female connectors).
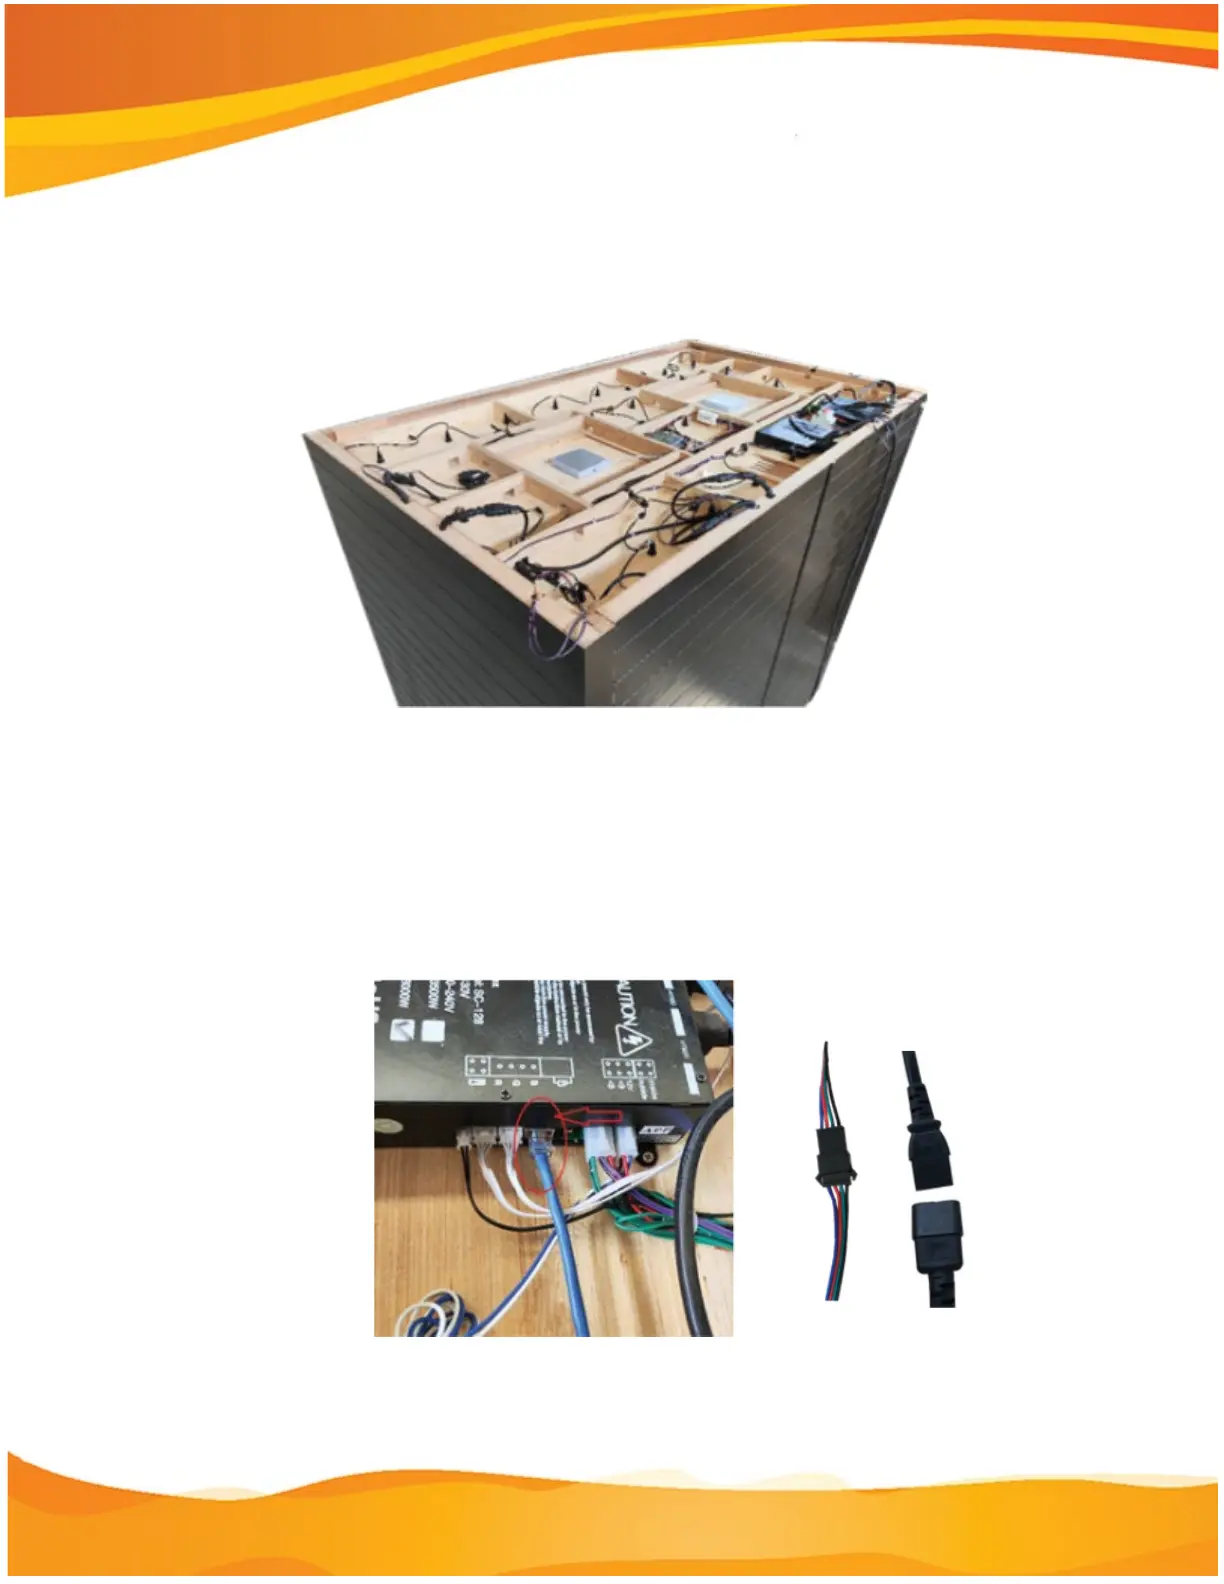
10. There are two black metal electrical boxes on the top of the ceiling panel. On
the box nearest the corner of the panel, find the connections labeled “HT3C”
and “HT2B.” Plug the cable from “HT2B” into the cable that passes through
the wall opening nearest the box. Plug the cable from “HT3C” into the other
cable.
11. Connect the two thin blue wires from the LED lights in the ceiling.