PURPOSE
This Section is designed to aid user in unpacking,
inspecting, and installing Sunnen
®
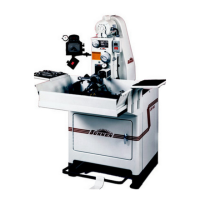
Honing Machine,
model LBB-1660. Hereafter, referred to as Machine
(see Figure 1-1).
TOOLS & MATERIALS
The following tools and materials are required for
unpacking and installing machine:
Wire Cutters/Strippers Knife
Screw Driver (Std. nose) Hammer
Slip-Joint Pliers Crow Bar
Open End Wrenches Tin Strips
Cleaning Solvent Hex Wrenches
INSTALLATION
Read following instructions carefully and thoroughly
before unpacking, inspecting and installing Machine.
All references to right and left in these instructions
are, unless otherwise noted, as seen by operator as
one looks at front of Machine.
1. Remove top and front of shipping carton by
cutting along edges.
2. Remove Components shipped inside carton.
Then, unbolt and remove Machine.
3. Inspect Machine and Components for dents,
scratches, or damage resulting from improper handling,
by carrier. If damage is evident, immediately file a
claim with carrier.
4. Place Machine in desired location.
5. Level Machine in both left to right and front to
back directions. Shim as required.
NOTE: For permanent installation, secure Machine's
Support Feet to Floor with Four (4) Fasteners.
6. Open access Door on front of Machine.
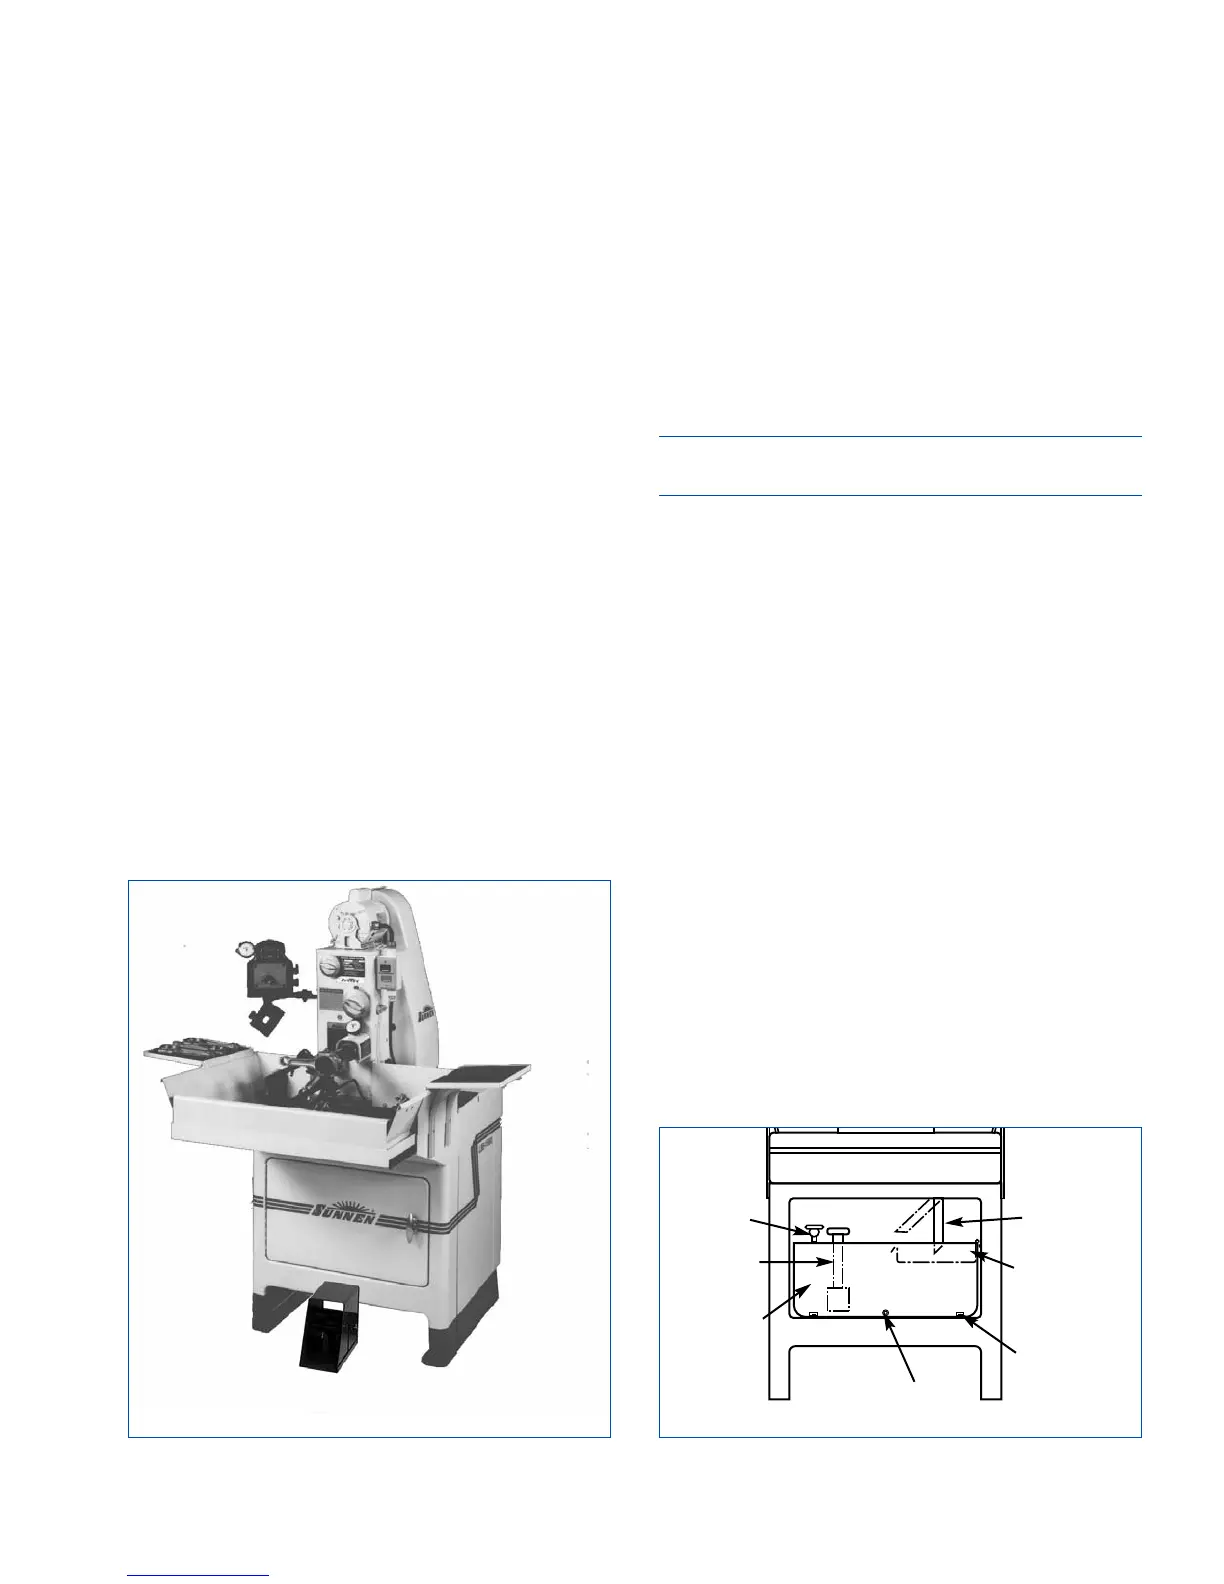
7. Remove Reservoir Retainers, by removing two
(2) Screws
(see Figure 1-2).
8. Remove and discard cardboard packing.
9. Push Drain Pipe to left and up.
10. Loosen Clamp Knob and move Pump back to
loosen oil pump Belt. Then slip belt off pulley.
11. Pull Reservoir out far enough to remove all
packing paper and tape from reservoir.
12. Remove packing material and tape from
Settlement Tray, and install tray in Reservoir.
13. Push Reservoir all way in and install Reservoir
Retainers, removed in step 7.
14. Reinstall oil pump Belt on pulley, removed in
step 10.
15. Pull Pump forward until belt is under tension;
then tighten Clamp Knob.
16. Pull Drain Pipe down and to right.
17. Close access Door to Reservoir.
18. Remove paper and tape from Work Tray.
SECTION 1
INSTALLATION
1
FIGURE 1-1, Precision Honing Machine
LEFT
RIGHT
FRONT
FIGURE 1-2, Coolant Reservoir
CLAMP
KNOB
RESERVOIR
RETAINER
RESERVOIR
DRAIN
PLUG
SETTLEMENT
TRAY
PUMP
DRAIN PIPE