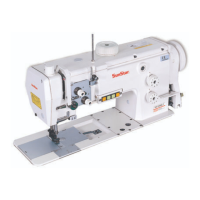
10.WINDING THE BOBBIN(FIG.12)
12.INSTALLING THE THREAD STAND(FIG.14)
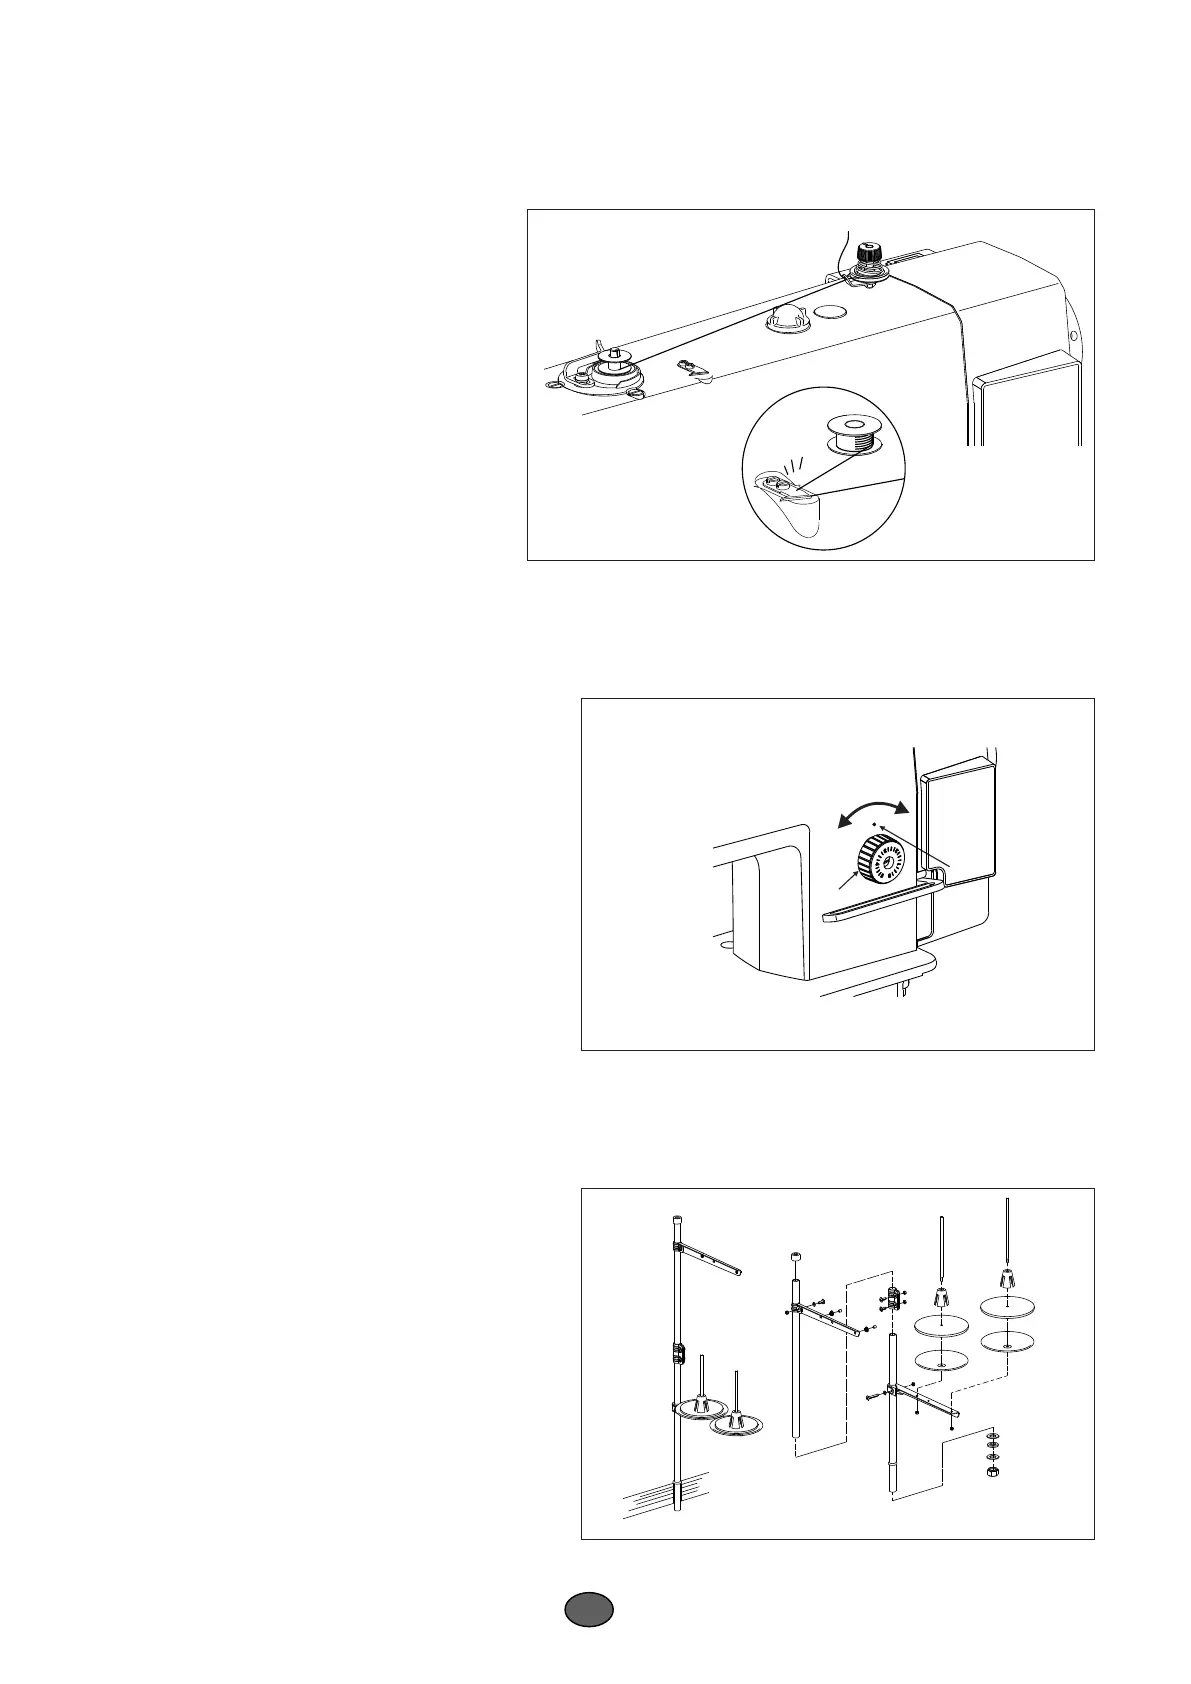
11.ADJUSTING THE STITCH LENGTH(FIG.13)
Thread the bobbin winder and wind the bobbin
thread onto the bobbin illustrated in the Fig.13
1) Turn stitch length dial ① in the direction of the arrow,
and align the desired number to marker dot "A" on the
machine arm.
2) The dial calibration is in millimeters.
3) When you want to decrease the stitch length, turn
stitch length dial ① while pressing feed lever② in the
direction of the arrow.
1) Assemble the thread stand unit, and insert it in the
hole in the machine table.
2) Tighten locknut ① to fix the thread stand.
3) For ceiling wiring, pass the power cord through
spool rest rod ②.
Fig.12
Fig.13
Fig.14
6
26
A
①
 Loading...