2-8
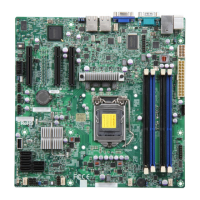
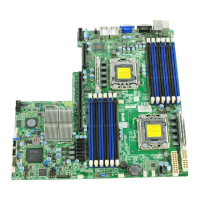
X9SCi-LN4/X9SCi-LN4F/X9SCA/X9SCA-F
For the 1U passive heat sink, ask for SNK-P0046P (back plate is included),
for the 2U active heat sink, SNK-P0046A4.
7. Align the four heatsink fasten-
ers with the mounting holes
on the motherboard. Gently
push the pairs of diagonal
fasteners (#1 & #2, and #3 &
#4) into the mounting holes
until you hear a click. Also,
make sure to orient each
fastener so that the narrow
end of the groove is pointing
outward.
8. Repeat Step 7 to insert all
four heatsink fasteners into
the mounting holes.
9. Once all four fasteners are
securely inserted into the
mounting holes, and the heat-
sink is properly installed on
the motherboard, connect the
heatsink fan wires to the CPU
Fan connector.

 Loading...