33
Chapter 2: Installation
2.4 Memory Support and Installation
Note: Check the Supermicro website for recommended memory modules.
Important: Exercise extreme care when installing or removing DIMM modules to pre-
vent any possible damage.
Memory Support
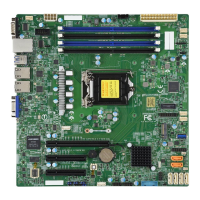
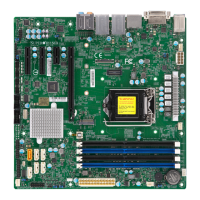
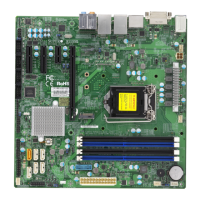
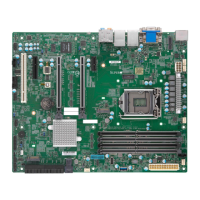
The X11SCA/-W/-F motherboard supports up to 64GB of unbuffered, ECC/non-ECC DDR4
with speeds up to 2666MHz memory in four memory slots. Populating these DIMM slots
with memory modules of the same type and size will result in interleaved memory, which will
improve memory performance.
Installing DDR4 Memory
1. Insert the desired number of DIMMs into
the memory slots, starting with DIMMA2,
then DIMMB2, DIMMA1, and DIMMB1. For
the system to work properly, please use
the memory modules of the same type and
speed.
2. Push the release tab outwards on the end of
the DIMM slot to unlock it.
3. Align the key of the DIMM module with the
receptive point on the memory slot.
4. Align one end of the DIMM module to the
receptive point on the stationary end of the
slot, and the other end of the DIMM to the
locking end of the slot.
5. Press down on the stationary end of the slot
rst, then the locking end until the module
snaps into place.
6. Press the release tab to the lock position to
secure the DIMM module into the slot.
Removing Memory Modules
Reverse the steps above to remove the DIMM
modules from the motherboard.
COM1
JBT1
B3
USB0/1 (2.0)
JPAC1
JPME2
JF1
JLED1
CPU SLOT6 PCI-E 3.0 X16
PCH SLOT2 PCI-E 3.0 X4
PCH SLOT7 PCI-E 3.0 X1
SLOT1 PCI 33MHZ
JWD1
JTBT1
CPU
PCI-E_M.2-M2
PCI-E_M.2-M1
I-SATA5
I-SATA3
I-SATA1
CMOS CLEAR
I-SATA4
I-SATA2
I-SATA0
I-SATA7
I-SATA6
U.2-1
USB4/5 (3.0)
USB8 (3.1,TypeC)
USB9 (3.1,TypeA)
SYS_FAN2
JPW1
SYS_FAN1
CPU_FAN1
JVR1
DIMMA1
DIMMA2
DIMMB1
DIMMB2
CPU_FAN2
SYS_FAN3
JPW2
JPL1
DVI
DP
HDMI
USB2/3(3.0)
USB6/7(3.1)
LAN1
LAN2
AUDIO
JPL2
I-SGPIO1
I-SGPIO2
JSTBY1
SPKR
SP1
JTPM1
AUDIO_FP
JPI2C1
CPU SLOT4 PCI-E 3.0 X8 (IN X16)
JL1
JSD1
LED_PWR_SB
Release Tab
Notches
Press down on the
stationary end rst,
the the locking end.
 Loading...
