38
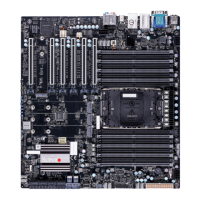
Super X13DAI-T User's Manual
a
b
d
(a, b, c, d: Threaded Fasteners)
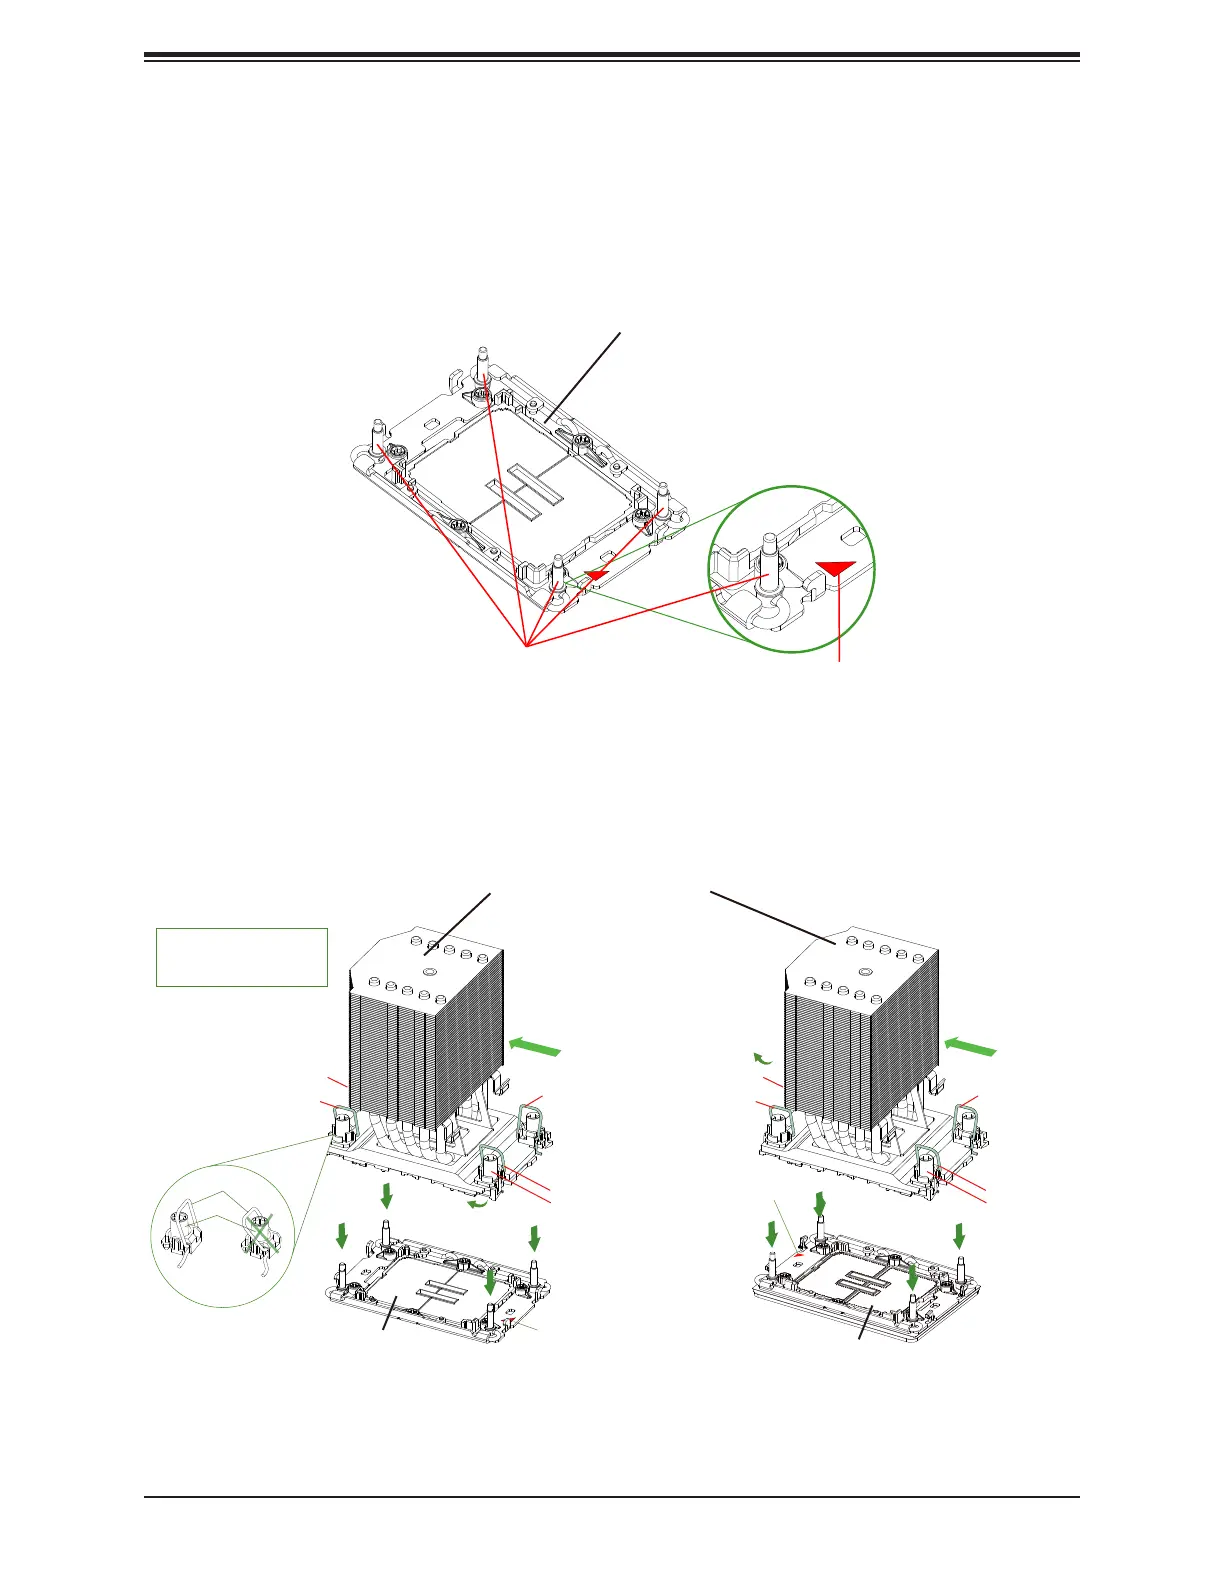
CPU Socket Pin1
CPU Socket
Preparing to Install the PHM into the CPU Socket
After assembling the Processor Heatsink Module (PHM), you are ready to install it into the
CPU socket. To ensure the proper installation, please follow the procedures below.
1. Locate four threaded fasteners (marked a, b, c, d) on the CPU socket.
2. Locate four peek nuts (marked A, B, C, D) and four rotating wires (marked 1, 2, 3, 4) on
the heatsink as shown below.
A, B, C, D: Peek Nut
1, 2, 3, 4: Rotating Wire
a, b, c, d: Threaded Fastener
Peek Nut
(Unlatched)
(Latched)
Rotating Wire
a
c
b
d
C
A
D
B
Rotating Wire 1
Rotating Wire 3
Rotating Wire 4
Rotating Wire 2
Peek Nut
Air Flow Direction
b
d
a
c
D
B
C
A
Rotating Wire 2
Rotating Wire 4
Rotating Wire 3
Rotating Wire 1
Peek Nut
Air Flow Direction
Pin 1
Pin 1
Pin 1
Pin 1
CPU2 Socket
CPU1 Socket
4U Heatsink (Top Side)
 Loading...