16
Needles
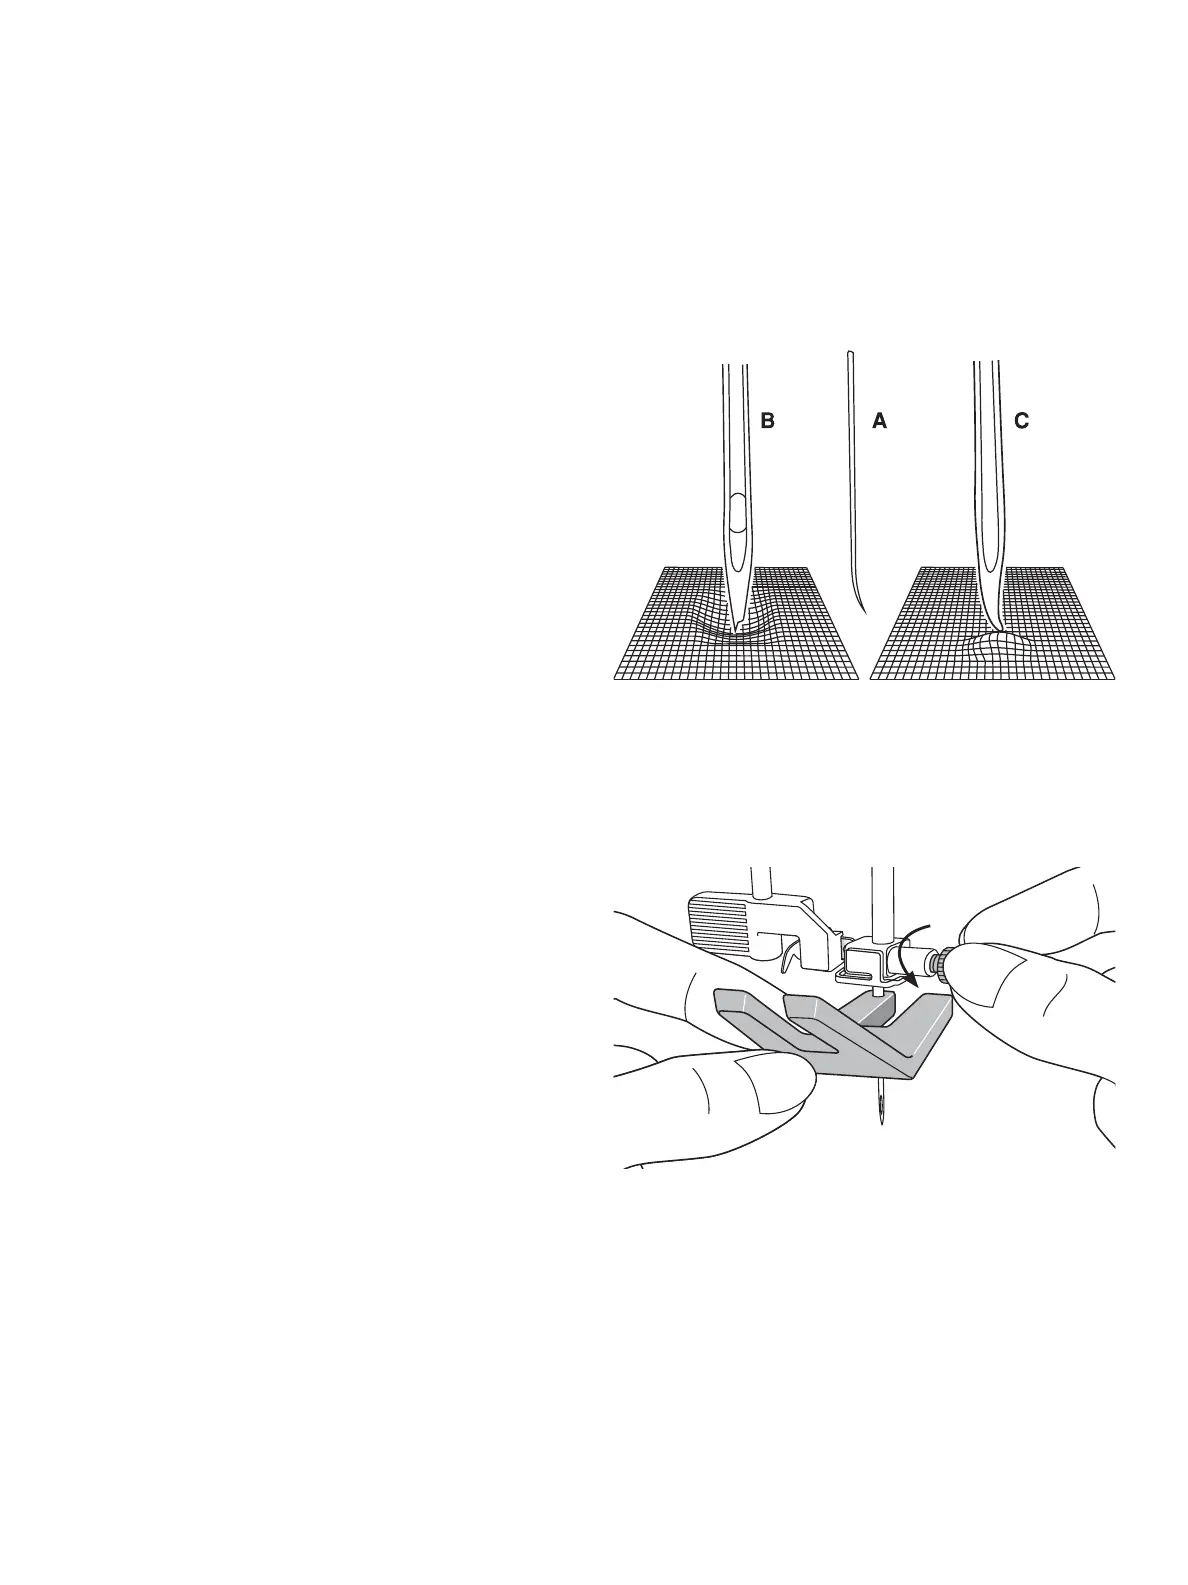
The sewing machine needle plays an important role
LQVXFFHVVIXOVHZLQJ8VHRQO\TXDOLW\QHHGOHV)RU
EHVWUHVXOWVXVH6,1*(5
®
branded needles in your
6,1*(5
®
sewing machine.
Note:Turn the machine off before changing the needle.
Change the needle regularly, especially if it is showing
signs of wear resulting in sewing problems. Needles can
show signs of wear when you see snags in the fabric or
hear a slight popping sound as you are sewing. If the
QHHGOHEHFRPHVEHQW$WKHSRLQWEHFRPHVGDPDJHG
%RUWKHQHHGOHEHFRPHVGXOO&\RXVKRXOGUHSODFHLW
with a new needle and discard the old one.
Generally, the needle should be replaced after every
4 projects or approximately every 16 hours of sewing
time.
It is also important to use the right needle for the fabric
you are sewing. Go to www.singer.com to view the
6WLWFK5HIHUHQFH*XLGH
Changing the Needle
1. Use the hole in the Clearance Plate to hold the
needle.
2. Loosen the needle screw. Use the screwdriver if
necessary.
3. Remove the needle.
4. Insert the new needle, using the Clearance Plate.
3XVKWKHQHZQHHGOHXSZDUGVZLWKWKHÀDWVLGH
away from you until it will go no further.
5. Tighten the needle screw as tight as it will go.