EasyManua.ls Logo

Swift SW150 User Manual

Swift SW150
8 pages
To Next Page IconTo Next Page
To Previous Page IconTo Previous Page
Page #4 background image
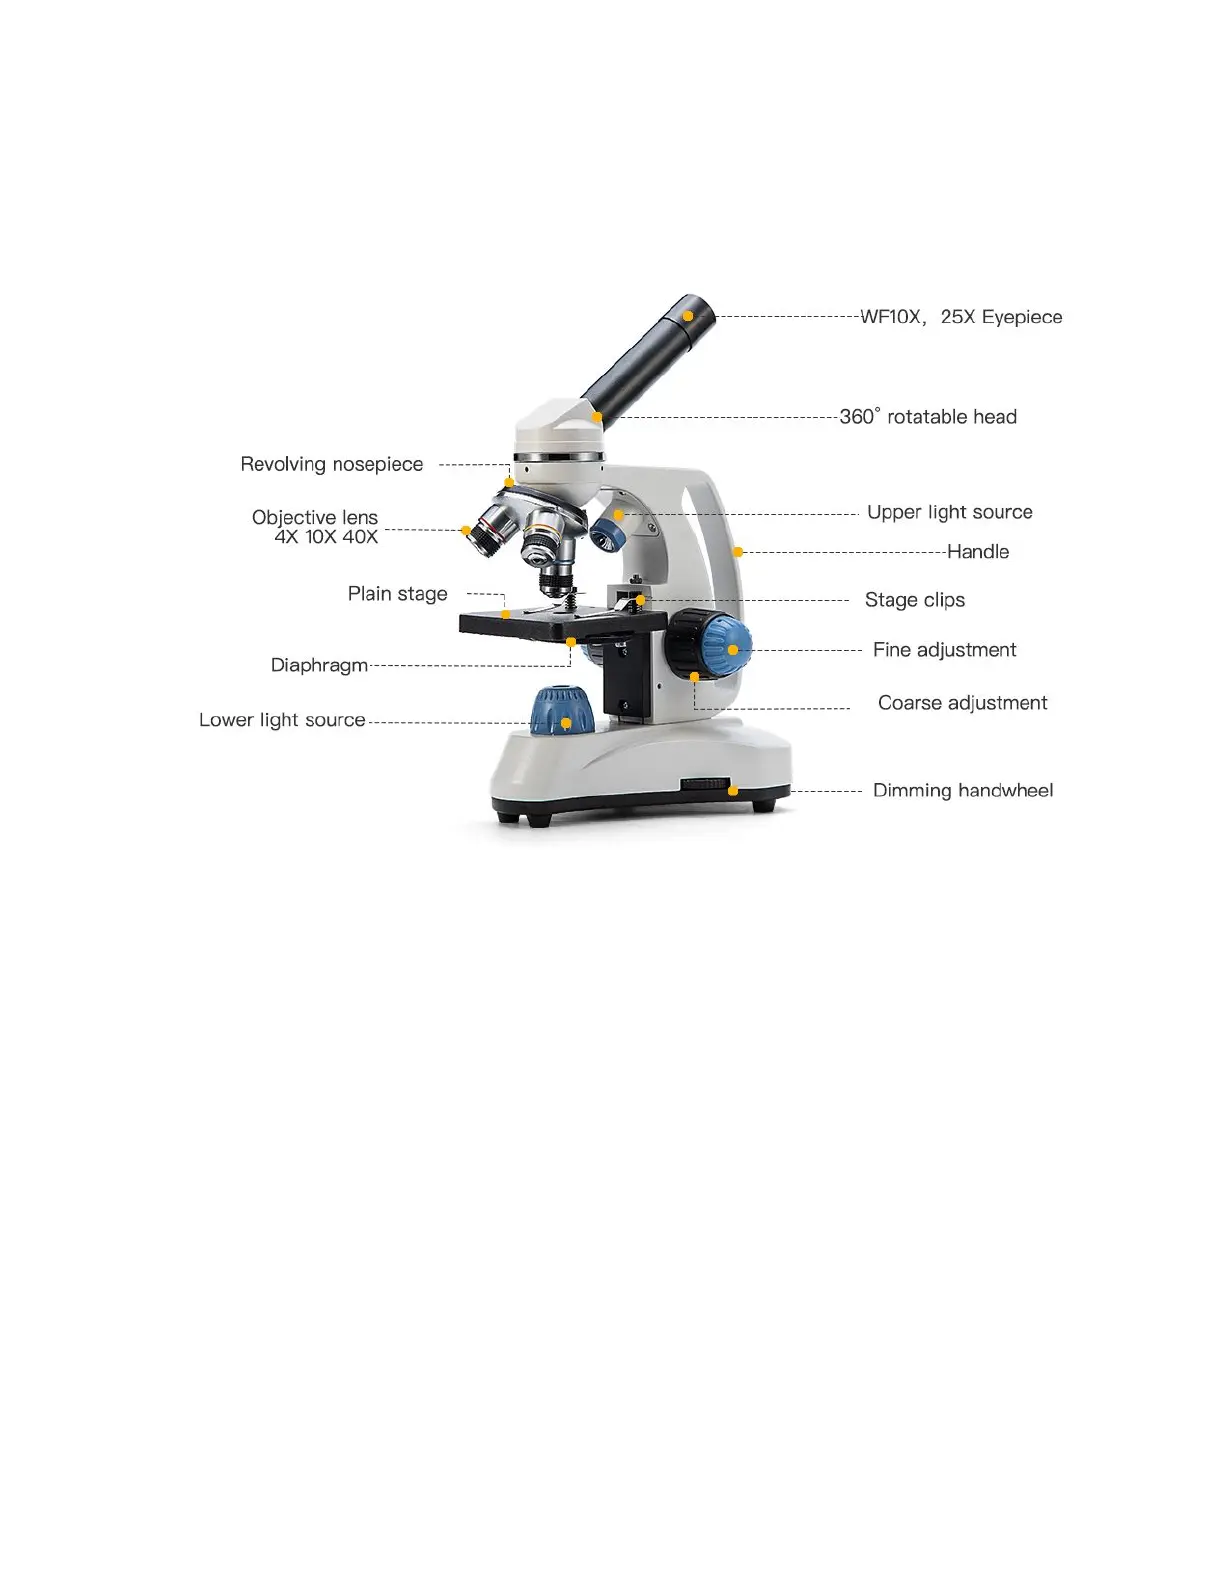
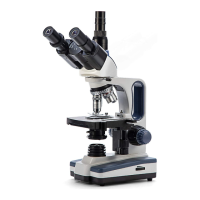
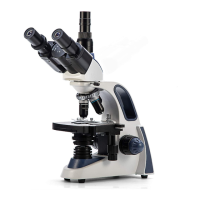
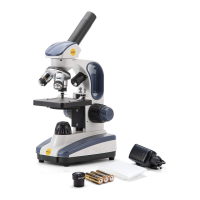
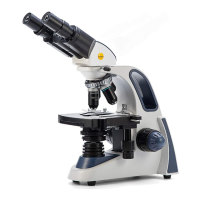
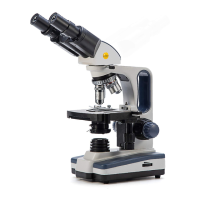
II. Parts of the microscope
III. Assembly and set up
Carefully remove the microscope from the box and set it on a sturdy, flat surface.
Remove the plastic cover from the eyepiece holder on the microscope's head, then
place an eyepiece into the holder. Locate the power adapter and attach it to the
microscope, then plug it in. Turn the microscope on by pressing the power button.
IV. Using the microscope
Turn the microscope on and choose the lower lamp setting. Use the illumination
intensity control dimming handwheel to set the lamp on the lowest brightness setting.
Secure a slide via the slide clips on the stage.
3

Questions and Answers:

Swift SW150 Specifications

General IconGeneral
Observation tubeMonocular, 360° rotatable
EyepieceWide-field 10X and 25X
NosepieceTriple revolving
Objectives4X, 10X, and 40X Achromatic
Magnifications40X, 100X, 250X, 400X, and 1000X
CondenserSingle lens condenser with 6-hole disc diaphragm
FocusingCoaxial coarse and fine focus knobs
IlluminationDimmable top and bottom LED lights
Inclination30°
StagePlain stage with slide clips
Stage size90mmx90mm
Power100-240V AC adapter or 3 AA batteries (included)

Summary

Microscope Specifications

Model and Observation

Details the microscope model (SW150) and its monocular, 360° rotatable observation tube.

Optical Components

Lists eyepiece (Wide-field 10X and 25X), nosepiece (Triple revolving), and objectives (4X, 10X, 40X Achromatic).

Stage and Illumination

Describes the plain stage, stage clips, condenser, and dimmable LED illumination.

Microscope Parts Identification

Key Microscope Components

Identifies essential parts including eyepiece, nosepiece, objective lenses, stage, diaphragm, and light sources.

Microscope Setup and Usage

Assembly and Initial Setup

Guide on removing the microscope from packaging, attaching the eyepiece, and connecting the power adapter.

Basic Operation Guide

Instructions for powering on, selecting illumination, securing slides, and initial focusing steps.

Microscope Care and Troubleshooting

Proper Microscope Maintenance

Recommendations for storing the microscope in a cool, dry place and cleaning lenses with soft brushes.

Common Troubleshooting Issues

Addresses problems like uneven visual fields, blurry images, and poor image quality with potential solutions.

Warranty and Support Information

Swift Microscope Warranty Policy

Details the 5-year warranty for microscopes and 1-year for components, excluding normal wear and misuse.

Customer Support Contact

Provides contact details (phone, email) for inquiries, repair requests, and support.

Related product manuals