4
Chapter 1: Before You Start
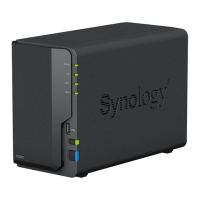
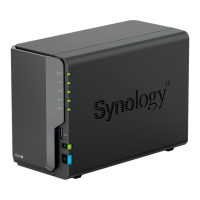
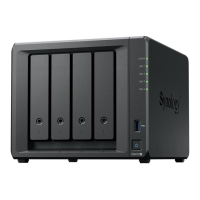
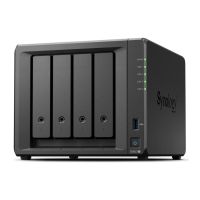
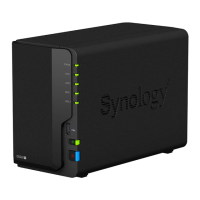
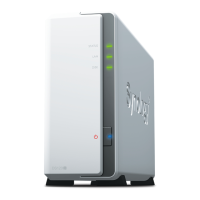
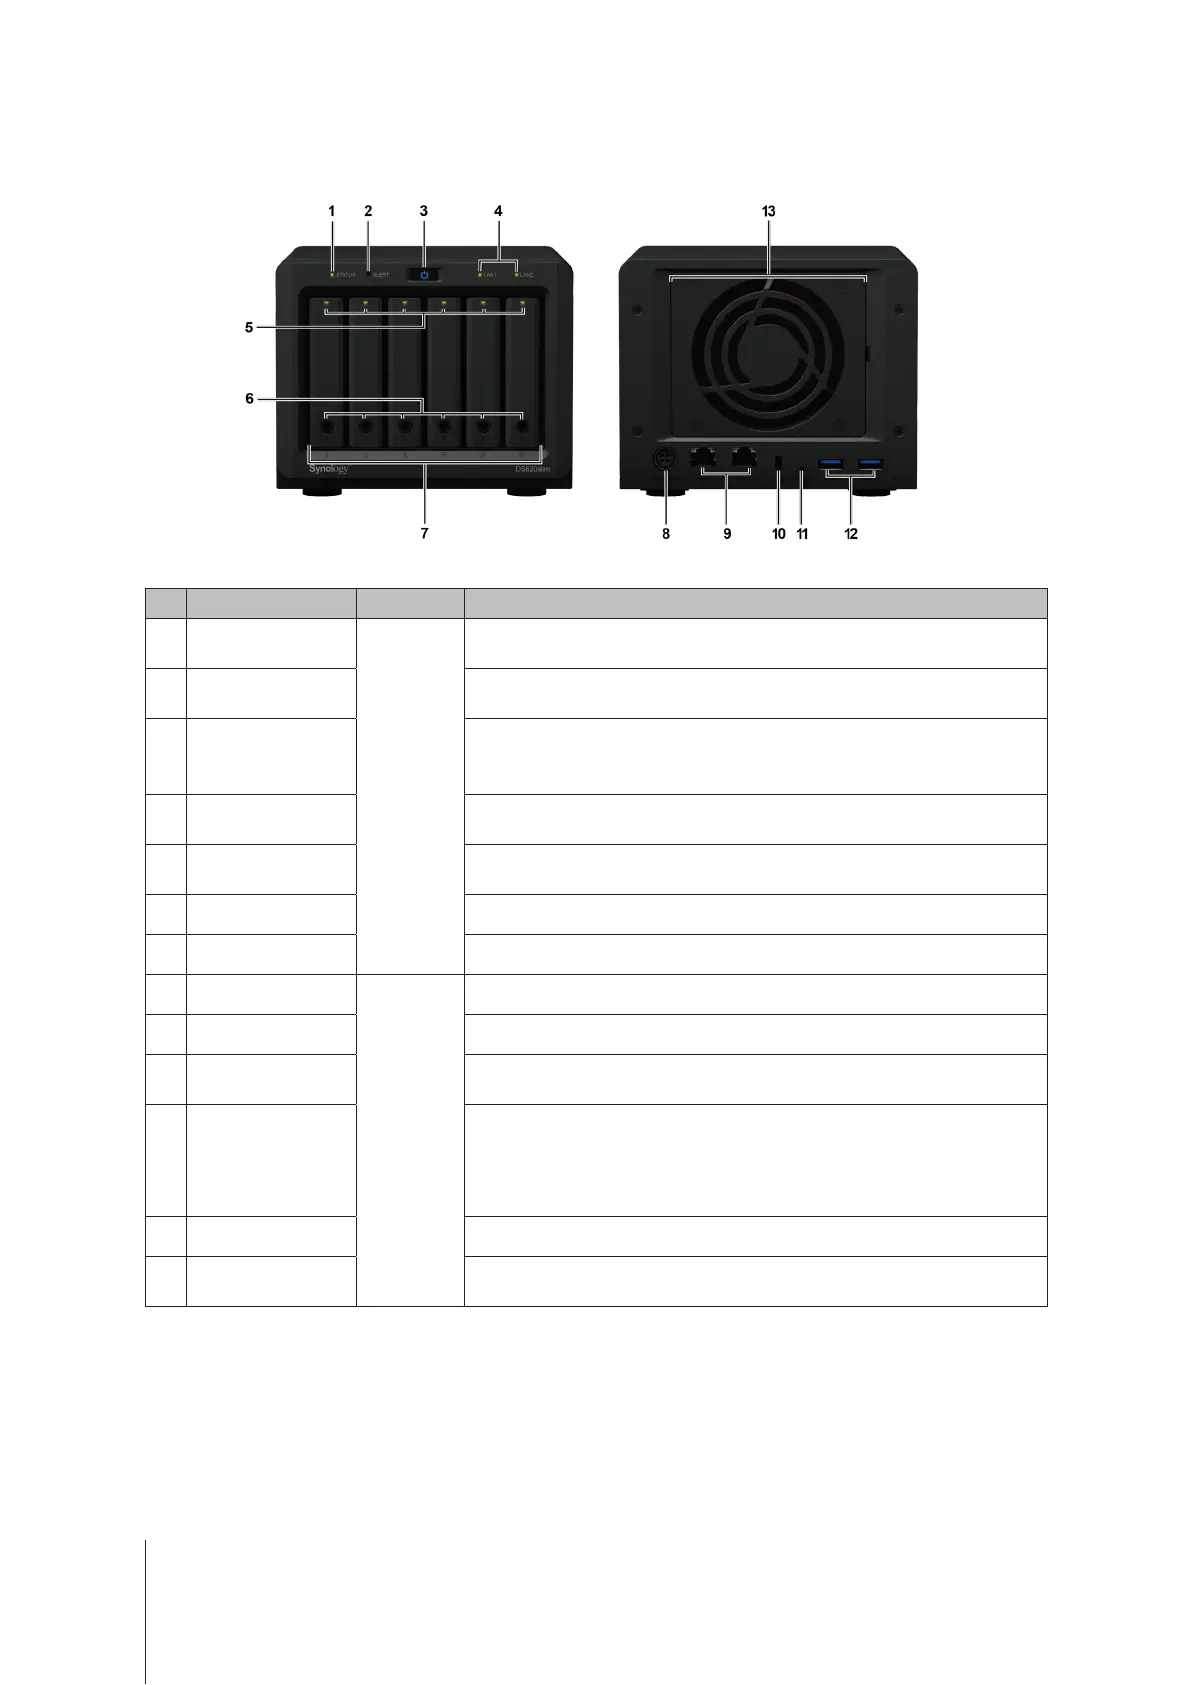
Synology NAS at a Glance
No. Article Name Location Description
1
Status Indicator
Front Panel
Displays the status of the system. For more information, see "LED Indicator
Table".
2
Alert Indicator
Displays warnings regarding fan or temperature. For more information, see
"LED Indicator Table".
3
Power Button
1. Press to power on the Synology NAS.
2. To power o the Synology NAS, press and hold until you hear a beep sound
and the Power LED starts blinking.
4
LAN Indicator
Displays the status of the network connection. For more information, see
"LED Indicator Table".
5
Drive Status Indicator
Displays the status of the installed drive. For more information, see "LED
Indicator Table".
6
Drive Tray Lock Lock or unlock drive trays.
7
Drive Tray Install drives (hard disk drives or solid state drives) here.
8
Power Port
Back Panel
Connect the AC power cord here.
9
LAN Port Connect network cables here.
10
Kensington
Security Slot
Attach a Kensington security lock here.
11 RESET Button
1. Press and hold until you hear a beep sound to restore the default IP address,
DNS server, and passwords for the admin account.
2. Press and hold until you hear a beep sound, then press and hold again until
you hear three beep sounds to return the Synology NAS to “Not Installed”
status so that DiskStation Manager (DSM) can be reinstalled.
12 USB 3.0 Ports Connect external drives or other USB devices to the Synology NAS here.
13 Fan
Disposes of excess heat and cools the system. If the fan malfunctions, the
Synology NAS will emit a beeping sound.