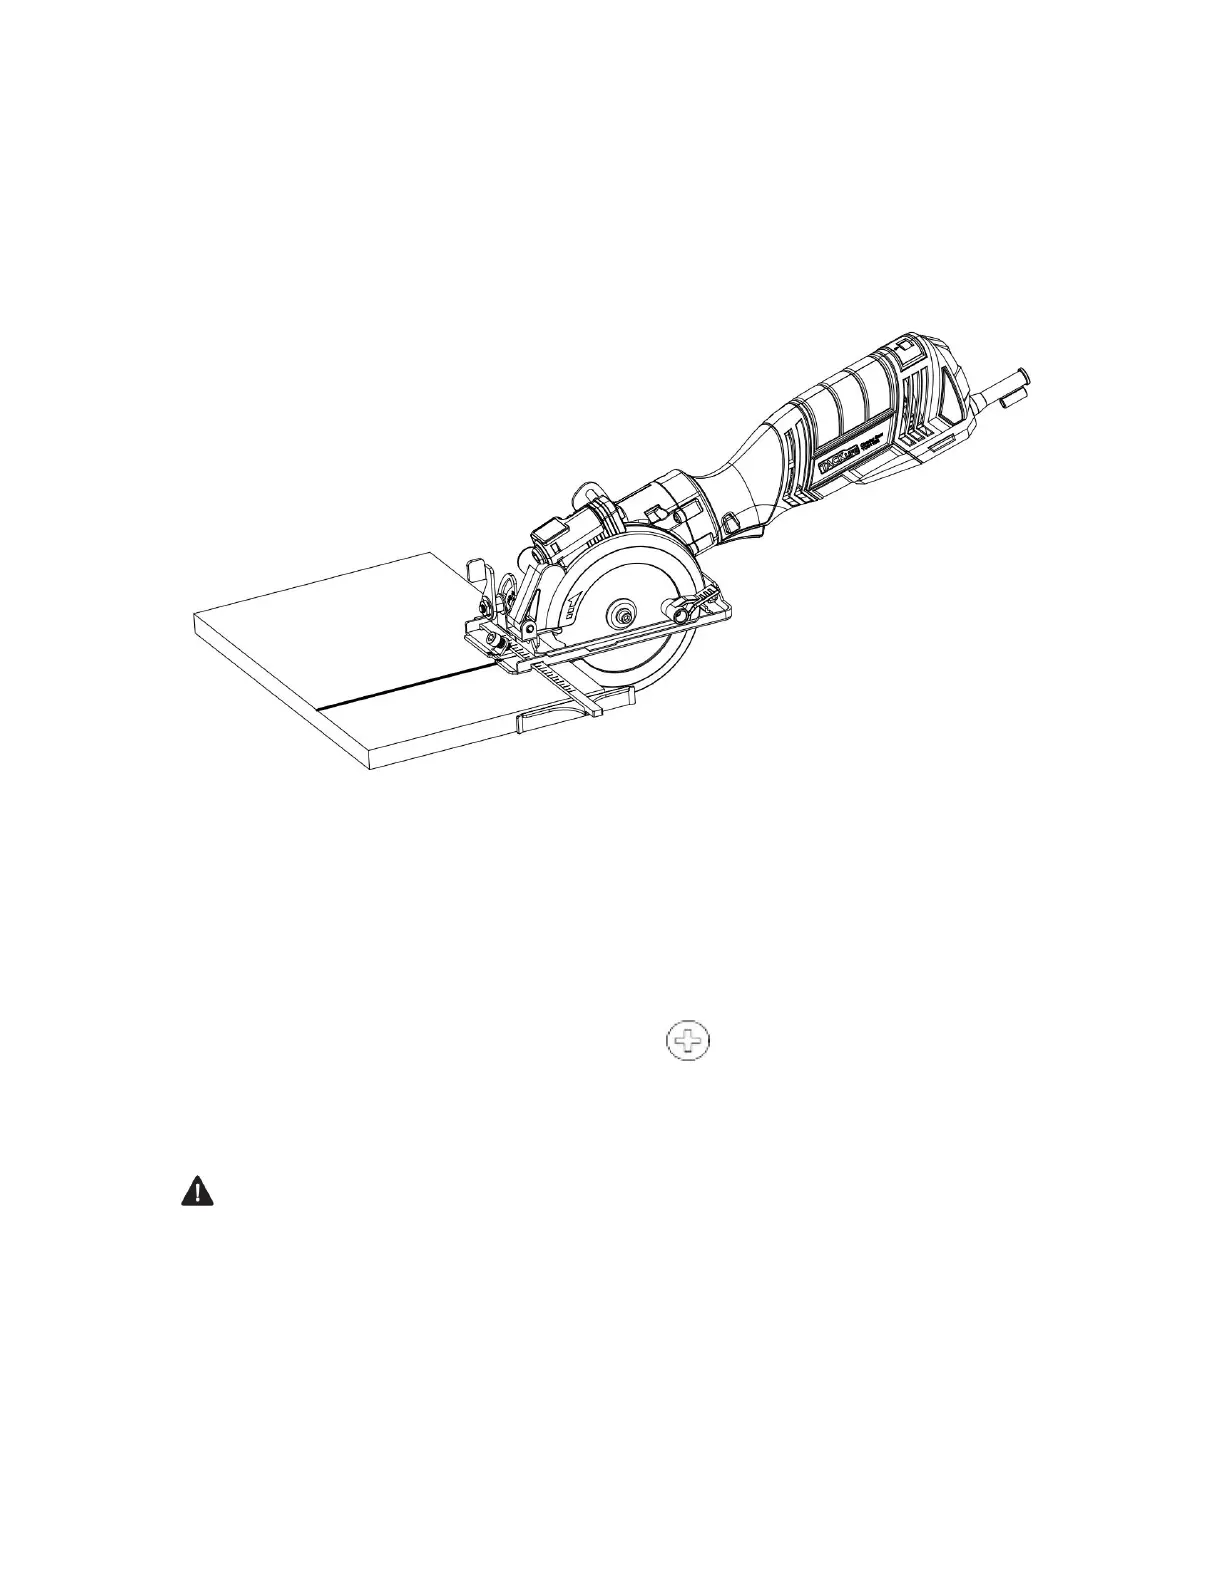
Whenever possible, install the edge guide on the left hand side of the sole plate (Fig.
11). This will place the majority of the tool weight on the larger portion of
the workpiece, making it easier to control the tool. If necessary, the edge guide may
be installed from the opposite side, but the edge guide mounting rod MUST engage
both of the edge guide slots in the sole plate.
Fig.11
ASSEMBLY AND OPERATING CHANGING THE LASER BATTERIES
The batteries that operate the laser will have to be replaced after considerable use
of the laser.
1.Turn the laser switch OFF.
2.Remove the laser cover screw (1) using a #2 screwdriver (Fig. 12).
3.Lift the laser cover (2) off the top of the laser assembly (Fig. 13).
4.Remove the two old batteries (3).
DANGER: Never allow the laser beam to shine into a person’s eyes. Serious eye
damage could result. Make sure the laser switch is OFF and the laser is NOT pointing
toward you while replacing the laser batteries and when checking the laser function.
5.Insert two new batteries.
 Loading...