T2200P Weighing Indicator User’s Guide
- 16 -
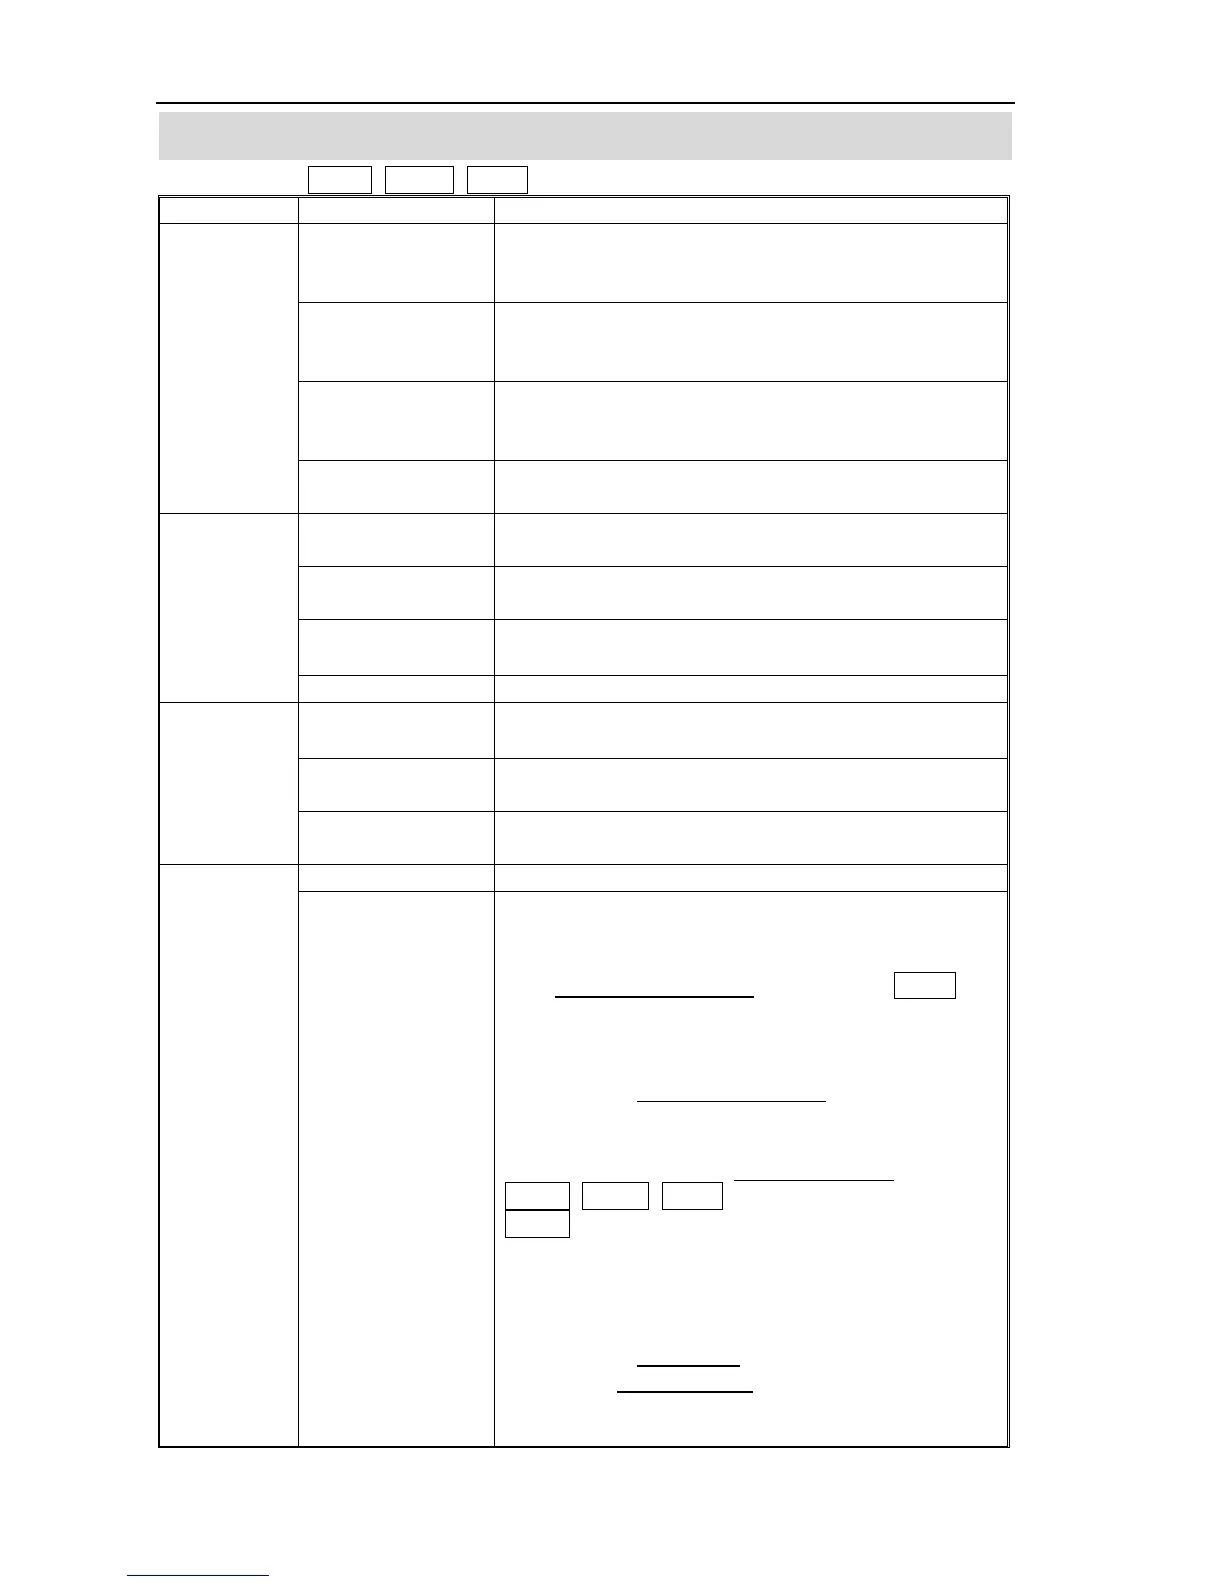
SECTION 11 TECHNICAL PARAMETERS
You can press SMPL, PRINT, TARE key to enter setting mode at PROG mode
FUNCTION SUB-FUNCTION DESCRIPTION
AZN 0
This option is used to select the auto zero
maintain
Options : 0.5d, 1d, 2d, 4d
0-AUTO
This option is used to select the auto zero range
when turn the indicator.
Options : 0%, 2%, 5%, 10%, 20%
0-RANGE
This option is used to select the manual zero
range when press the ZERO key.
Options: 2%, 4%, 10%, 20%, 50%, 100%
P1 REF
SPEED
Set the ADC speed
7.5/15/30/60 times/second
DECI
This option is used to select the decimal
Options : 0, 0.0, 0.00, 0.000
INC
This option is used to select the division
Options : 1, 2, 5, 10, 20, 50
CAP
This display will show xxxxxx for setting the
capacity.
P2 CAL
CAL
Calibrate, see detail in SECTION 10
TRI
This display will show xxxxxx for trimming the
load cells .
COUNT
This display will show xxxxxx for indicating the
internal counts.
P3 PRO
RESET
This display will show SURE for recovering the
factory default setting.
MODE 0
This is mode of the natural scale
P4 CHK
MODE 1
This is parameter of the animal scale
If you set MODE 1, then will display some
parameter to set the animal scale
First set the shake range, you can use TARE key
to select 0/5/10/15/20/25/30/35/40/45/50, (0
means disable) reading data shake between the
range you set, the reading will be lock.
Then set the reading lock option
, A 1(lock the min
data), A2(lock the average data), A3(lock the
max data)
Then set the new data increment value
, use
SMPL, SHIFT, TARE key to enter the data, use
ZERO key to sure. After you set these data,
when reading have been locked, if you add
goods again to the platform or release goods
more than this weight, the reading will be update
and lock again.
Then set the delay time: 10/20/30/40.
At last, set lock condition (3/4/5/6/7/8), 3 means if
find continuous 3 times data between the range,
data will be locked.
 Loading...