25
Models 750, 751, 754, 774, 791, 794 Operating Procedures
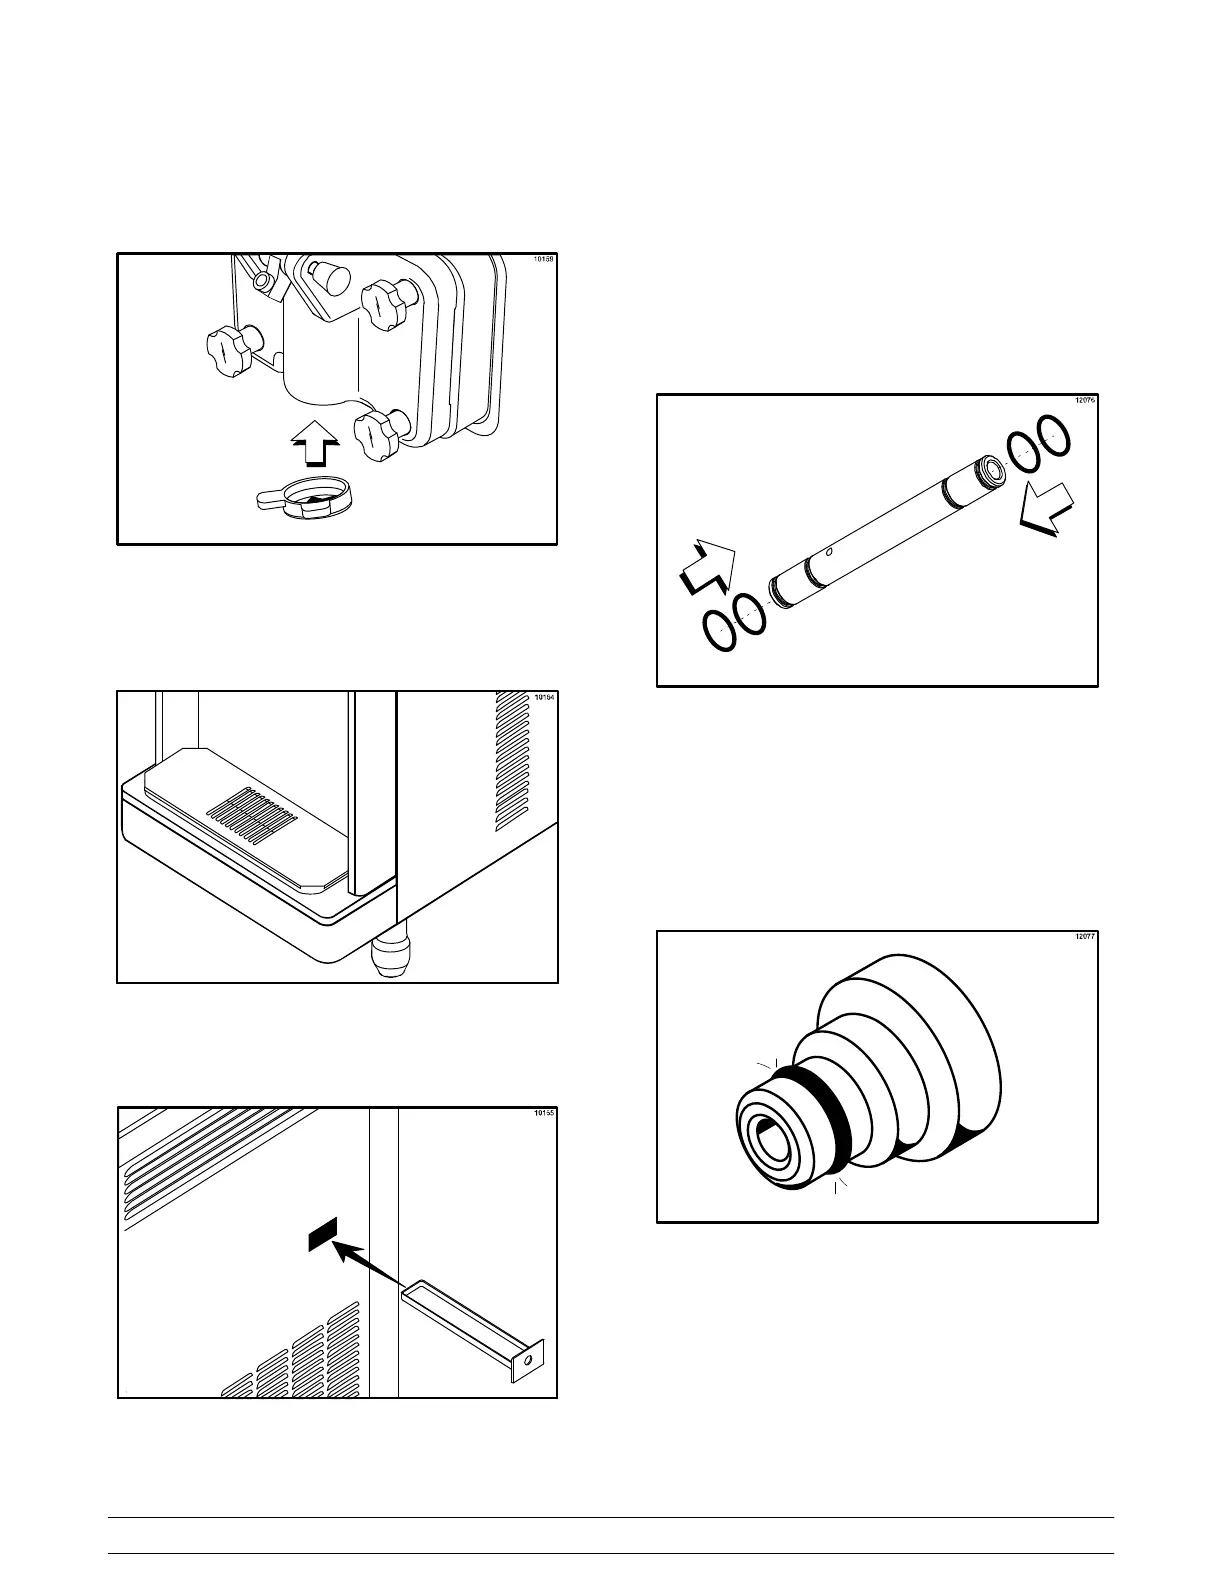
Step 7
Snap the design cap(s) over the end of the door
spout(s).
Figure 18
Step 8
Install the front drip tray and the splash shield under
the door spout(s).
Figure 19
Step 9
Slide the rear drip pan(s) into the hole in the side panel.
Figure 20
Models 791 & 794: Slide the rear drip pan into the hole
in the front panel.
Step 10
Slide two o−rings on one end of the air tube. Slide two
o−rings on the other end of the air tube.
Figure 21
Slide the small o−ring into the groove of the air orifice.
Do not lubricate the o−ring.
Figure 22
Note: Make sure the hole in the air orifice is clean and
is not clogged. If the hole in the air orifice should
become clogged, use soap and hot water to clear the
hole. Do not enlarge the hole in the air orifice.