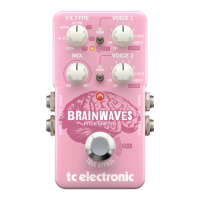
7 BRAINWAVES PITCH SHIFTER User Manual
When using the Brainwaves before the amp’s input, it is generally best to place it
before your other pedals. However, if any stereo eects are used before the pedal,
you can preserve this stereo signal by connecting to both of the Brainwaves’
inputs and sending the output jacks to other stereo pedals, dierent amps, or to a
stereo input on a mixer.
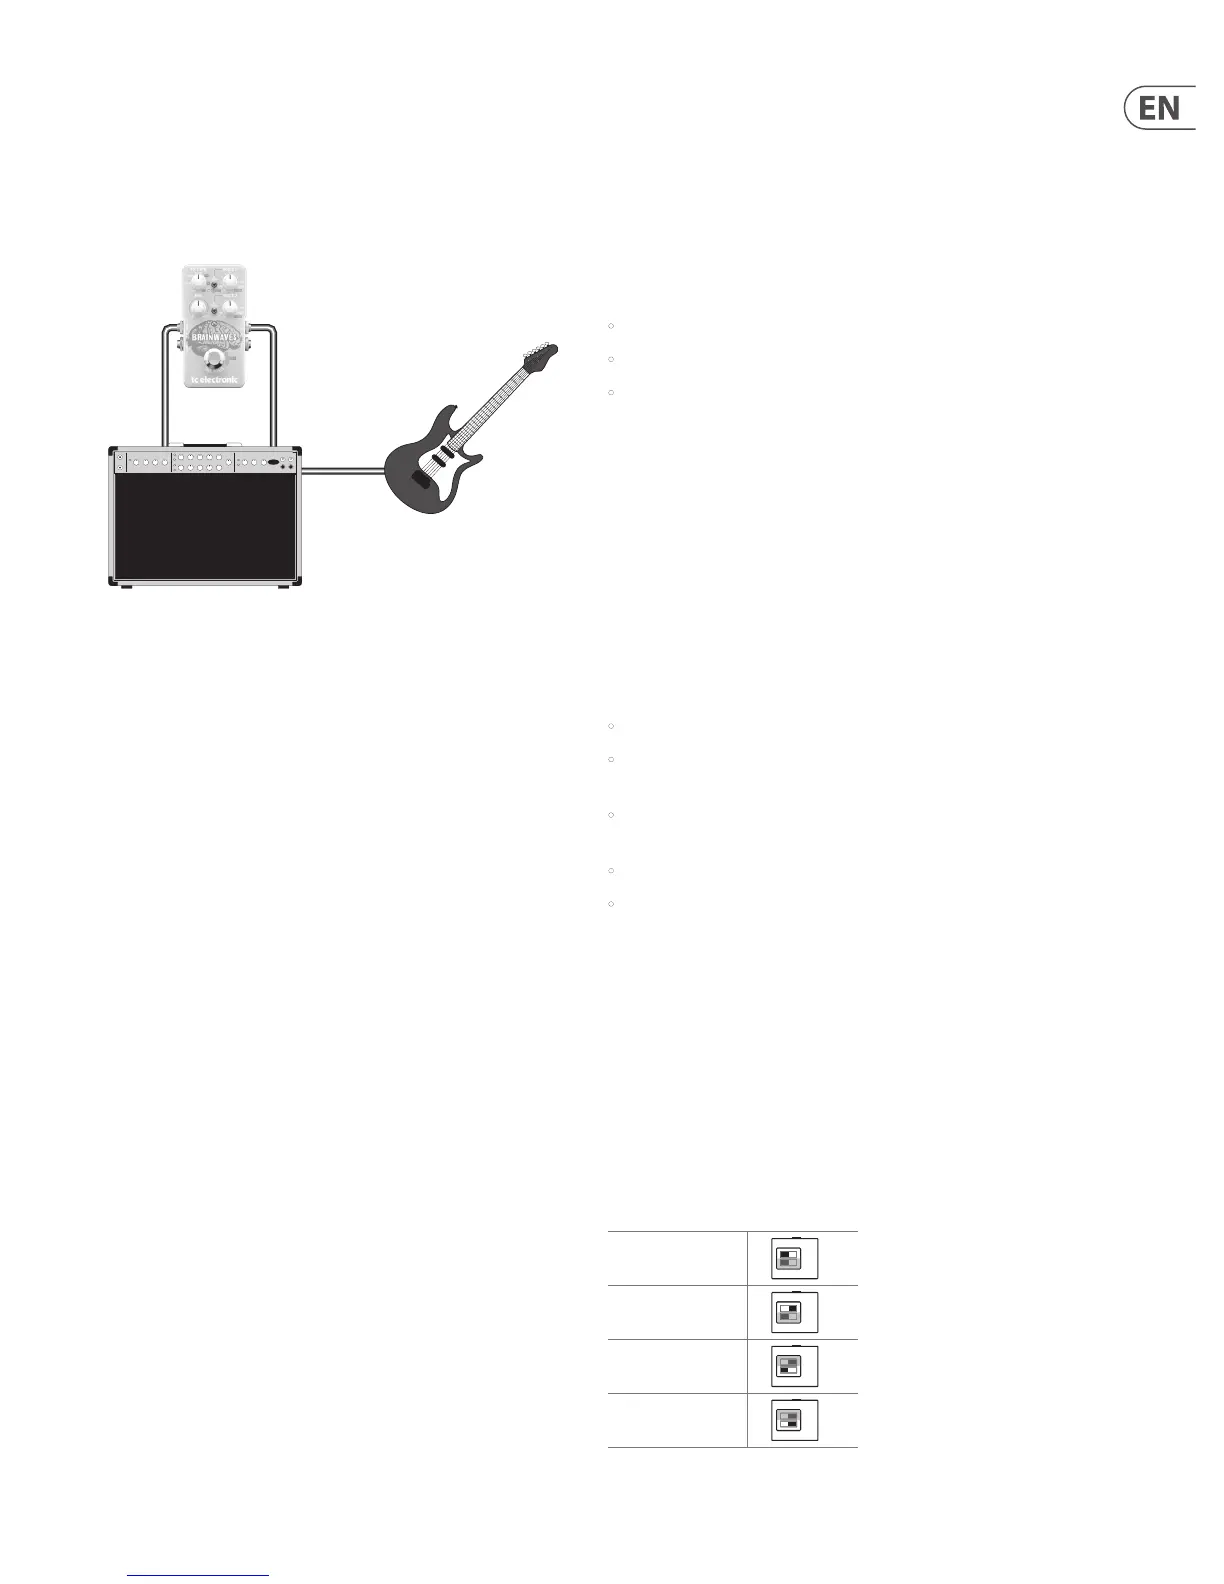
Example 2: In the amp’s FX loop
The Brainwaves has a very wide gain range, and can easily be used with guitar or
loop-level signals. Simply connect the amp’s Send jack to the Brainwaves input,
and connect the output to the amp’s Return jack.
5.2 MASH switch
The MASH function on the Brainwaves is a very exciting and innovative feature
that allows continuous control of a desired parameter through pressure on the
footswitch. This opens up countless creative possibilities, particularly with the
user-dened TonePrints.
The standard toggle function of the footswitch reacts to single, quick presses of
the switch to turn the pedal on and o. If you press the switch slightly harder and
hold it down, the MASH function will engage, causing the associated LED to light
up slightly. As you press down harder on the switch, the LED lights up brighter
and the parameter that has been assigned to this function will increase its value.
Releasing the footswitch will exit the MASH function and the LED will turn o,
but the pedal will still be engaged.
Note that the pressure needed to reach the maximum MASH level is only
10 kg (around 20 pounds), which can be achieved just by squeezing with your
ngers. You shouldn’t need to lean too much weight on the pedal. With some
practice, this feature will become familiar and expressive much like a wah or
volume pedal.
Using the TonePrint app software, you can assign your own parameter to this
unique feature and save a custom preset that allows you to create sounds that
very few pedals have been capable of before. See Chapter 3 for more details on
TonePrints.
6. Bypass Mode
6.1 True Bypass and Buered Bypass explained
True Bypass mode is a hard-wire bypass that gives absolutely no coloration of
tone when the pedal is bypassed. This is the default mode for your eect pedal.
Using True Bypass on all pedals is a perfect choice in setups with a few pedals and
relatively short cables before and after the pedals.
If...
• you use a long cable between your guitar and the rst pedal or
• if you use many pedals on your board or
• if you use a long cable from your board to the amp,
... then the best solution will most likely be to set the rst and the last pedal in
the signal chain to Buered Bypass mode.
Can you hear the dierence between a pedal in True
Bypass or Buered Bypass mode?
Maybe, maybe not – many factors apply: active vs. passive pick-ups, single-coil
vs. humbucker, cable quality, amp impedance and more. We cannot give a single
ultimate answer. Use your ears and nd the best solution for your setup!
6.2 Switching between True Bypass and
Buered Bypass
To set the bypass mode, proceed as follows:
• Disconnect the pedal and turn it on its back.
• Unscrew the back plate of the pedal and look for the two small dip-switches
in the upper left corner.
• The upper DIP switch (the one closer to the power in jack), switches between
True Bypass mode (default) and Buered Bypass mode.
• Set the DIP switch to the desired position.
• Remount the back plate.
6.3 Kill-dry on/o
When you activate Kill-dry, the direct signal is removed from the pedal’s output.
Use this mode when you place your TC Electronic eect pedal in a parallel
eects loop.
To set Kill-dry mode, proceed as follows:
1. Disconnect the pedal and turn it on its back.
2. Unscrew the back plate of the pedal and look for the two small dip-switches
in the upper left corner.
3. The lower DIP switch (the one further away from the power in jack),
switches between Kill-dry on and Kill-dry o mode.
Guitar
Combo Amp
Brainwaves
FX SendFX Return
Input
True bypass
Buered bypass
Kill-dry o
Kill-dry on
 Loading...