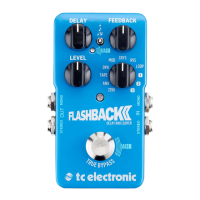
8 FLASHBACK 2 DELAY User Manual
5.3 Using the looper
With the looper built into your Flashback 2, you can record and play back grooves
and lines for playing along. You can even overdub your recording an unlimited
number of times.
The first round of recording always sets the length of the loop. The
duration of a
loop can be up to 40 seconds in mono and 20 seconds in stereo, regardless of how
many overdubs you make.
If an overdub exceeds the length of the loop, a third round of recording begins.
This gives a very natural, logic and musical feel when recording loops.
The DELAY and FEEDBACK knobs are inactive in Loop mode.
Recording and playing loops:
• Set the Delay type selector to LOOP.
• Make sure the pedal is in bypass mode (i.e., the LED should be o ). Feel the
groove and prepare for recording. Then tap the pedal’s footswitch to start
your recording and begin playing. The pedal’s LED ashes red.
• To stop recording, press the footswitch again. Flashback Delay immediately
switches to playback mode and starts playing the loop. In playback mode,
the LED is green.
• To overdub your recording, press the switch once more. The LED now blinks.
• To delete all recordings, double-tap the footswitch.
• An external footswitch can be connected to the Stereo Input jack to act as a
dedicated Stop switch (mono mode only).
6. Bypass Mode
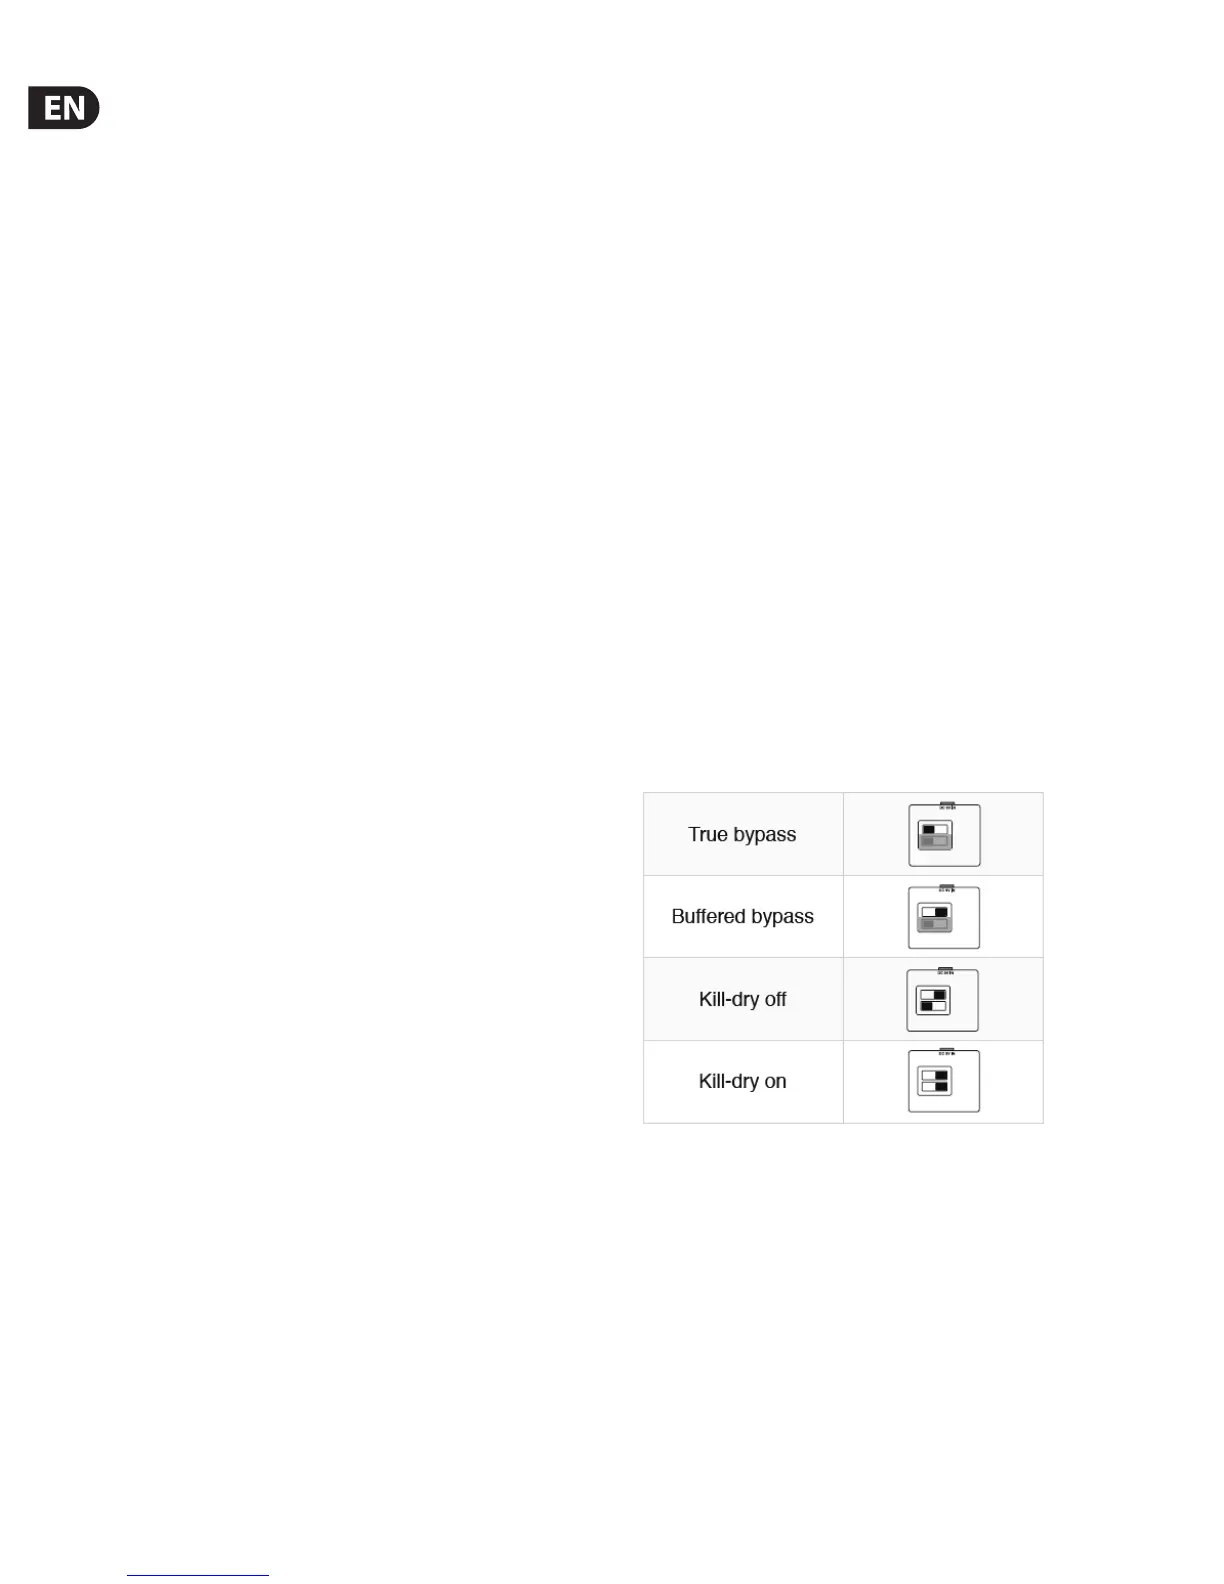
6.1 True Bypass and Buffered Bypass explained
True Bypass mode is a hard-wire bypass that gives absolutely no coloration of
tone when the pedal is bypassed. This is the default mode for your effect pedal.
Using True Bypass on all pedals is a perfect choice in setups with a few pedals and
relatively short cables before and after the pedals
If...
• you use a long cable between your guitar and the first pedal or
• if you use many pedals on your board or
• if you use a long cable from your board to the amp,
... then the best solution will most likely be to set the first and the last pedal in
the signal chain to Buffered Bypass mode.
Can you hear the difference between a pedal in True
Bypass or Buffered Bypass mode?
Maybe, maybe not – many factors apply: active vs. passive pick-ups, single-coil
vs. humbucker, cable quality, amp impedance and more. We cannot give a single
ultimate answer. Use your ears and find the best solution for your setup!
6.2 Switching between True Bypass and
Buffered Bypass
To set the bypass mode, proceed as follows:
• Disconnect the pedal and turn it on its back.
• Unscrew the back plate of the pedal and look for the two small dip-switches
in the upper left corner.
• The upper DIP switch (the one closer to the power in jack), switches between
True Bypass mode (default) and Buffered Bypass mode. The other switch has
no function.
• Set the DIP switch to the desired position.
• Remount the back plate.
6.3 Kill-dry on/o
When you activate Kill-dry, the direct signal is removed from the pedal’s output.
Use this mode when you place your TC Electronic e ect pedal in a parallel
e ects loop.
To set Kill-dry mode, proceed as follows:
• Disconnect the pedal and turn it on its back.
• Unscrew the back plate of the pedal and look for the two small dip-switches
in the upper left corner.
• The lower DIP switch (the one further away from the power in jack),
switches between Kill-dry on and Kill-dry o mode.
You can only remove the dry signal from the signal path if you have selected
Bu ered Bypass mode using the upper DIP switch (see section 6.2). Kill-dry is not
available in True Bypass mode.