VoiceLive3 overview
VoiceLive 3 – Reference manual (2014-03-29) 39
you can move to the Buttonmap screen from
there.
There is a separate Buttonmap screen for both
the Vocal and Guitar layer – but that’s a can of
worms we can open later.
Editing HIT
Return to the Vocal layer by pressing Home. If
you are on the Guitar Layer (indicated by red
LEDs), press the Layer button until the Vocal
layer is active.
You can easily edit the effects contained within
the HIT function. It is possible to have effects ac-
tive when HIT is on or off. We refer to these two
states as “HIT on” and “HIT off”. Think of them
as two variations of a Preset.
– Press the HIT button a couple of times.
– Take note of which effects come on and off
when HIT is active (HIT on) and inactive (HIT
off).
– Now, let’s add an effect to the “HIT on” flavor
of this Preset.
– Activate HIT.
– Now, turn on an effect that is currently off. For
this example, try µMod.
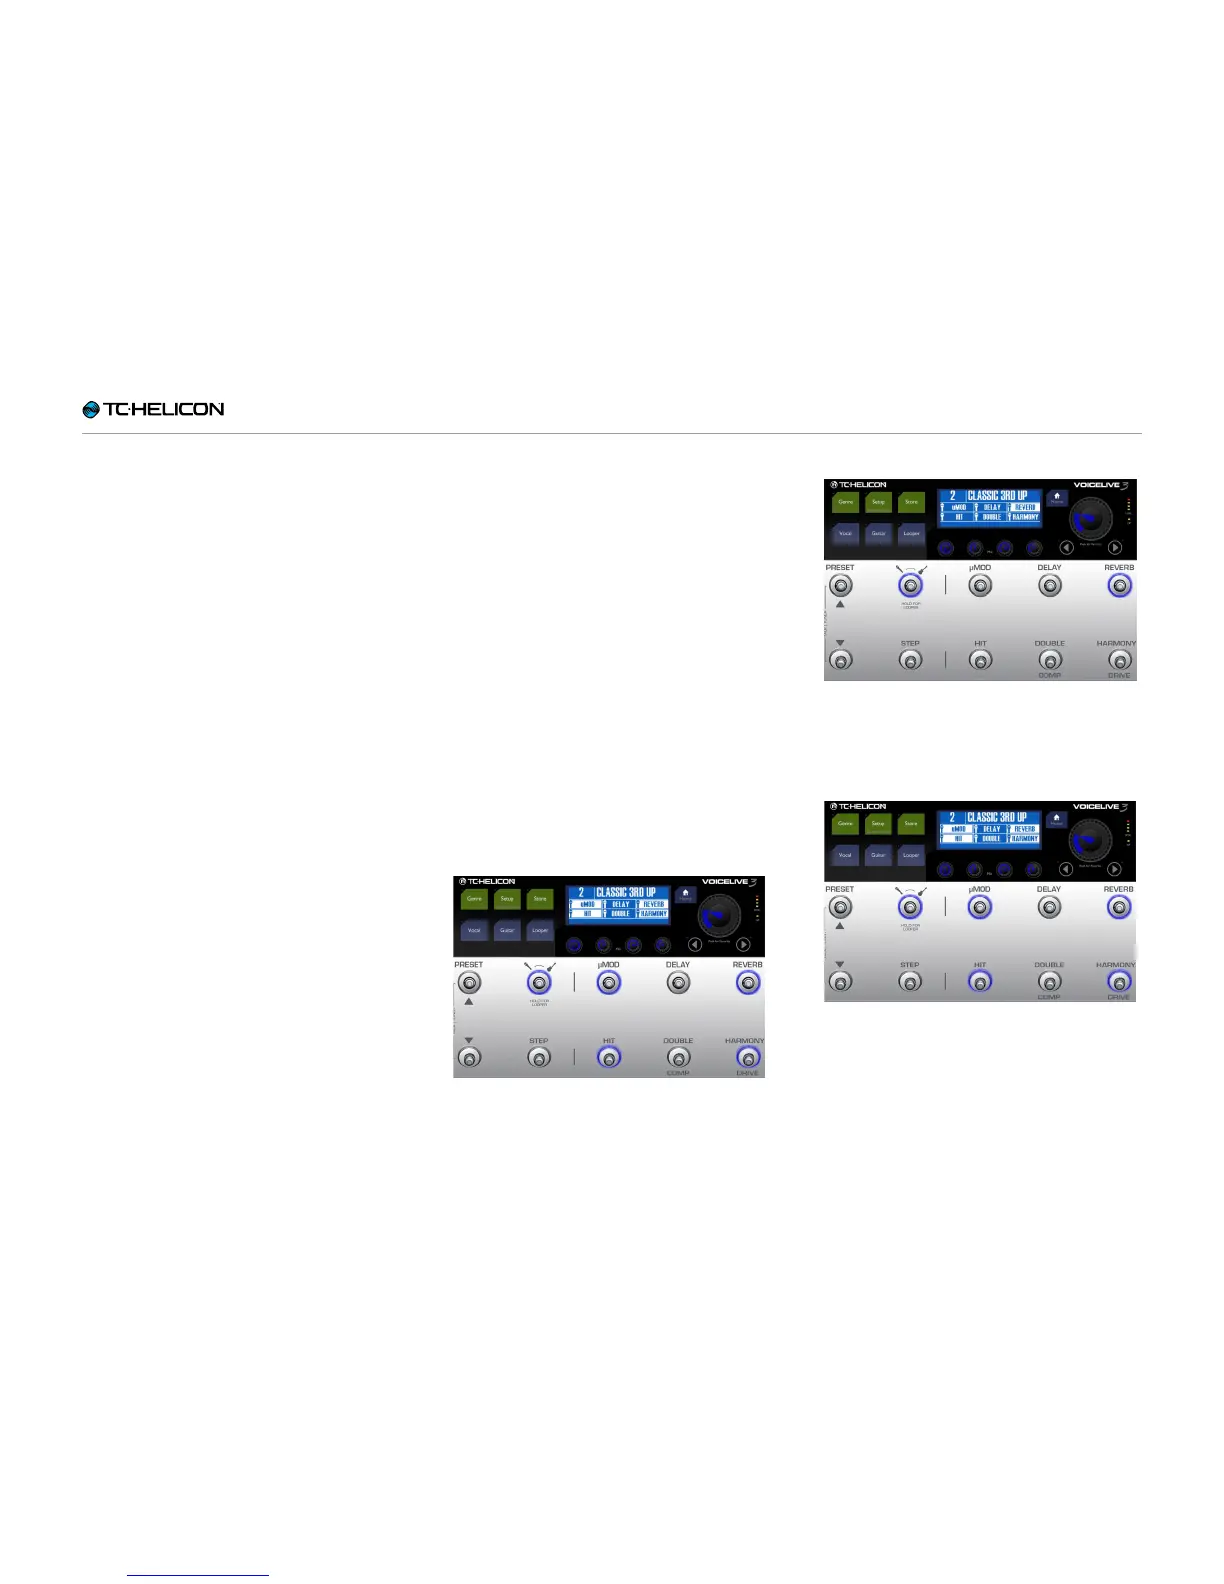
Preset 2 – HIT on
– Press HIT. Notice that µMod (and Harmony)
turns off.
Preset 2 – HIT off
– Press HIT again. You will see that µMod
comes back on, in addition to Harmony, which
was previously activated by pressing HIT.
– If you save the Preset, your new HIT assign-
ment will be saved and you can control both
µMod and Harmony with the single HIT button
the next time you use the Preset.
 Loading...