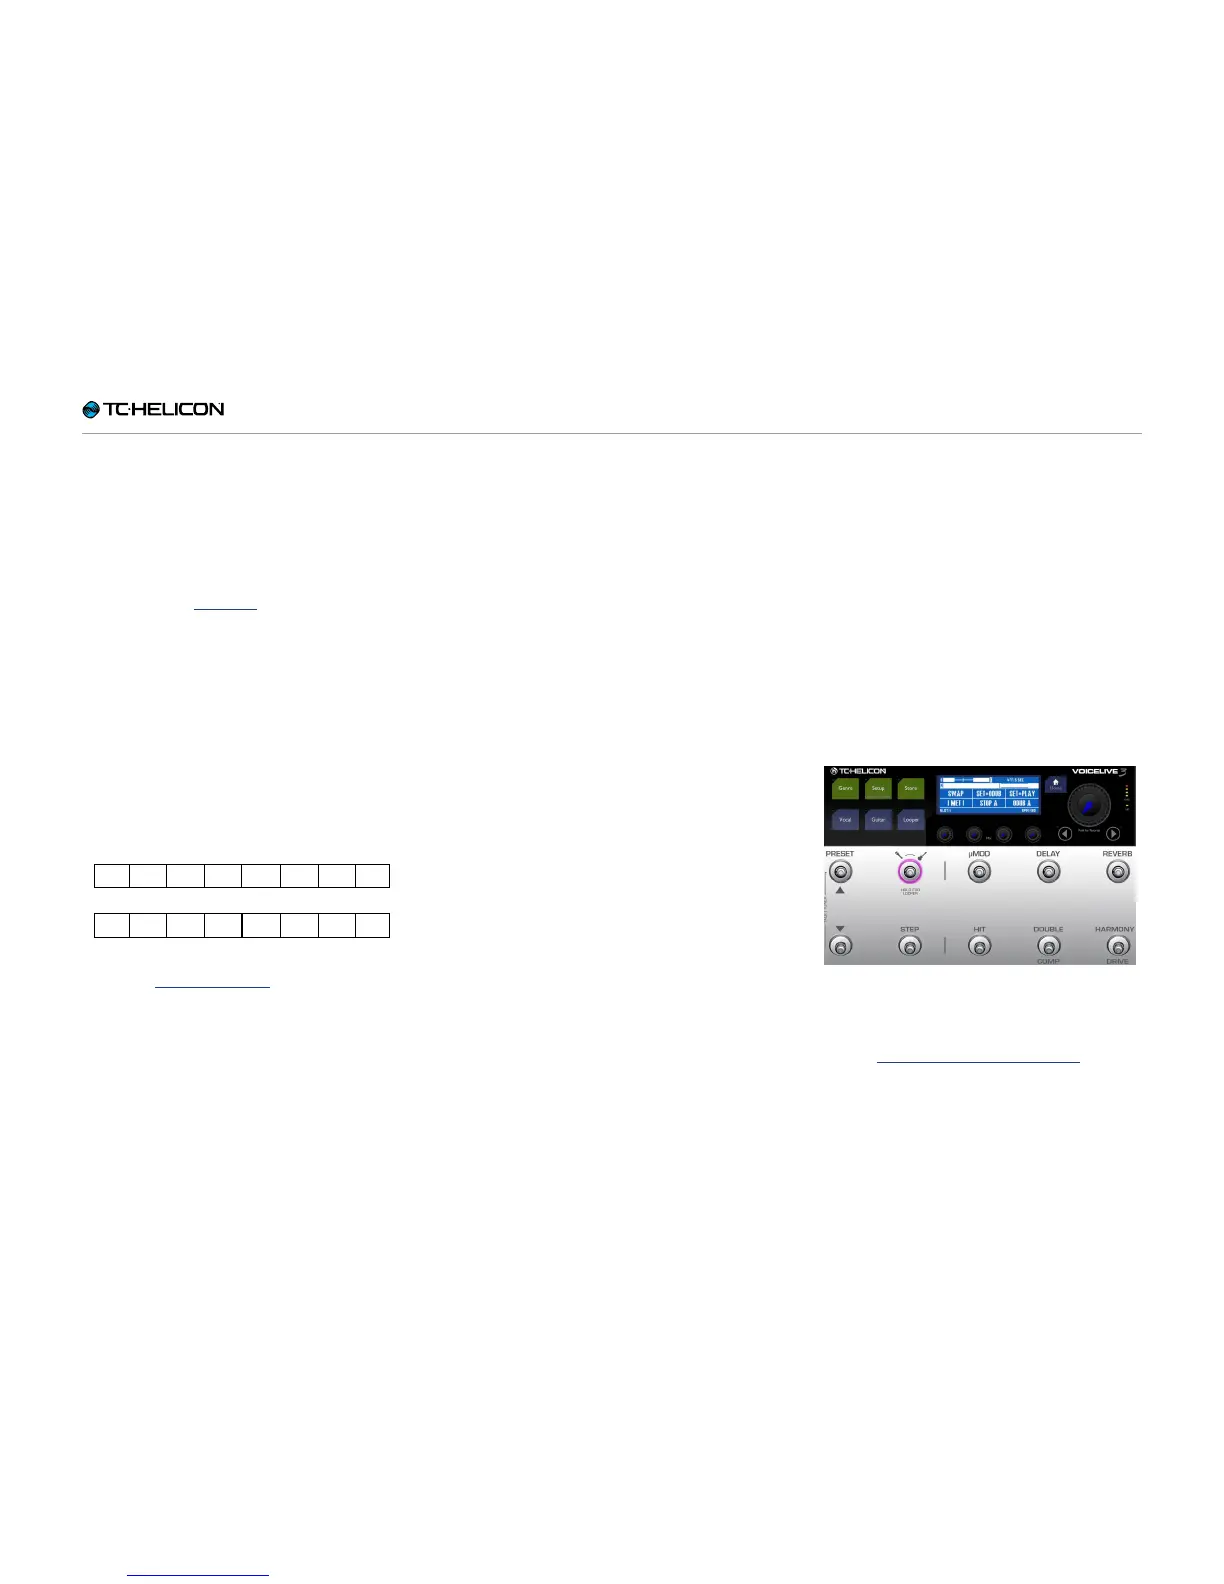
The Looper
VoiceLive 3 – Reference manual (2014-03-29) 83
– If you chose Set+Odub, continue to record
overdubs until you are finished, then tap END
ODUB.
Understanding loop track length
To get a better understanding of how loop tracks
of different lengths are played back in SMART
Sync mode (see “SMART”), start by recording a
simple loop of just counting numbers.
– Loop track A: Record the words “one, two,
three, four” as close to the metronome beats
as you can.
– Loop track B: Record the words “one, two
three, four, five” as close to the metronome
beats as you can.
When playing back, you will notice that the
two tracks line up for the first “four”, then
Loop B says “Five” and goes silent for three
more beats, then repeats.
Other Sync modes are discussed in more detail
later – see “Sync sub-menu”.
Next, let’s try Swap.
Undo and Redo
Have you made a mistake, maybe in your fourth
or fifth overdub? No reason to throw away the
whole track. You can easily undo your last over-
dub (i.e., remove it from the Loop track) – and if
you change your mind, you can restore it.
– To undo the last overdub, tap the Looper foot-
switch.
– To redo (“undo the undo”, thereby restoring
the last overdub), tap the Looper footswitch
again.
Using Swap
Swap is a great new feature that allows you to
maintain your Loop track A, while moving seam-
lessly between two additional tracks (Loop track
B and Loop track C).
We are still following our “Your first loop” exam-
ple, and at this point, you should have recorded
Loop track A and Loop track B. Let’s move on to
recording Loop C.
– When you are ready to record a new Loop
track as Loop C, tap Swap.
Loop track B will stop playing, and you will
begin recording LOOP C.
Using Swap
– You will see the same Set+Play and Set+ODub
options you saw when recording Loop track A
( see “Set + Overdub vs. Set + Play”).
– Choose one, and press it when you are fin-
ished recording.
– If you chose Set+ODub, continue to record
overdubs until you are finished, then tap End
ODub.
 Loading...