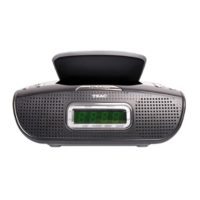
■ SL-D90/900, Procedure of CD Drive unit and Power X’mer replacement
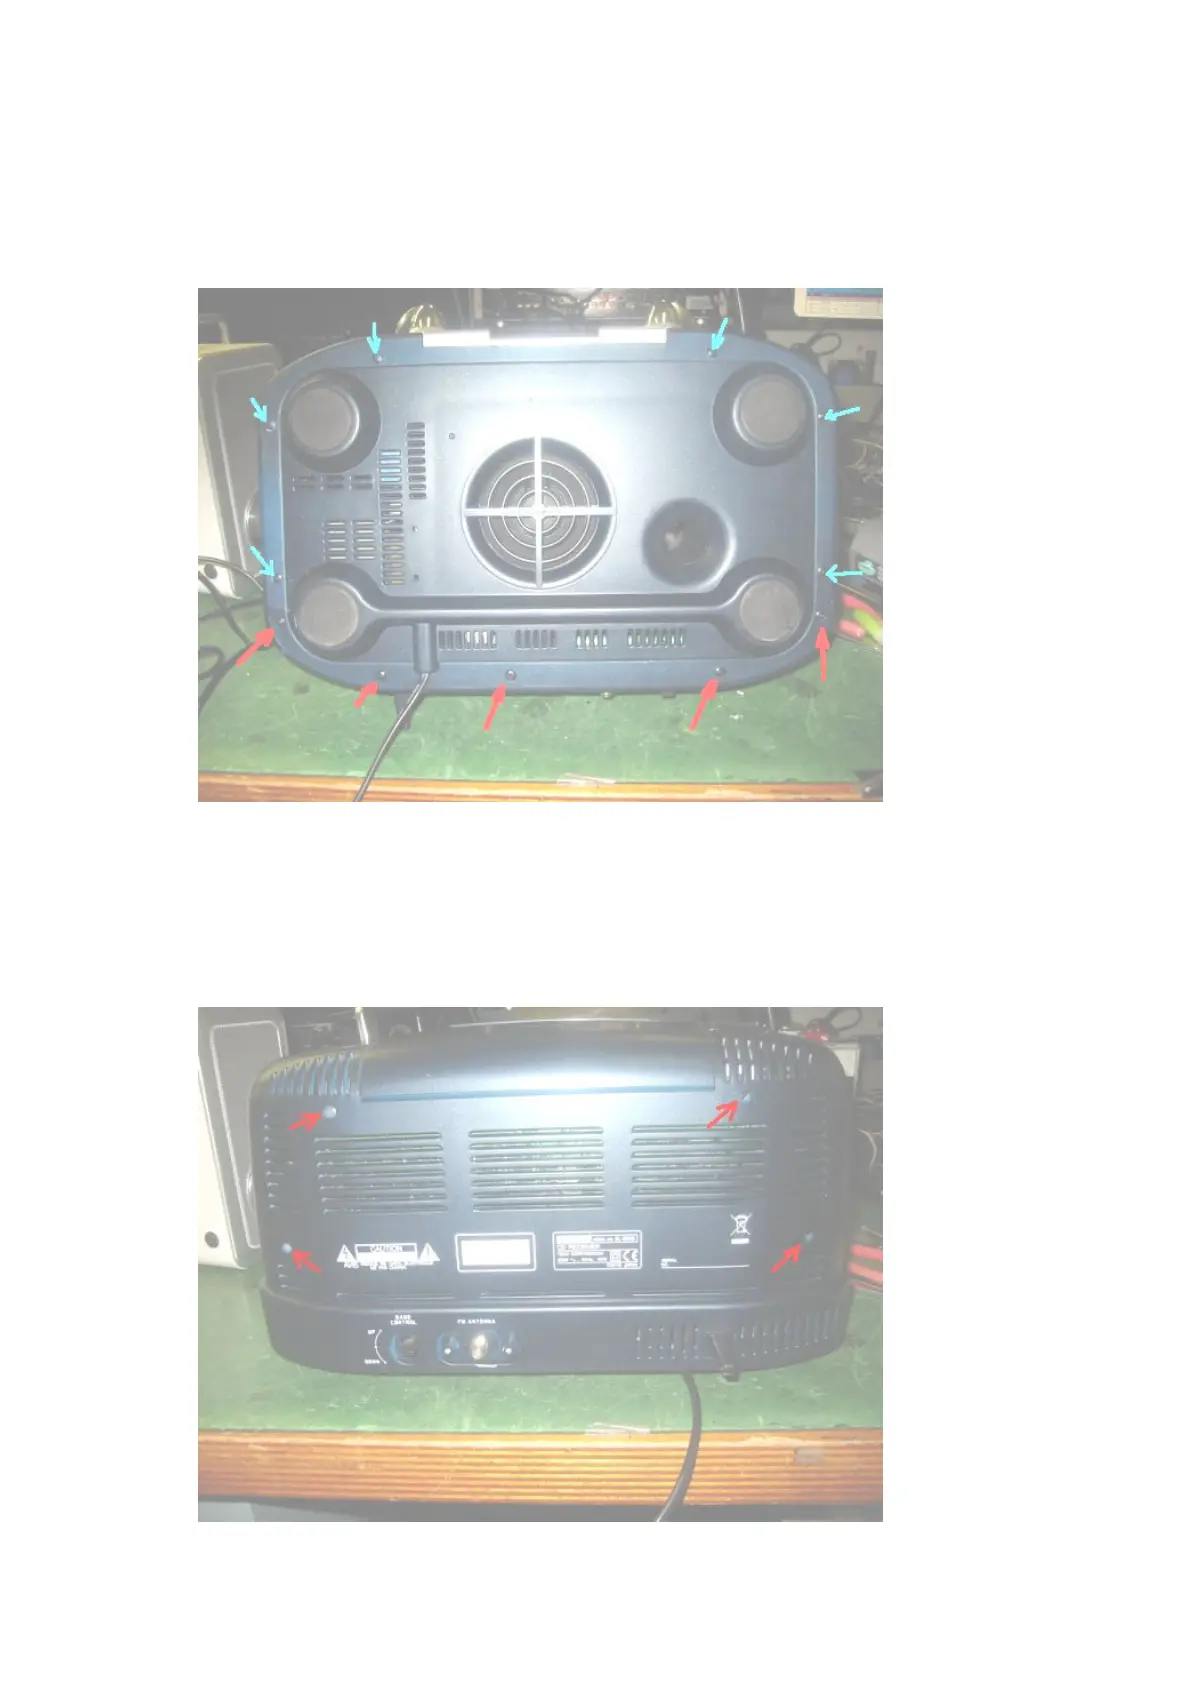
(1) Remove screws from bottom side.
*For the CD Drive unit ---- 5 indicated by Red.
*For the Power X’mer ---- totally 11, 5 indicated by Red and 6 indicated by Blue.
(2) Remove screws from back side.
*4 indicated by Red
*These screw are 3M Bind type. Fixed onto the 4 metal brackets.