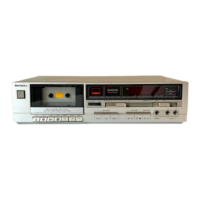
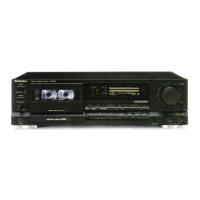
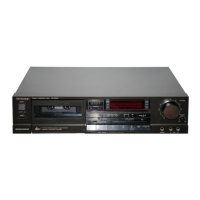
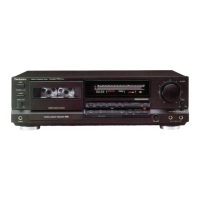
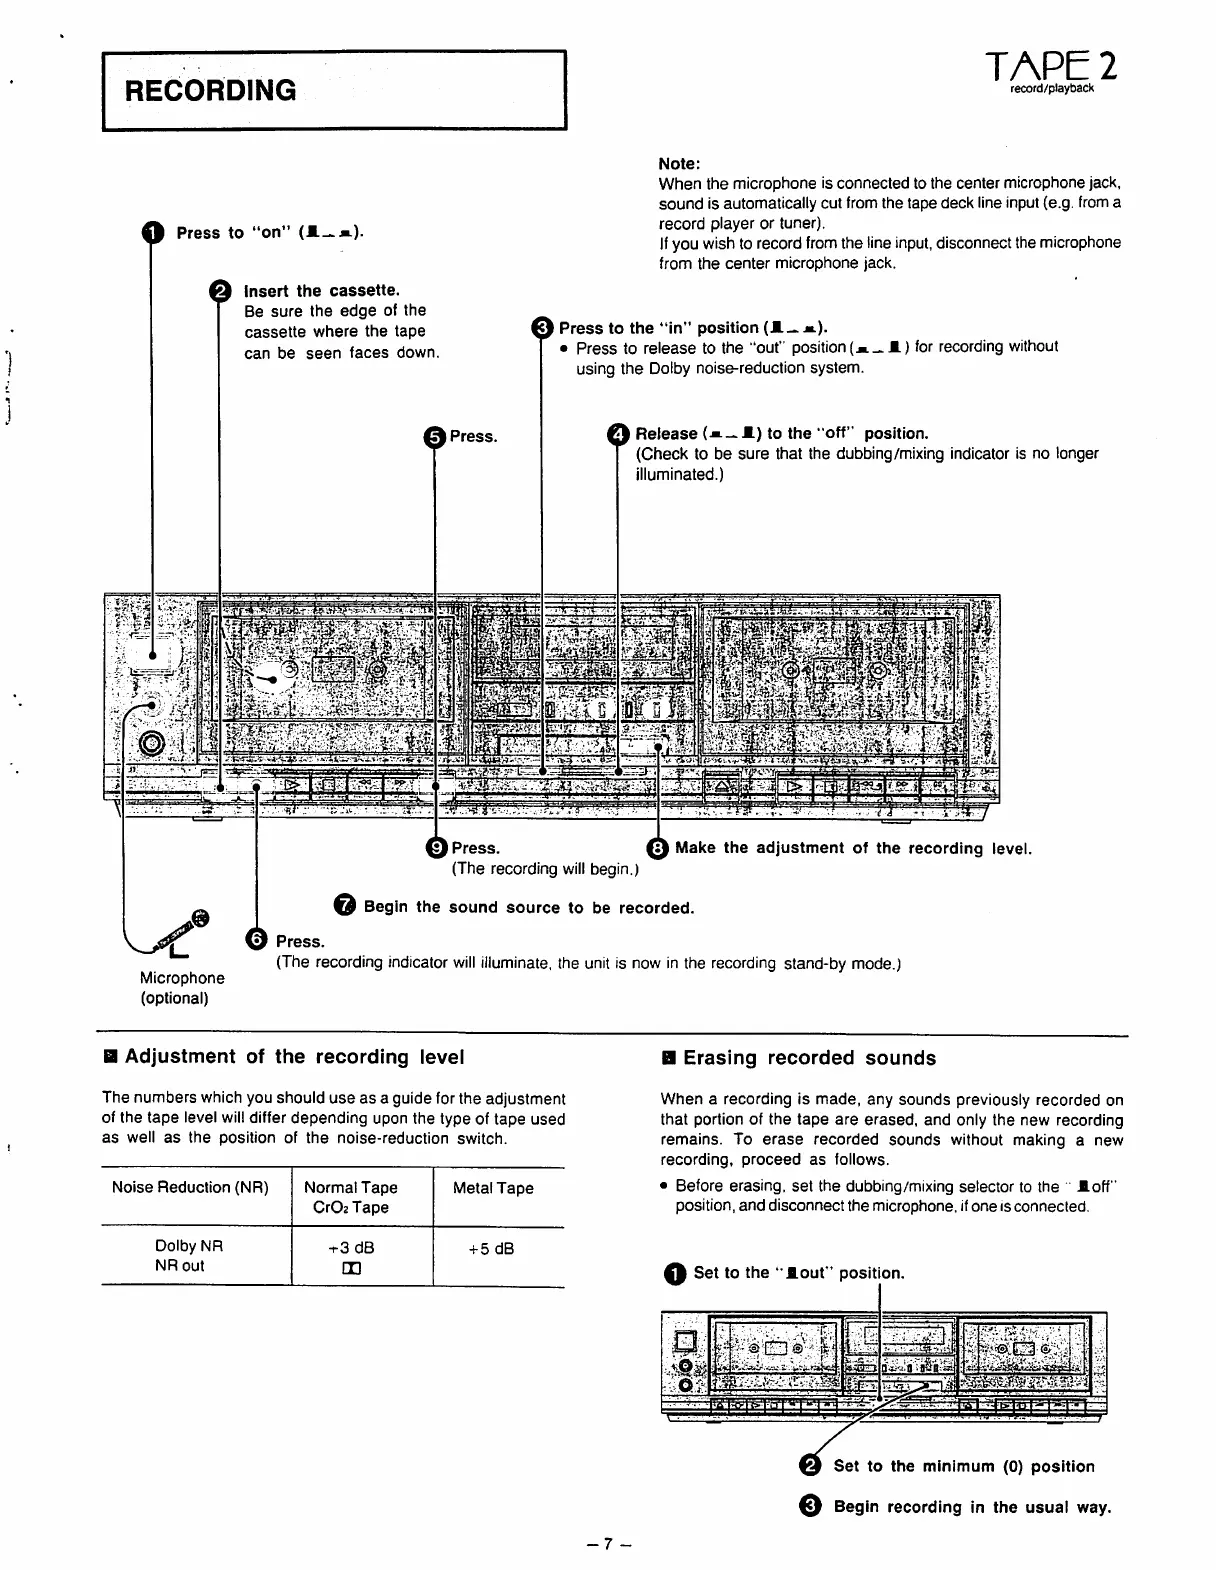
T A P E 2
REC%RD!NG
record/playback
Note:
When the m>c.ophone is connected to the center microphone jack,
sound is automatically cut from the tape deck line input (e.g, from a
record player or tuner).
If you wish to record from the line input, disconnect the microphone
from the center microphone jack.
$Press to “on” ($-«)$
ΘInsert the cassette.
Be sure the edge of the
cassette where the tape
c a n b e s e e n f a c e s d o w n .
0Press to the “in'' position (.($$$
$ Press to release to the "out position(,
using the Dolby noisereduction system.
for recording Without ((>
/
.-
$Release (— -$) to the “off position.
(Check to be sure that the dubblng/mixing Indicator is no longer
illuminated.)
0Press.
I
\
' ฎ ®
" ? '0
I
6 E
,Press#
(!he recording will begin.)
$Begin the sound source to be recorded.
.Make the adjustment of the recording level@
[/
0Press.
(The recording Indicator will illuminate, the unit is now in the recording stand-by mode.)
Microphone
(optional)
Ad>ustment of tfie record!ng !eve! Erasing recorded sounds
The numbers which you should use as aguide for ttie adjustment
of the tape level will differ depending upon the type of tape used
as well as the position of the noise-reduction switch.
When arecording is made, any sounds previously recorded on
tfiat portion of the tape are erased, and only the new recording
remains. To erase recorded sounds without making anew
recording, proceed as follows.
$Before erasing, set the dubbing/mixing selector to the ".off"
position, and disconnect the microphone, if one IS connected.
Noise Reduction (NR) Normal Tape
Cr%2Tape
Metal Tape
Dolby NR
NR out
3dB rSdB
cc
$Set to the “.out "position.
m
© □ 0
๑
๑
]Д-: $§|;::η$/·Π ··Ι:-
^1
©
๔รรSet to the minimum (0) position
ΘBegin recording in the usual way.
7
 Loading...