J
Jordan SanchezJul 29, 2025
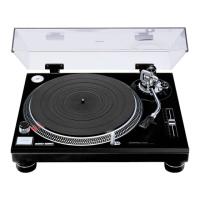
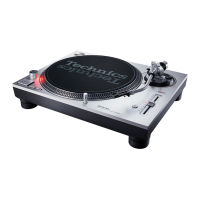
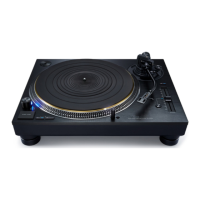
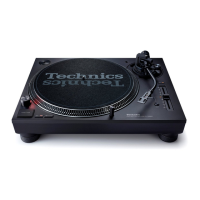
Why is my Technics Turntable humming during playback?
- Jjoshua72Jul 29, 2025
Humming during playback on your Technics Turntable can occur if other appliances or their power cords are too close to the stereo cords. Separate the turntable from these appliances and their cords. Also, ensure the earth lead is correctly connected to eliminate hum.