11
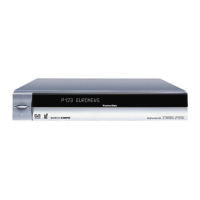
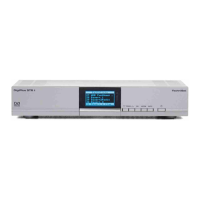
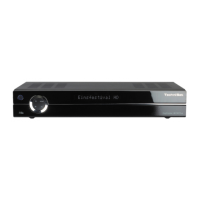
6 Initial installation
After you have read the safety instructions and attached the device as described in Section 4, you can then
switch it on.
Switching the device on
> When the device is on standby, you can switch it on by pressing the On/Standby button on the
remote control/device.
On initial installation of the TV, the AutoInstall installation wizard starts automatically. The installation wizard
allows you to make the most important settings for your digital receiver in the simplest way possible.
Each step of the installation explains which settings can be made.
> In the installation wizard start window, you can cancel the initial installation by pressing the red
function button. The receiver then begins to run default pre-programming.
In the subsequent installation steps, you can use the OK button to accept the setting that you have
selected and move on to the next installation step.
By pressing the Back button, you can go back to the previous installation step. This enables you to
correct any incorrect entries at any time.
The initial installation shown here simply serves as an example.
The exact process for the initial installation will depend on the settings you select. Therefore please follow all
instructions displayed on screen carefully.
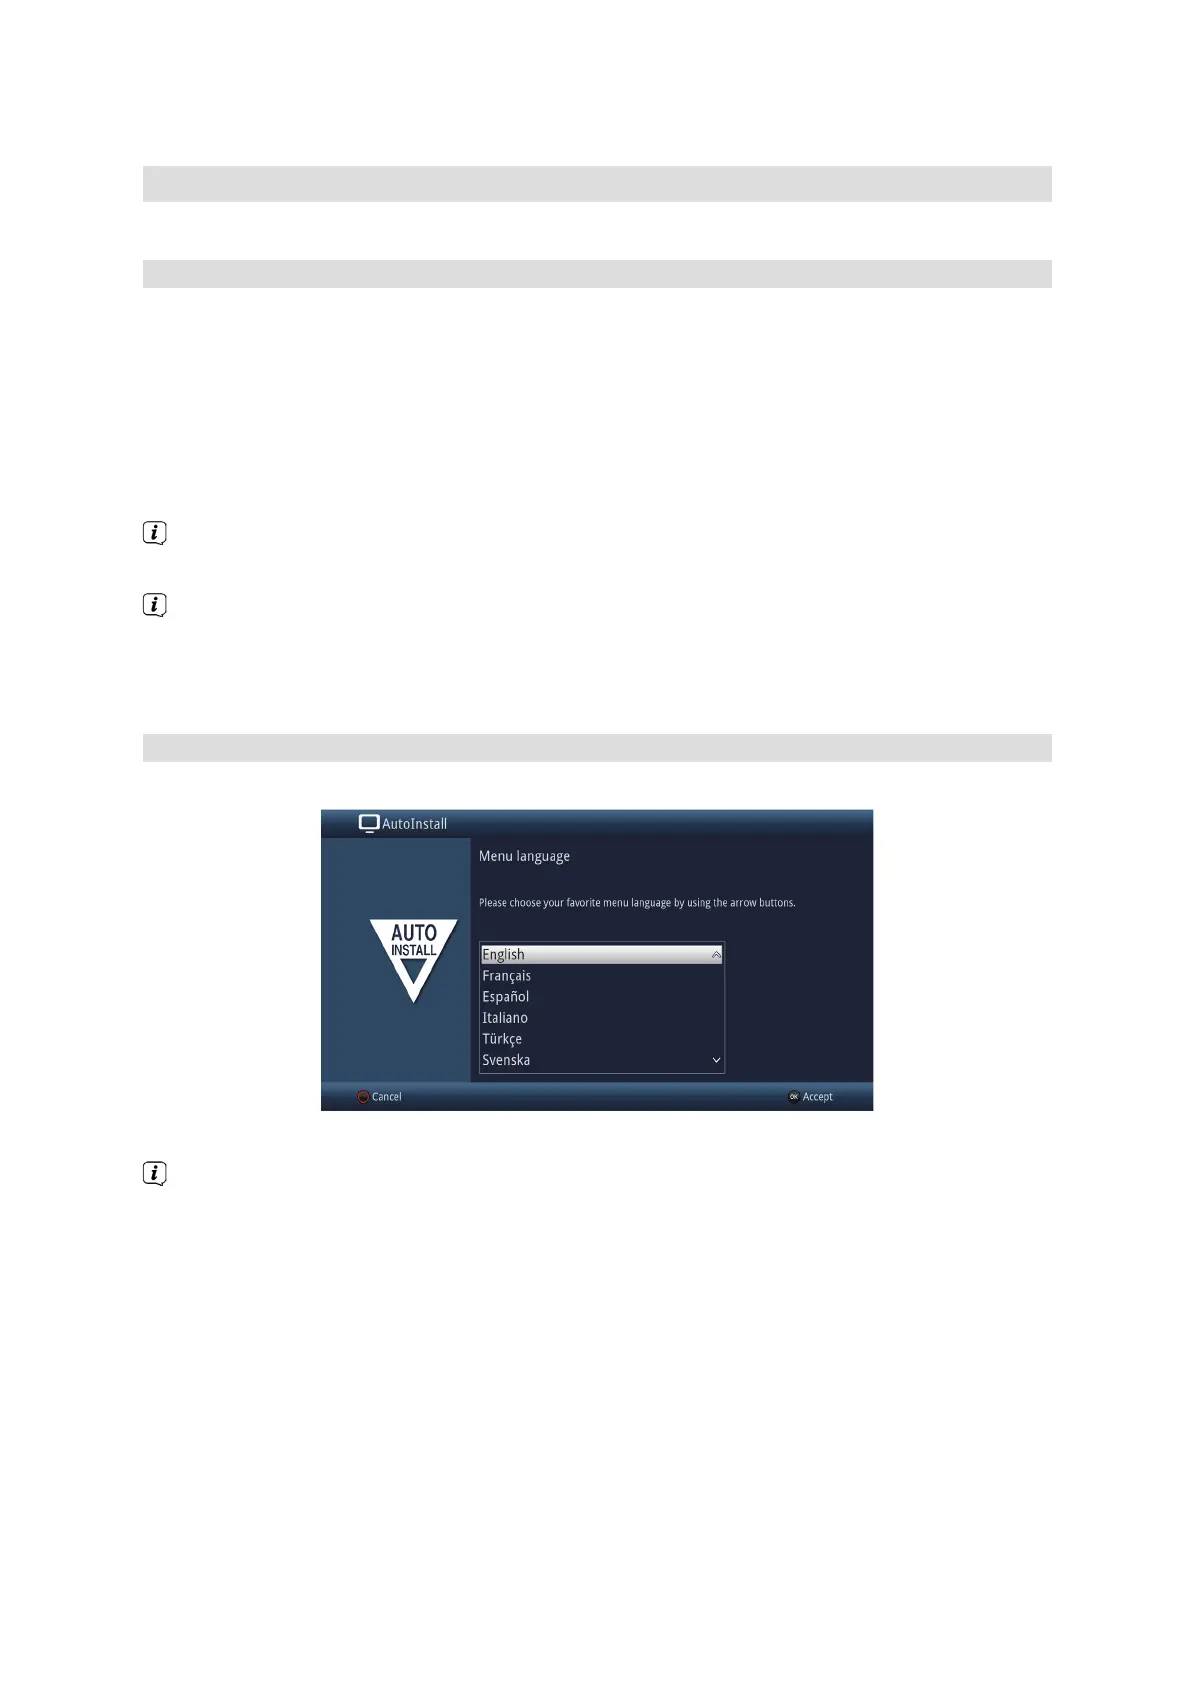
Menu language
> When the installation wizard is launched, the selection window for the Menu language opens first.
> Use the arrow keys to highlight the operating language you want.
The preferred audio language will be set automatically according to this selection. You can change the
setting at any time from the menu.
> Press the OK button to confirm the setting and access the next stage of the installation wizard.