GB 4
REMARKS:
Keep in mind that your outdoor transmitter has a 50-meter open air transmission with no obstructions.
Actual transmission range will vary depending on what is in the path of the signal. Each obstruction (roof, walls, floors,
ceilings, thick trees, etc.) will effectively cut signal range in half.
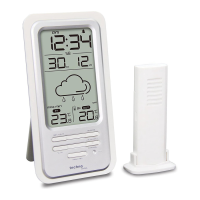
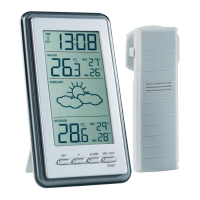
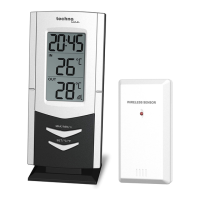
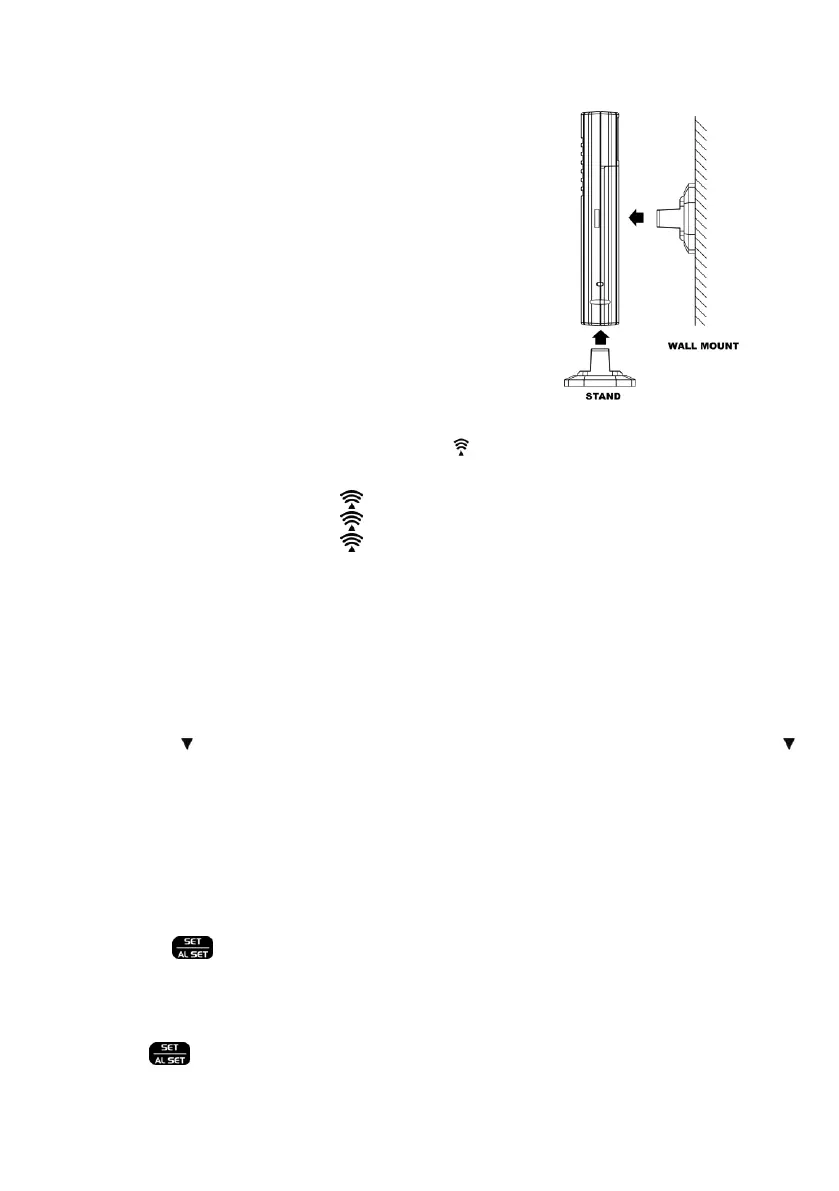
Insert the holder to the bottom of the outdoor transmitter for desktop or insert
it to the back of the transmitter for wall mount purpose
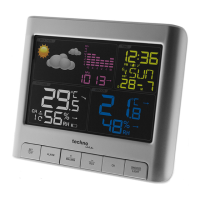
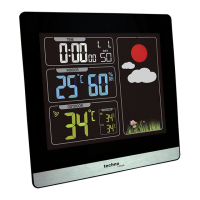
DCF SIGNAL RECEPTION AND SIGNAL INDICATOR
After your clock is powered up, it starts to receive DCF signal. The LED flashes.
Weak or no DCF signal (only S icon flashing)
Receiving strong DCF signal ( icon flashing)
Successful Reception ( icon becomes static)
Failed Reception ( icon disappear)
AUTOMATIC RECEPTION AND MANUAL RECEPTION
Your clock starts automatic reception everyday at 1:00, 2:00, and 3:00. If it fails to receive the DCF time signal at 3:00, it will
start reception at 4:00. If it fails again, it will start reception at 5:00. If it fails again, it will start automatic reception at 1:00
again in the next day.
MANUAL RECEPTION
Simply press and hold / (°C/°F) WAVE, your clock will gives a short beep and starts manual reception. Press and hold /
(°C/°F) WAVE to stop DCF reception.
When your weather station is receiving the radio controlled time signal, the backlight becomes static and dimmer.
After the radio controlled time reception is completed, It will revert to the preceding color backlight mode.
During RCC reception, all buttons do not function and it does not take temperature measurement. The temperature readings
will get stable and become more accurate after your weather station clock is powered up for around 30 minutes
TO SET TIME ZONE, 12/24, TIME, CALENDAR, SNOOZE DURATION
1. Press and hold , the time digits change to 00. Press c or d to set the time zone.
- 1 : GMT 00 hour (e.g. UK)
00 : GMT + 1 hour (e.g. Germany)
01 : GMT + 2 hour (e.g. Finland)
2. Then press again, the time digits change to 24Hr. Press c or d 12Hrtime format. When 12Hr time
format is selected, PM indicator will be displayed.